Epixel MLM Software - Back-office Administration
Support
Support
Support
Our software provides a support ticketing system where Admin and users can create their issues in the form of tickets within the system. Whatever issues we are facing in the system can be reported here. Here the issues can be created in the form of tickets.
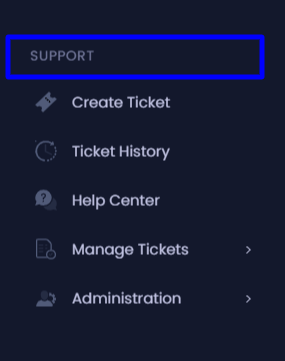
In this option, we have provided some features,
1. Create Ticket
2.Ticket History
3.Help Center
4.Manage Tickets
5.Administration
Features
-
Users can submit support requests via web/email.
-
Emails coming to the support email of the company are converted to support tickets automatically.
-
Email notifications to the users for each update from the support ticket system.
-
Submitted tickets can be opened and closed
-
Different statuses for the tickets like open, process, closed
-
There will be Multiple categories of tickets.
-
There will be a different support ticket staff team for each category/type.
-
Support tickets will be assigned to the support staff whoever opens the ticket first.
-
Integrated FAQ/knowledge base Browse your knowledge base / FAQ
-
Saved snippets (Previously used answers to copy and paste into incoming tickets).
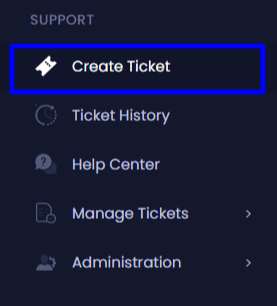
Create Ticket
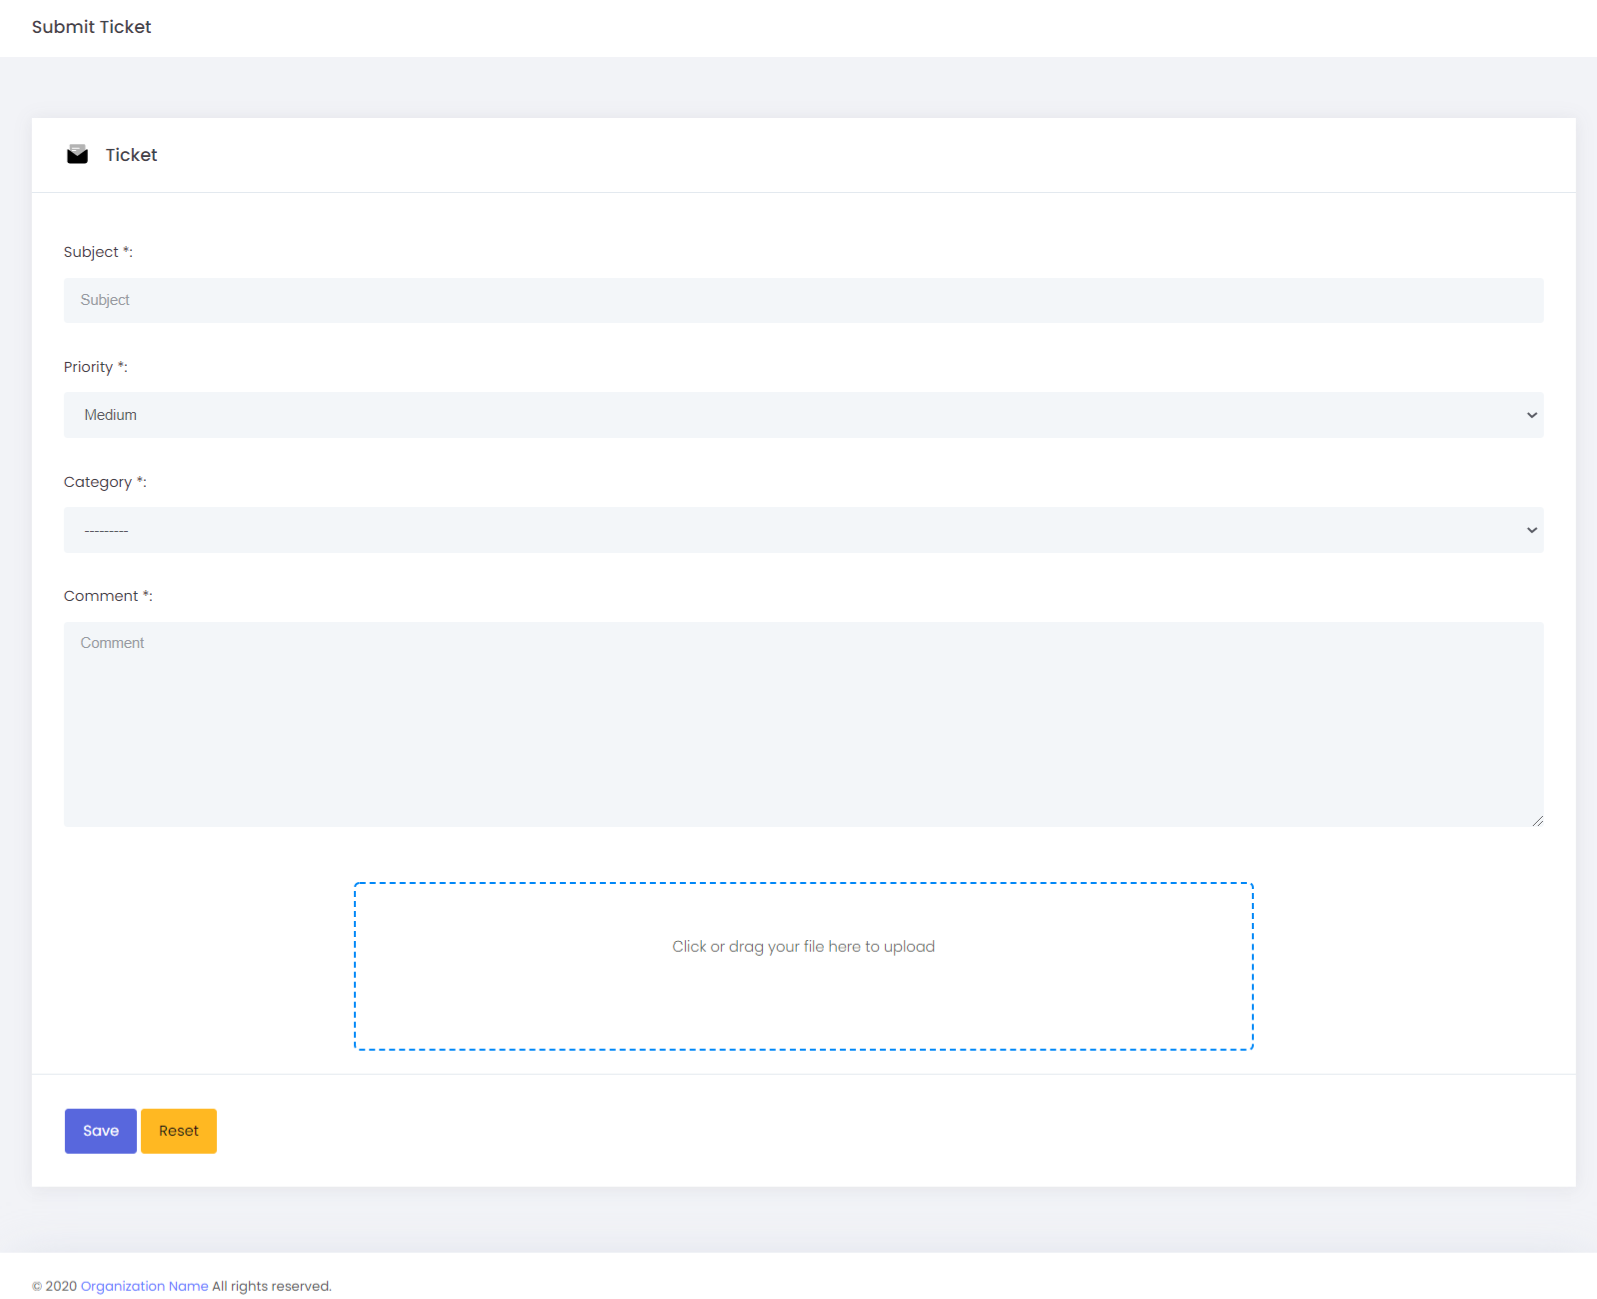
Create a ticket: We need to create a ticket to report the issue.
Subject: In this option, we need to give a title for the ticket. Suppose if we are facing the issue with Payout then we will give the subject as Payout.
Priority: We can set our priority according to the issues. Generally, our priorities are set as Low, Medium, and High. Depending on the issues we can change the priority.
Category: Here we can choose the category depending on the issues that we have.
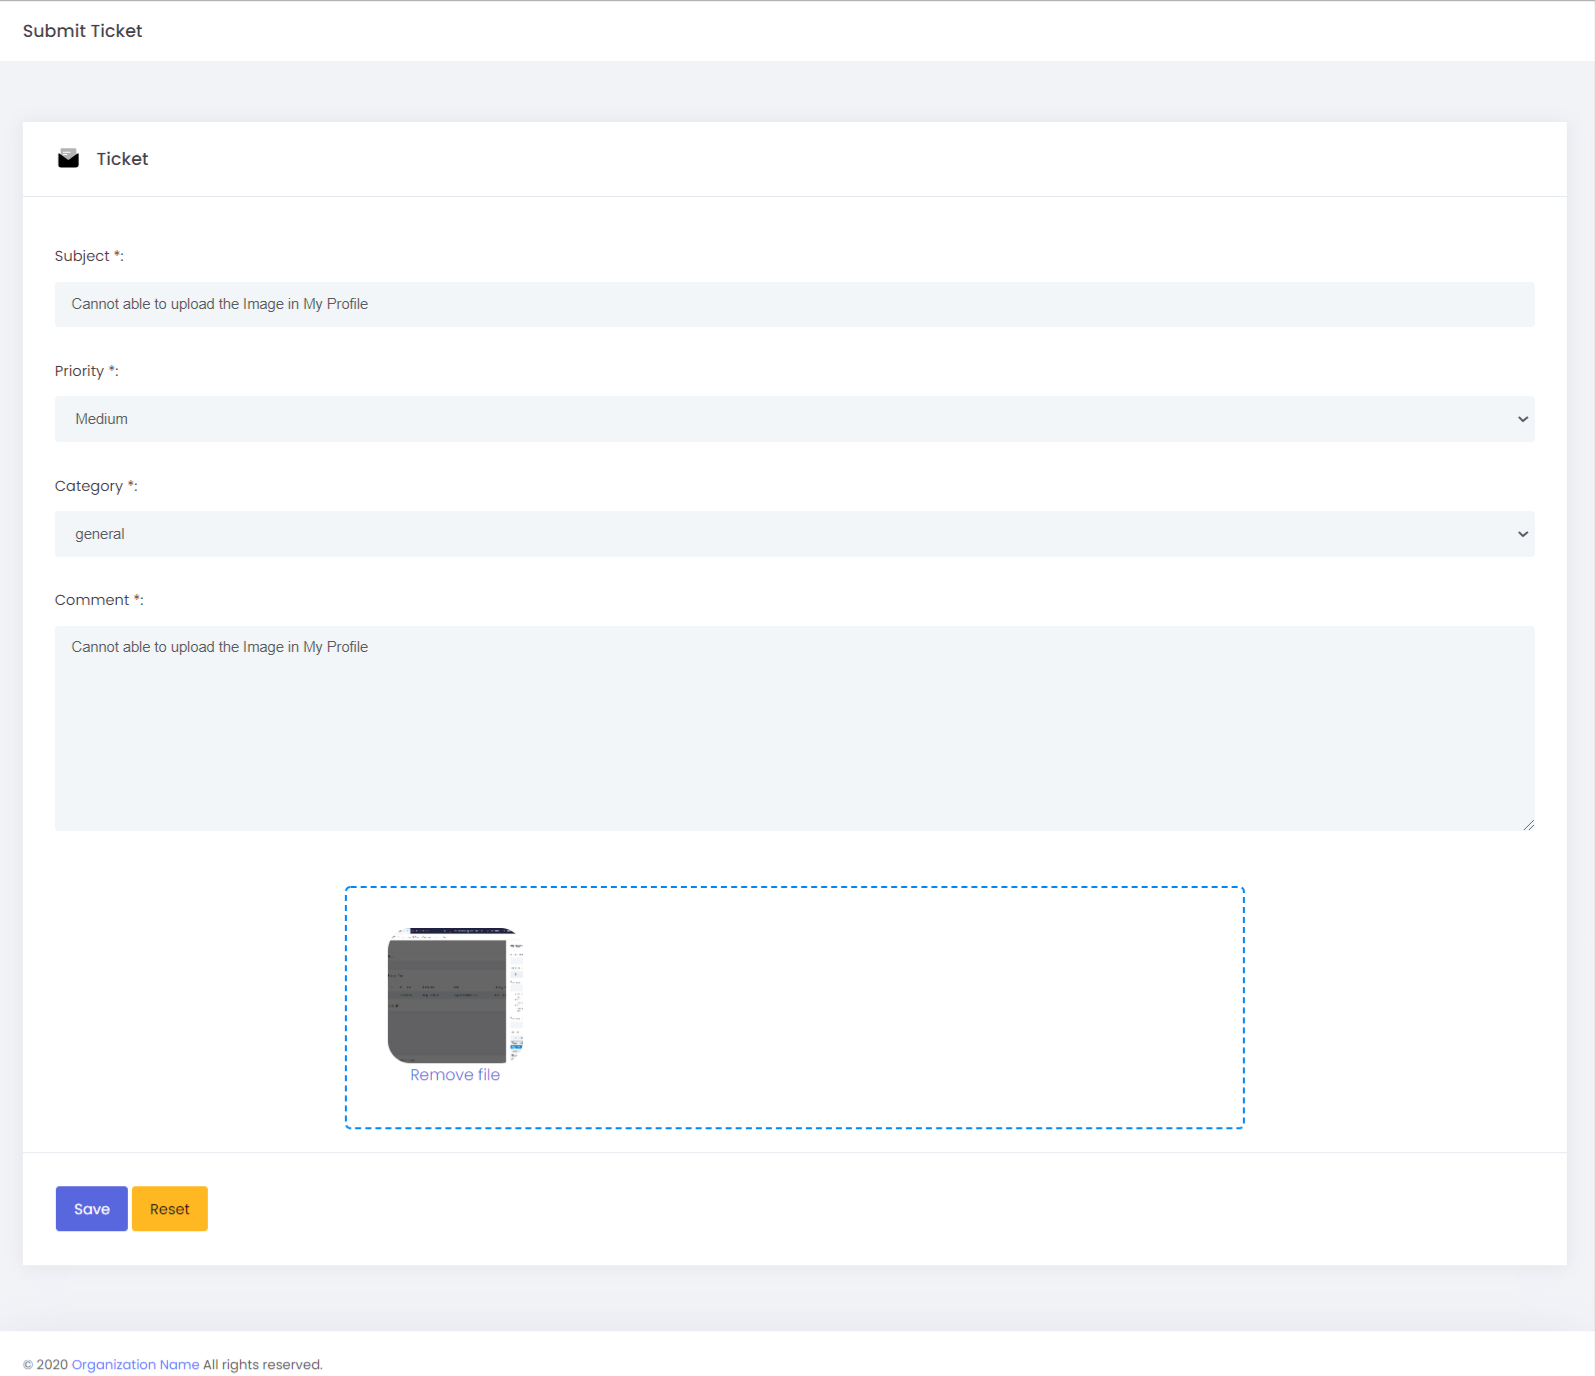
Comment: In this section, you need to describe the issue. You can attach the screenshot/files of the issues.
Kindly note that all the fields should be filled mandatory.
Ticket History
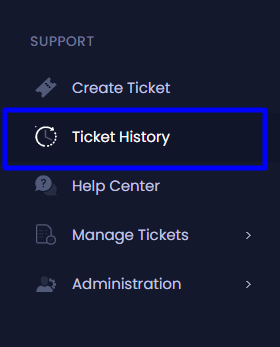
Ticket History: In this option, we can see all the tickets that we created within the system. It gives a whole idea of the tickets that have been created.
Create: If we go in this option, it will redirect to create a new ticket to report the issue.
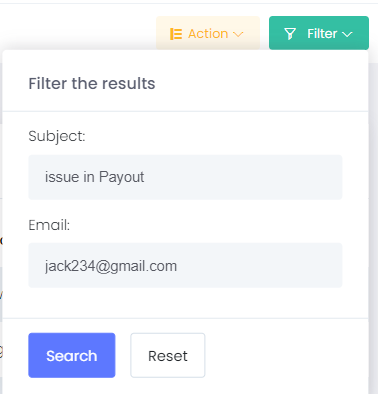
Filter: The filter option helps you to reach the exact details you are looking for by submitting the Subject and email.
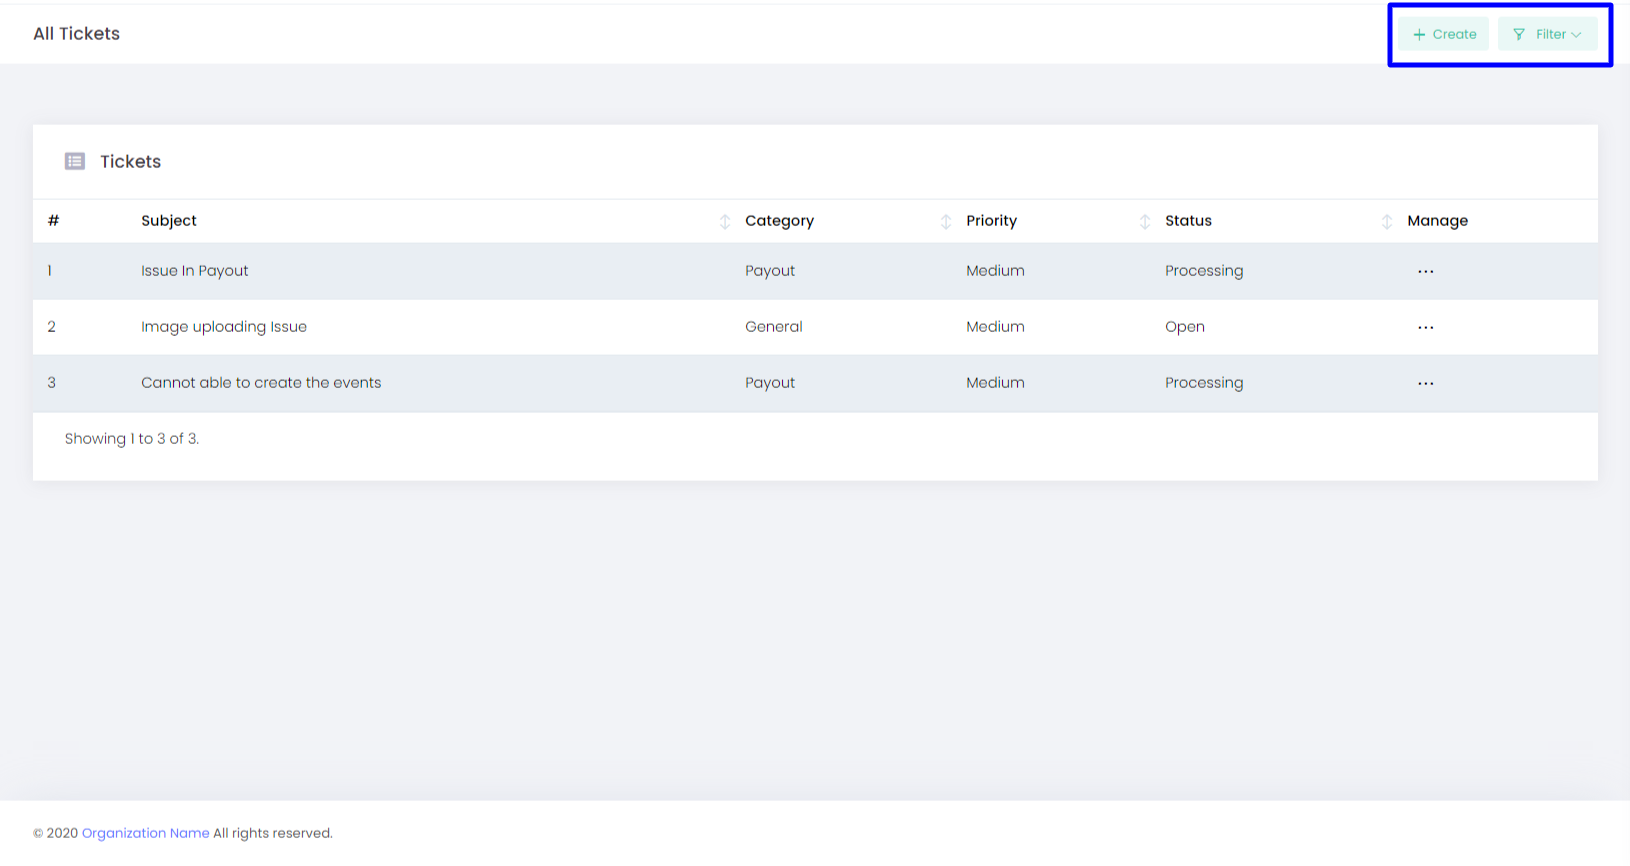
Ticket History includes Subject, Category, Priority, Status, Manage
Subject: In this option, we need to give a title for the ticket. Suppose if we are facing the issue with Payout then we will give the subject as Payout.
Category: Here we can choose the category depending on the issues that we have.
Priority: We can set our priority according to the issues. Generally, our priorities are set as Low, Medium, and High. Depending on the issues we can change the priority.
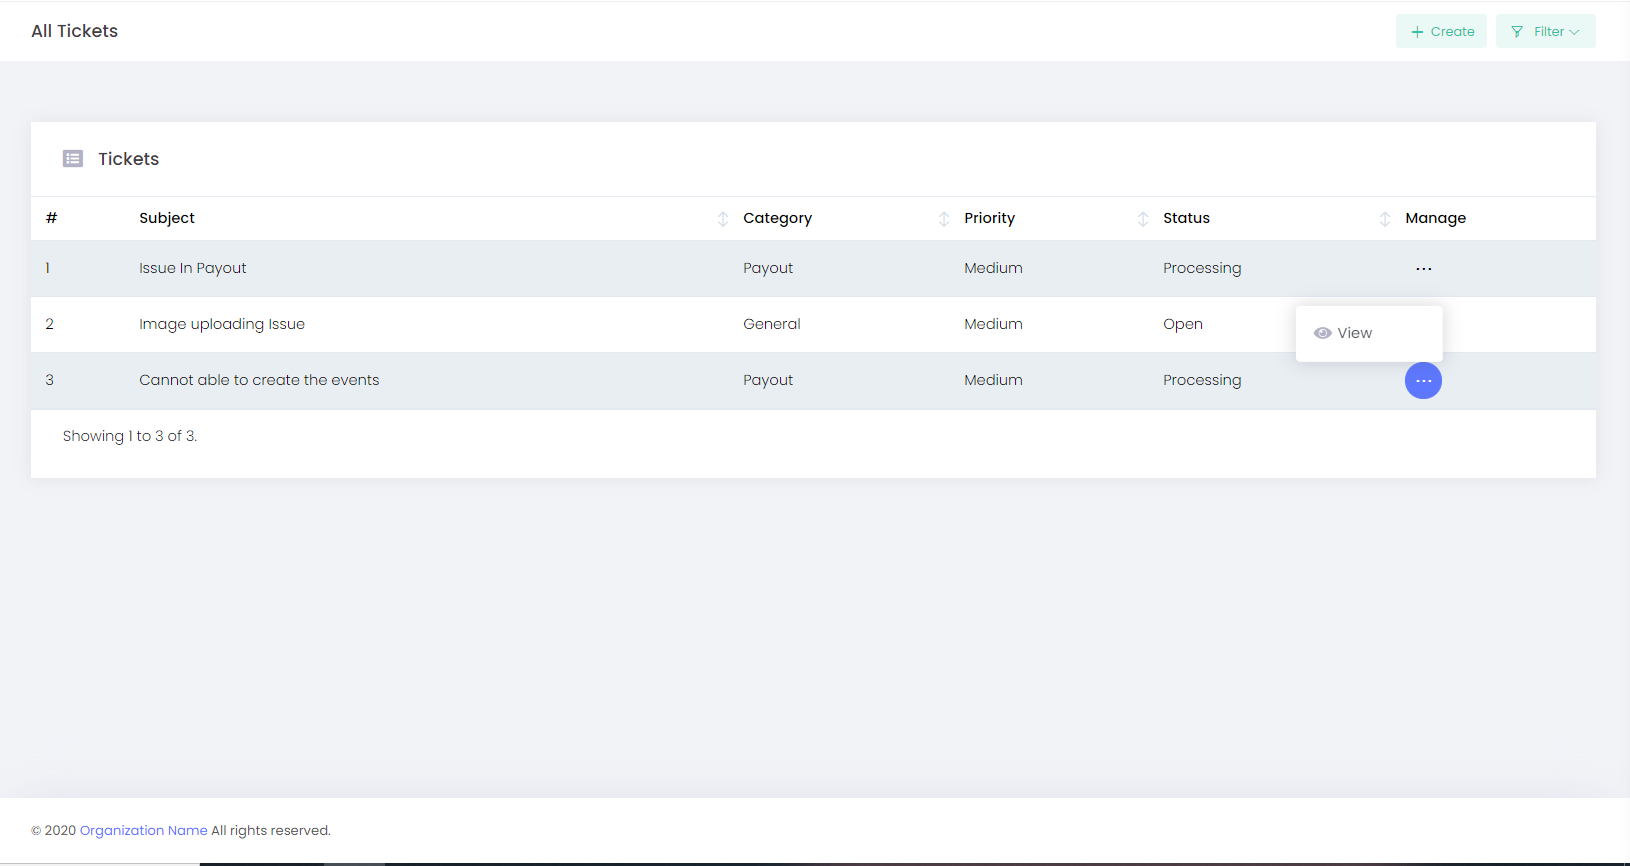
Status: We can see the status of tickets whether it is processing, open, or closed.
Manage: In this option, we are able to view the ticket.
Help Center
The help center has been designed to handle the FAQs that have been created by the system. With this option, we can search the questions that are within the system. We can also able to view the entire questions that are created within the system.
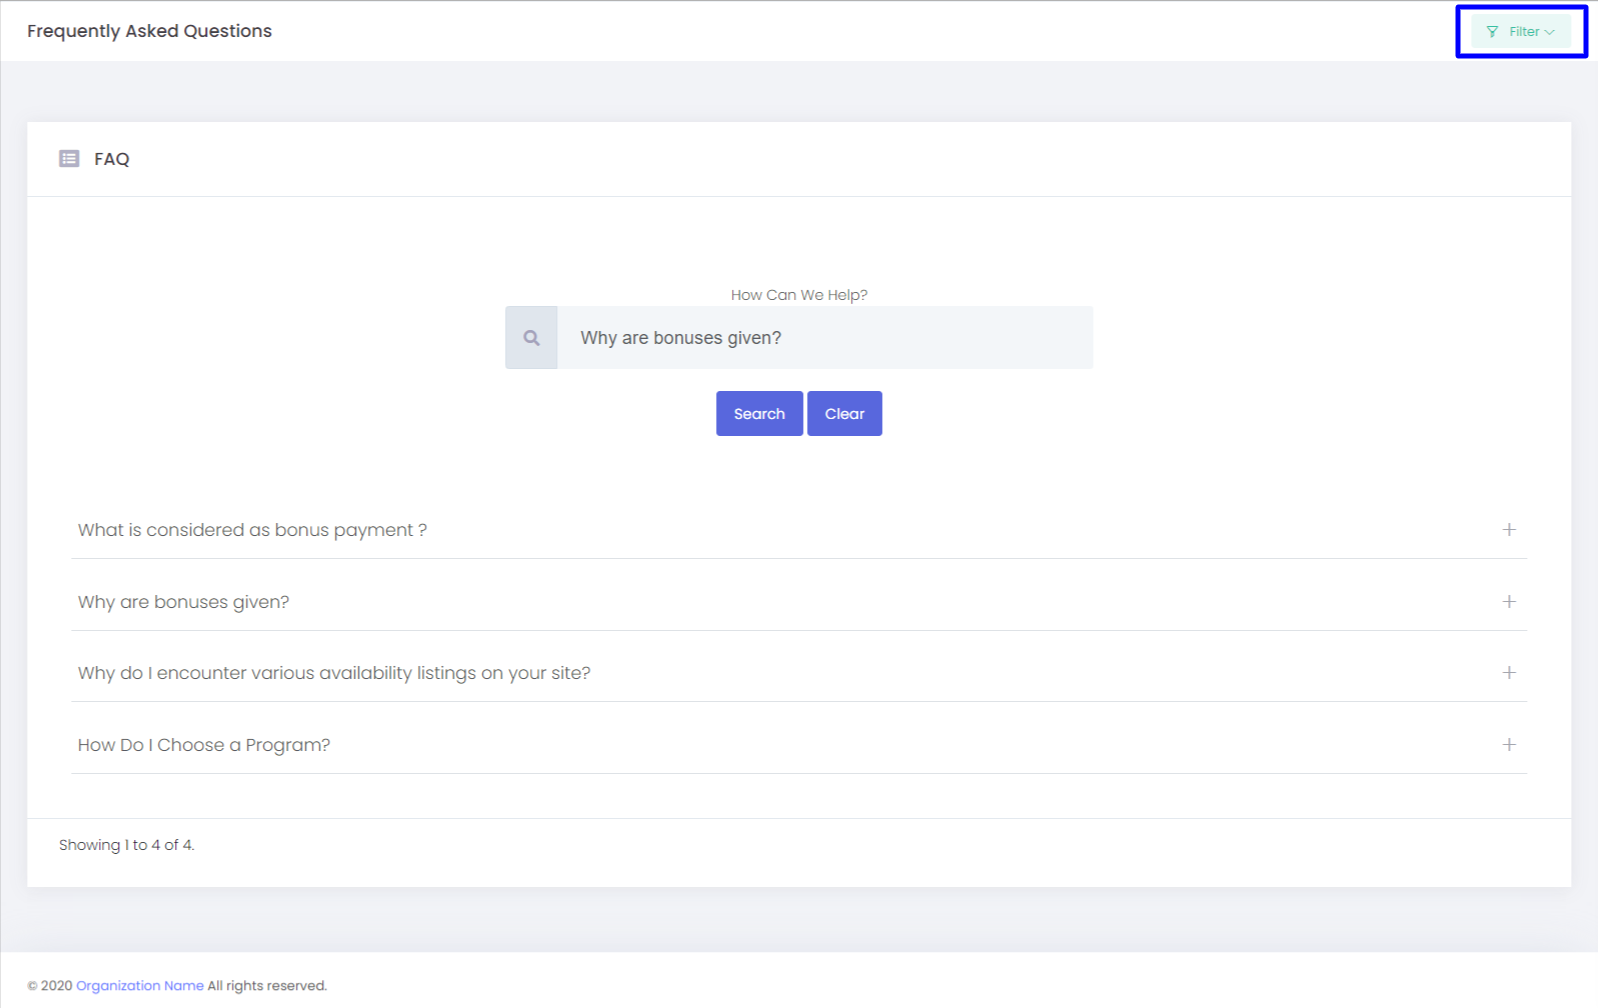
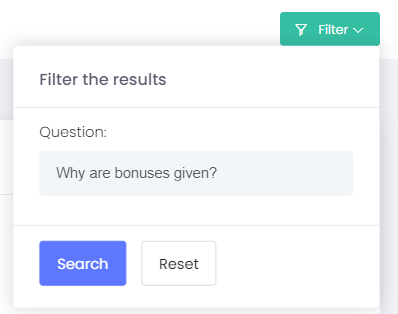
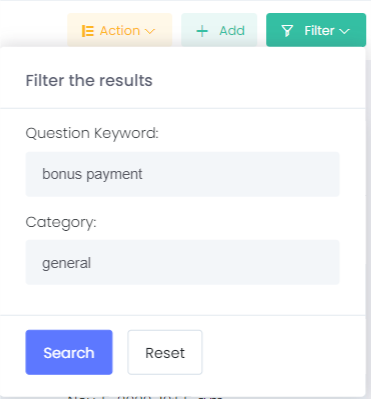
Filter: The filter option helps you to reach the exact details you are looking for by submitting the question.
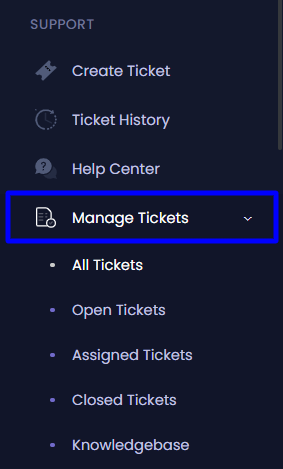
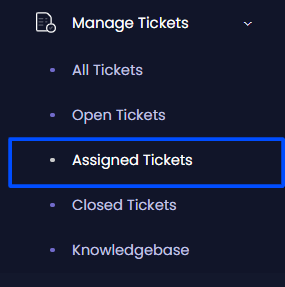
Manage Tickets
With this option, we can control the use of tickets in the entire system.
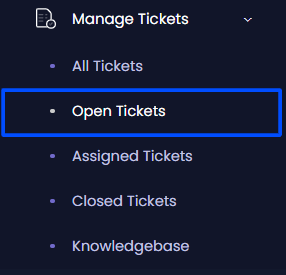
It includes five options,
All Tickets
Open Tickets
Assigned Tickets
Closed Tickets
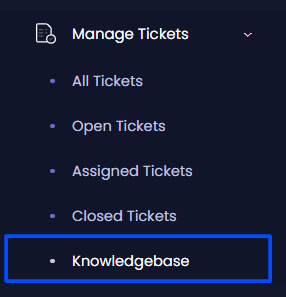
Knowledgebase
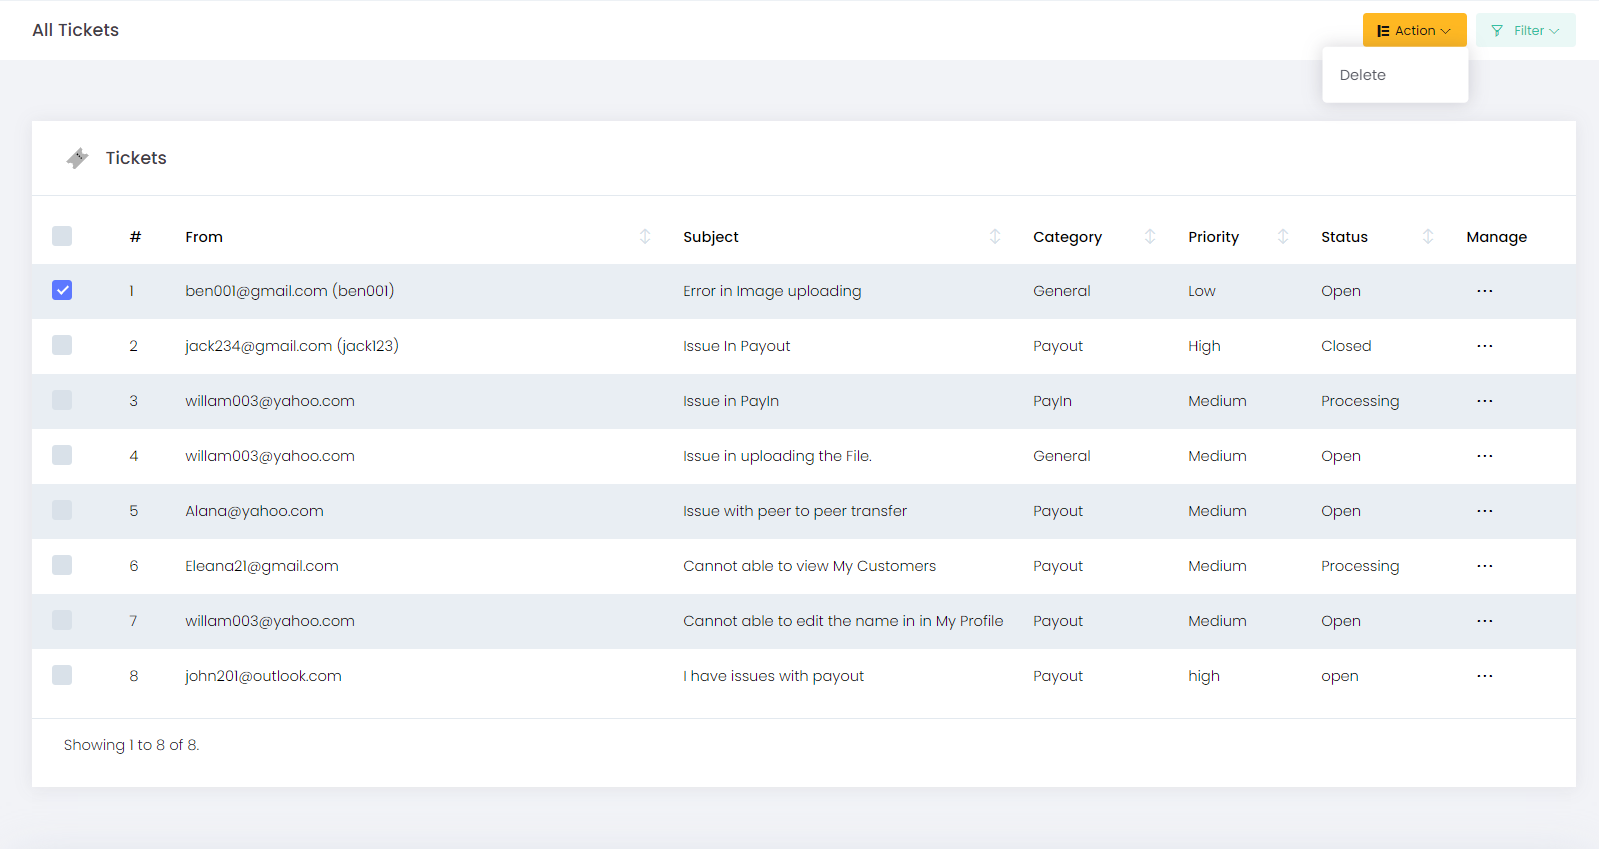
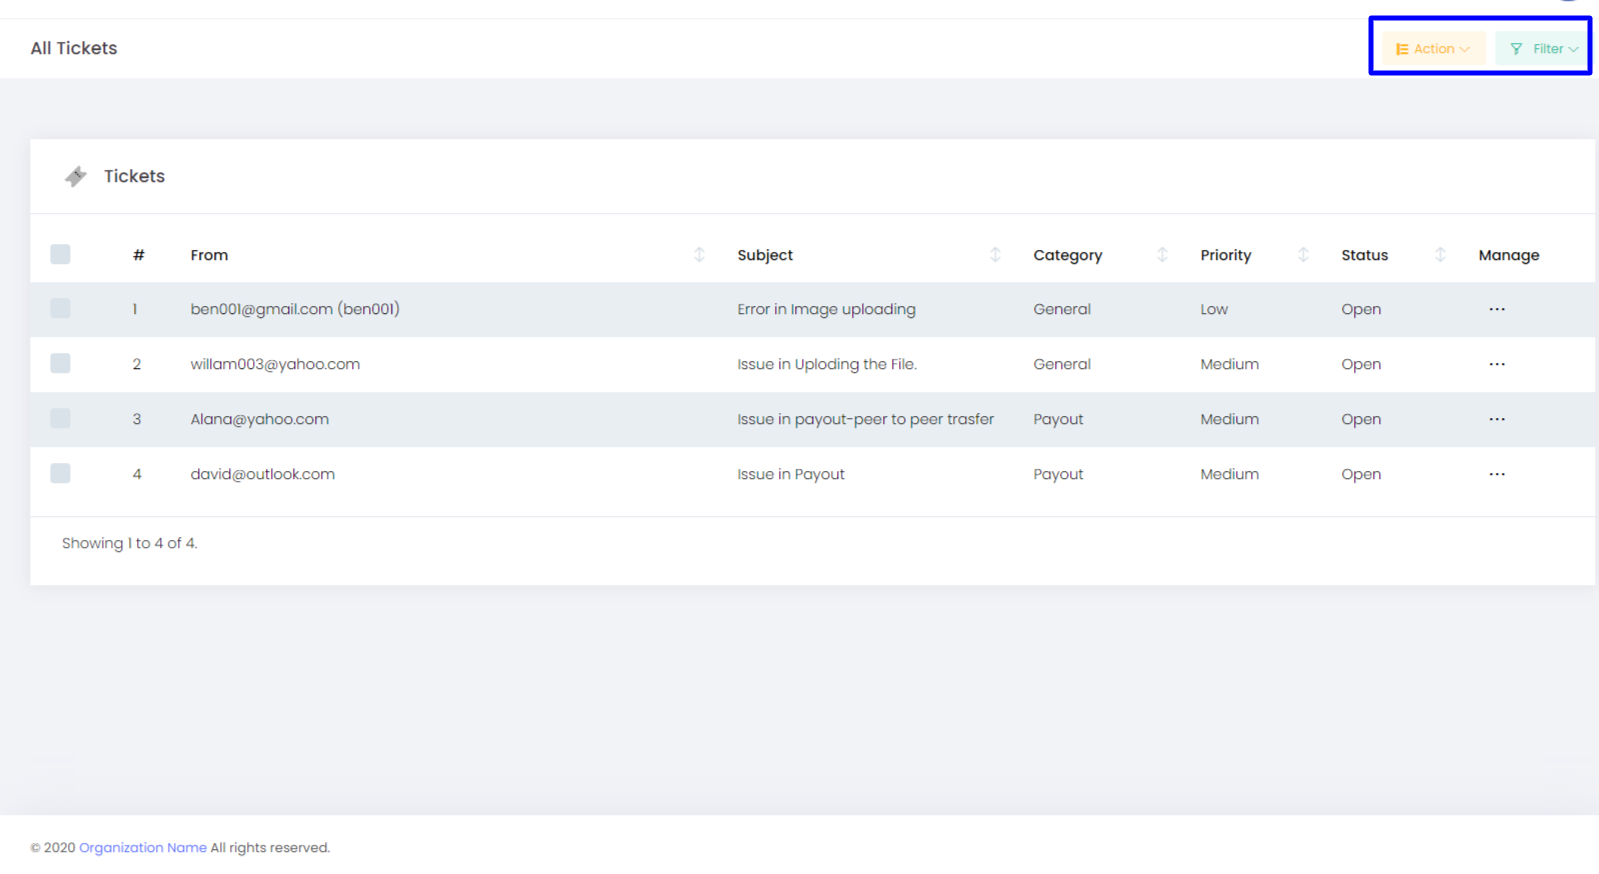
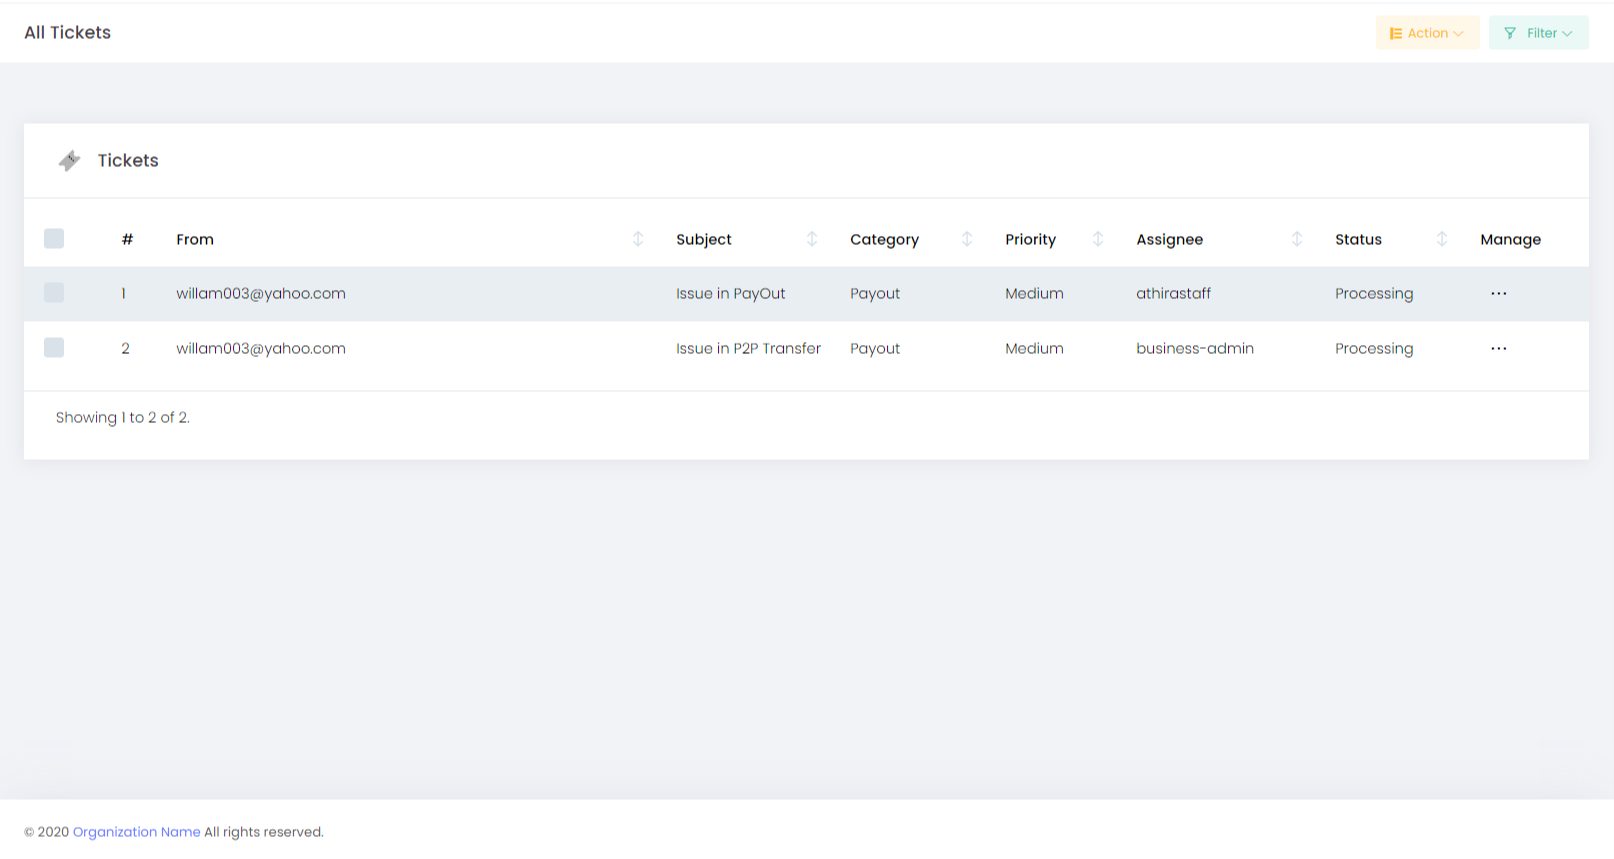
All Tickets: In this option, we are able to see the entire tickets created in the system.
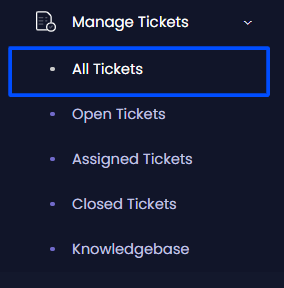
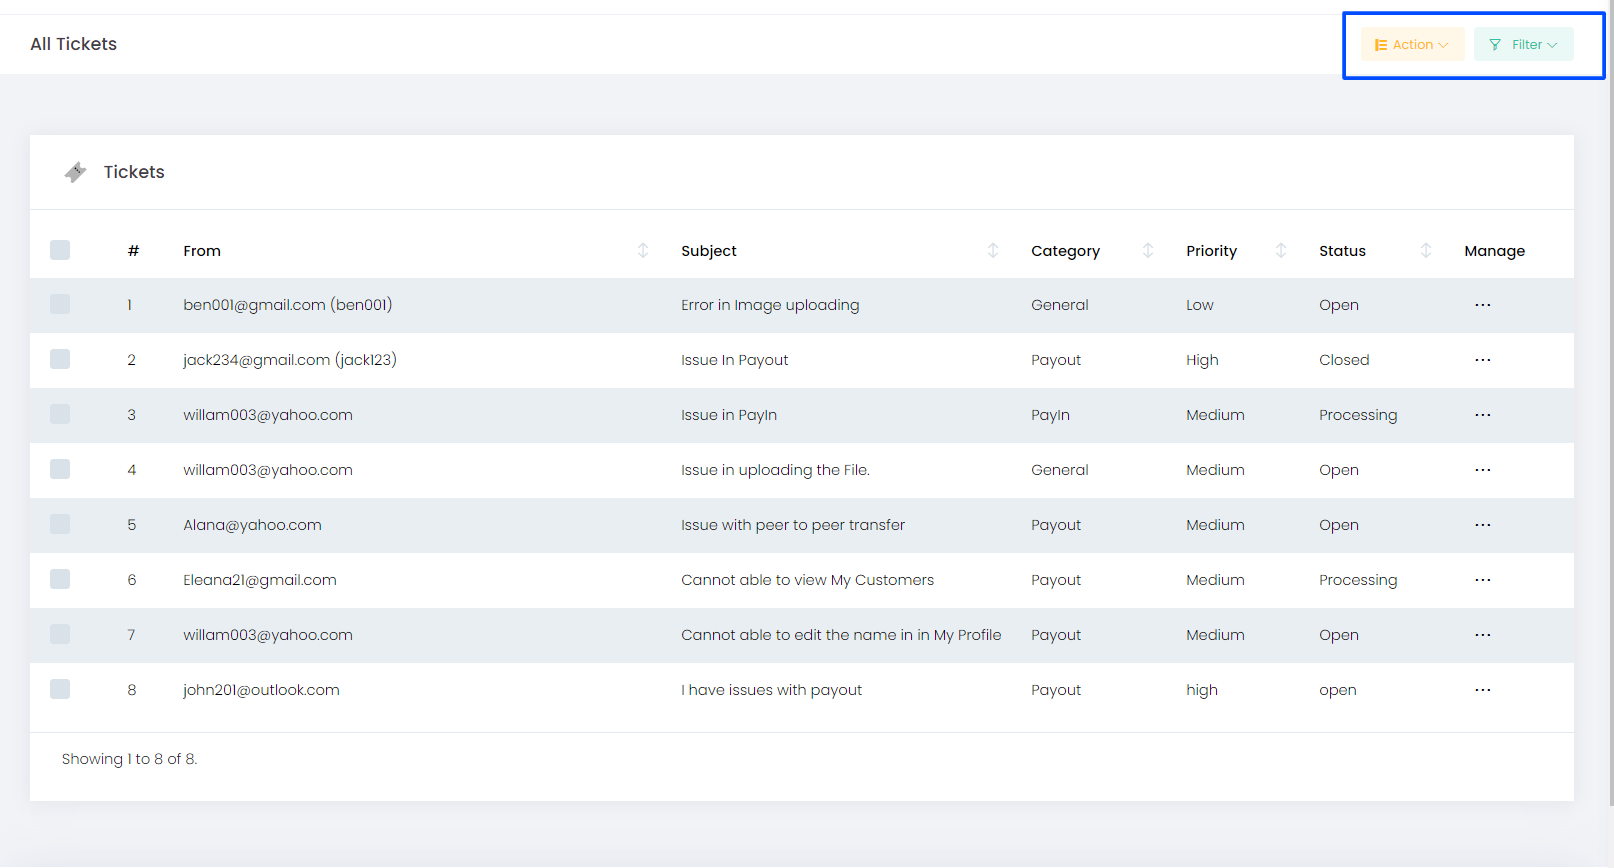
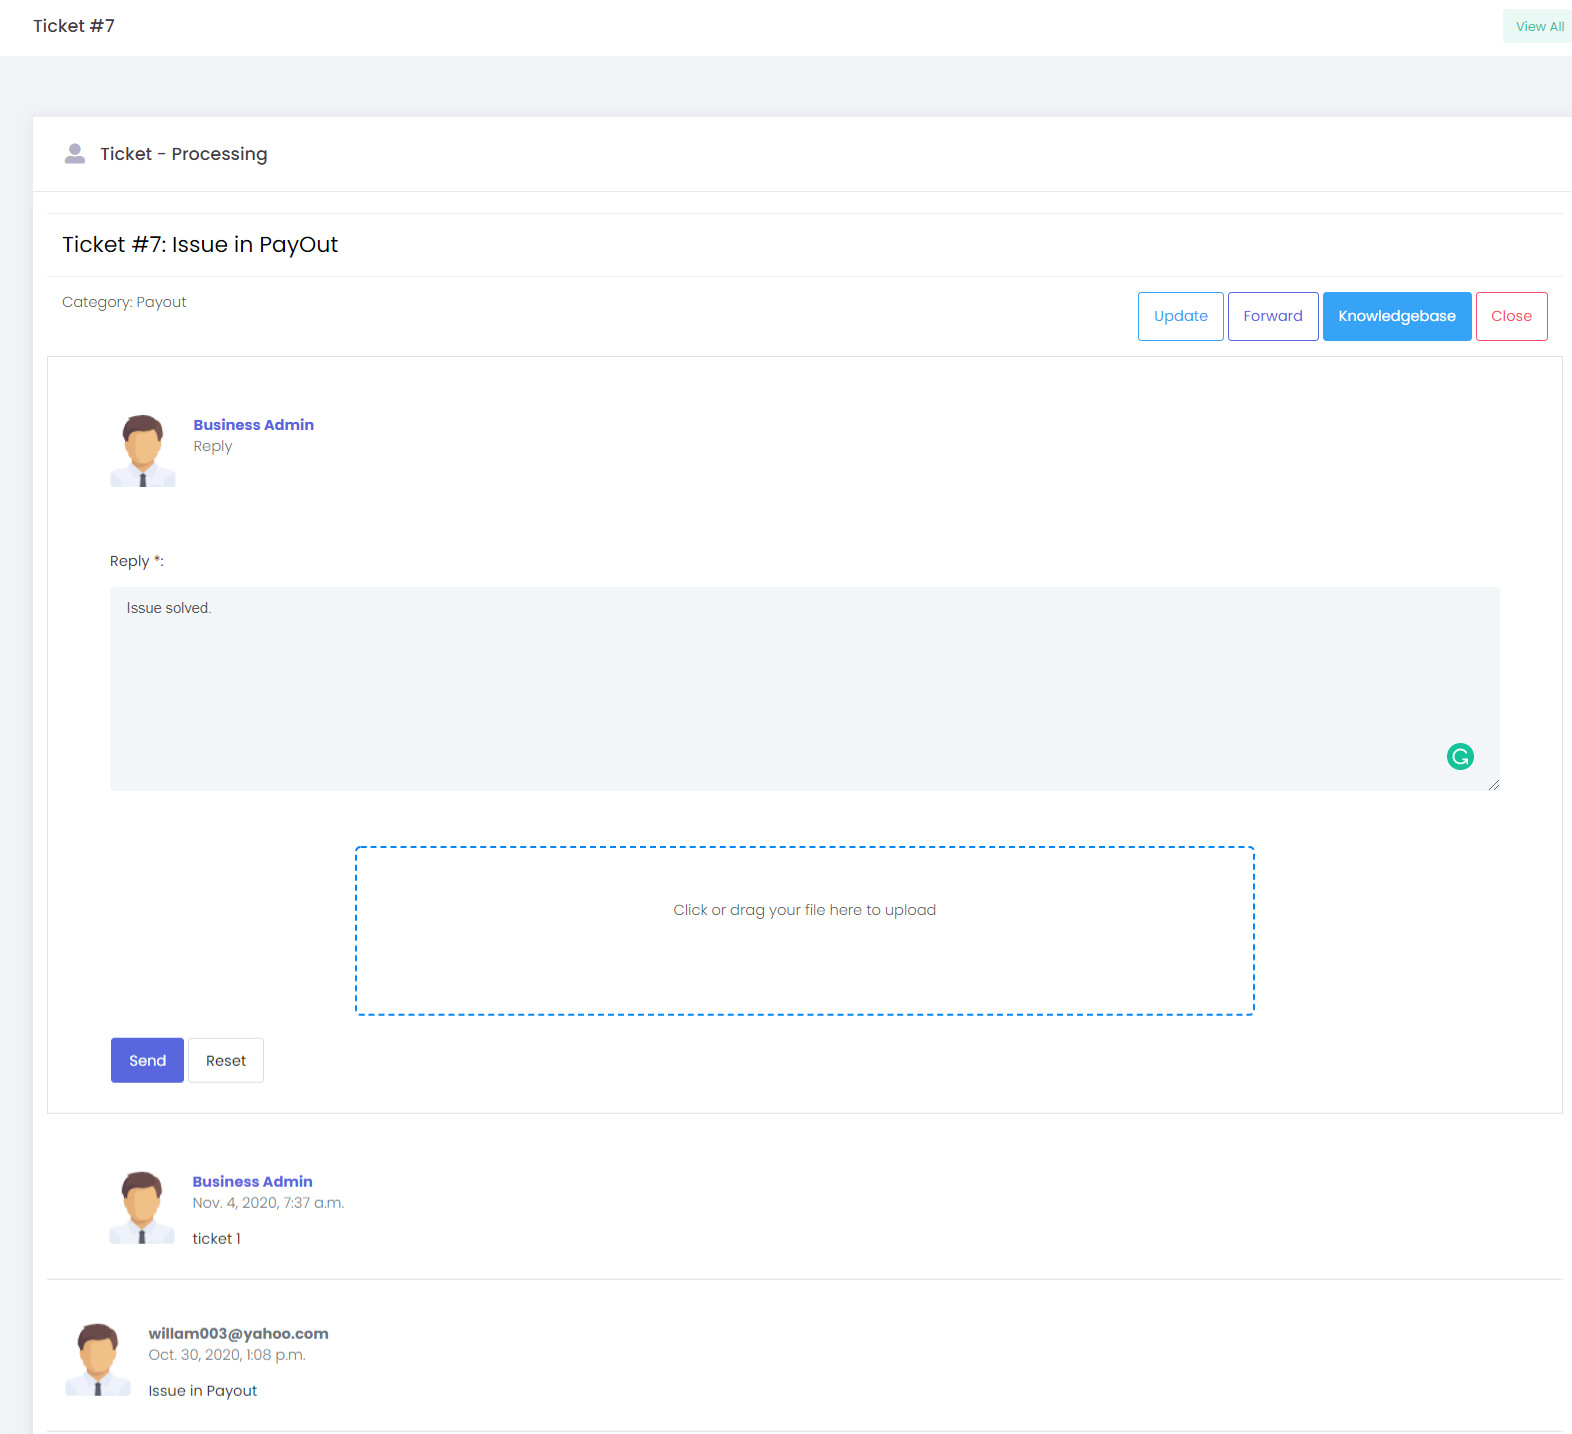
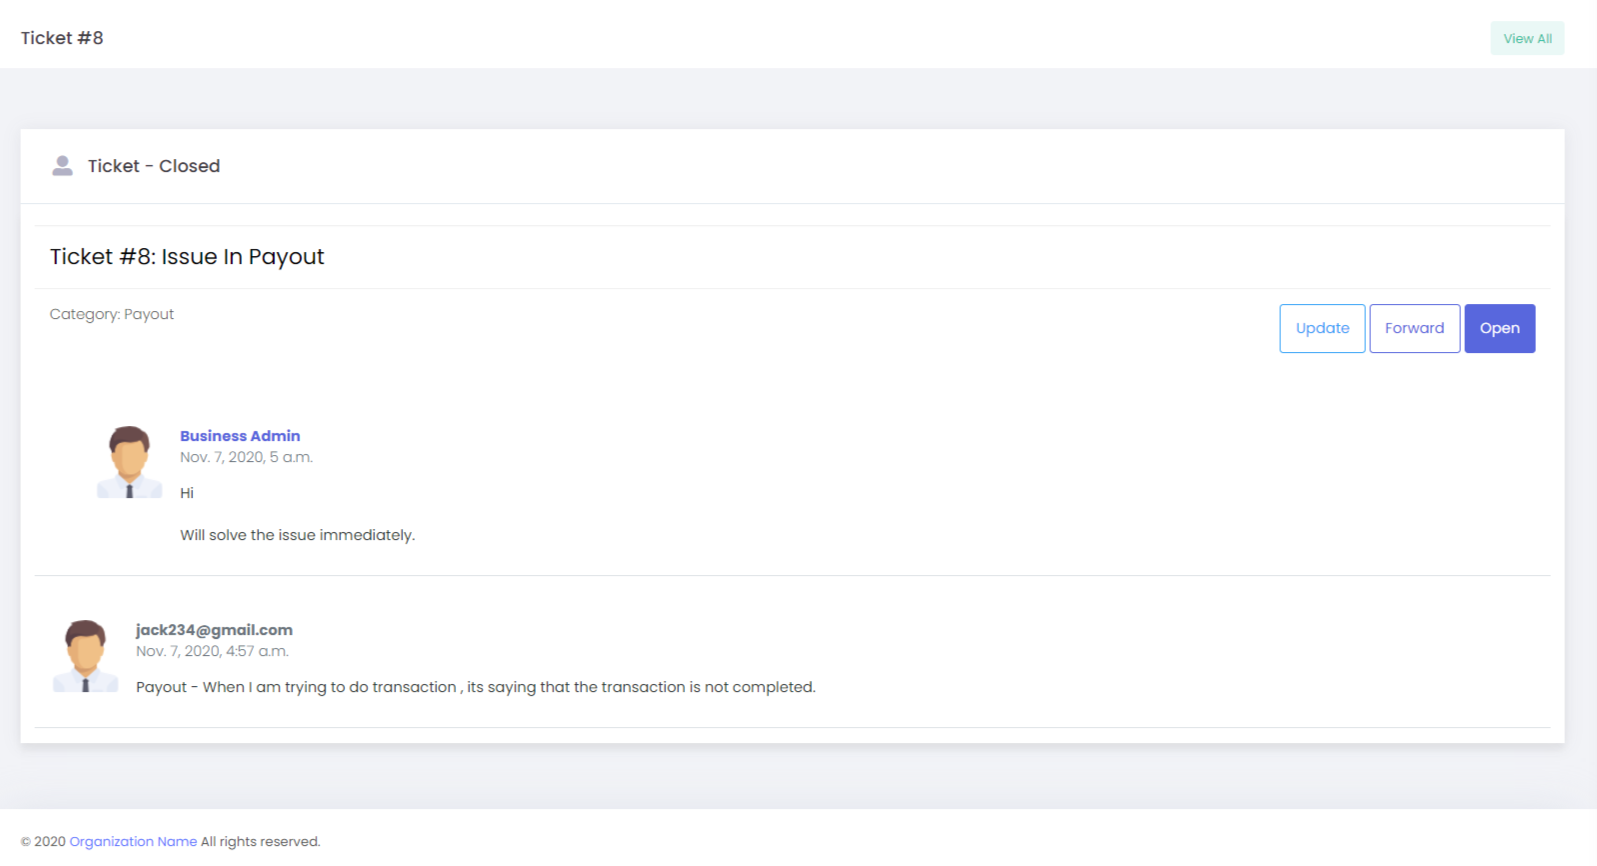
Once the ticket is created from the user side then we/Admin can able to view the ticket in this section ( ALL TICKETS ) then the ticket will be in the "Open" status, If we go to the Manage option then we can view the ticket and we have options to Update, Forward and Take.
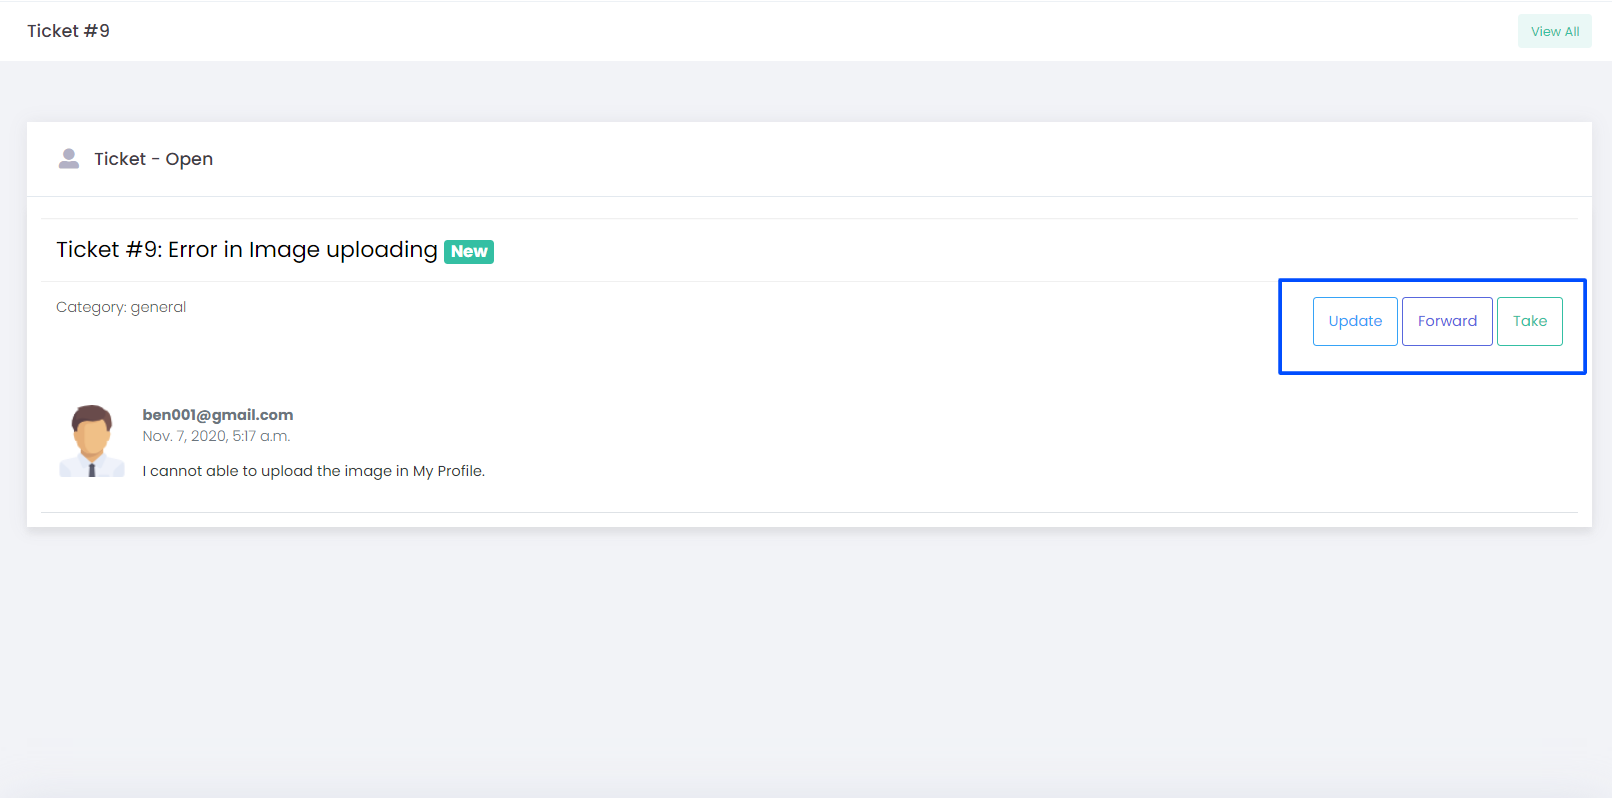
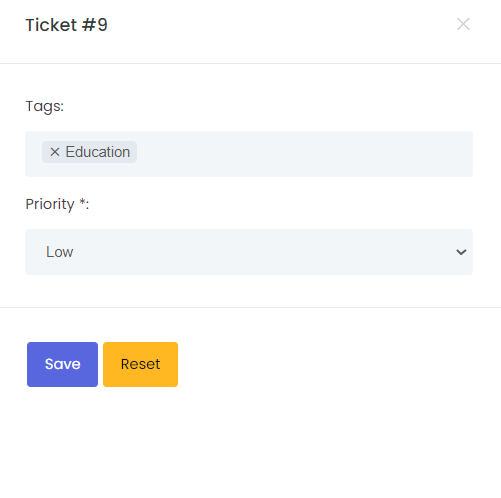
Here Admin can Take the ticket ie he can take the ticket by himself or Admin can forward the ticket to some other category. Admin can update the ticket by setting the priority and also by providing the tags. Depending upon the issues Admin can set the priority.
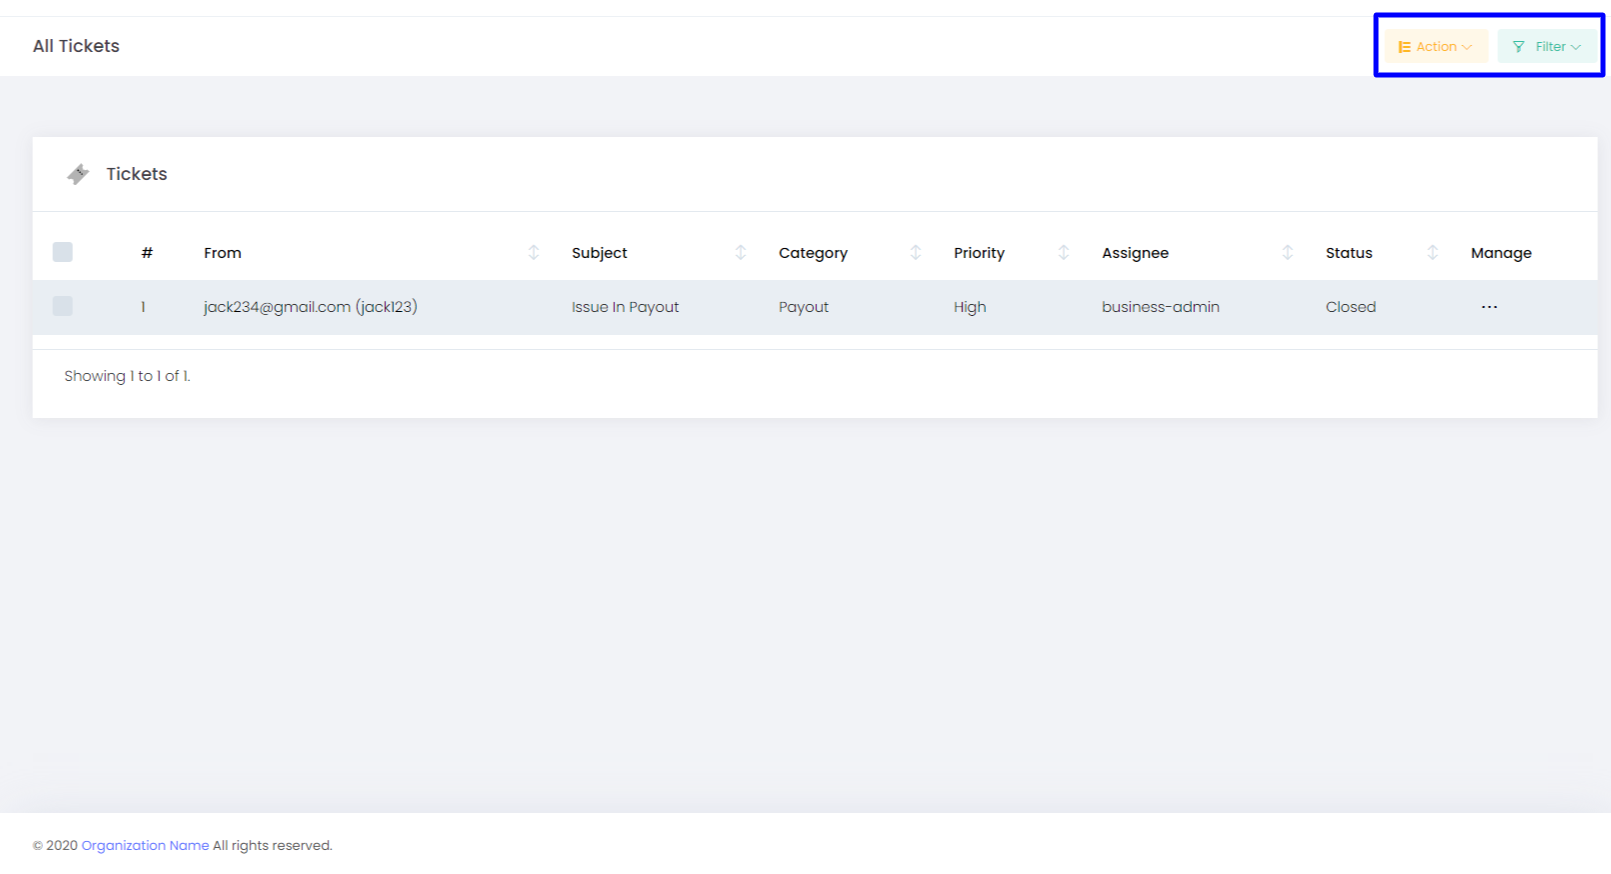
Filter: The filter option helps you to reach the exact details you are looking for by submitting the Subject and E-mail id of the tickets.
Action: In this option, we are able to delete the selected ticket.
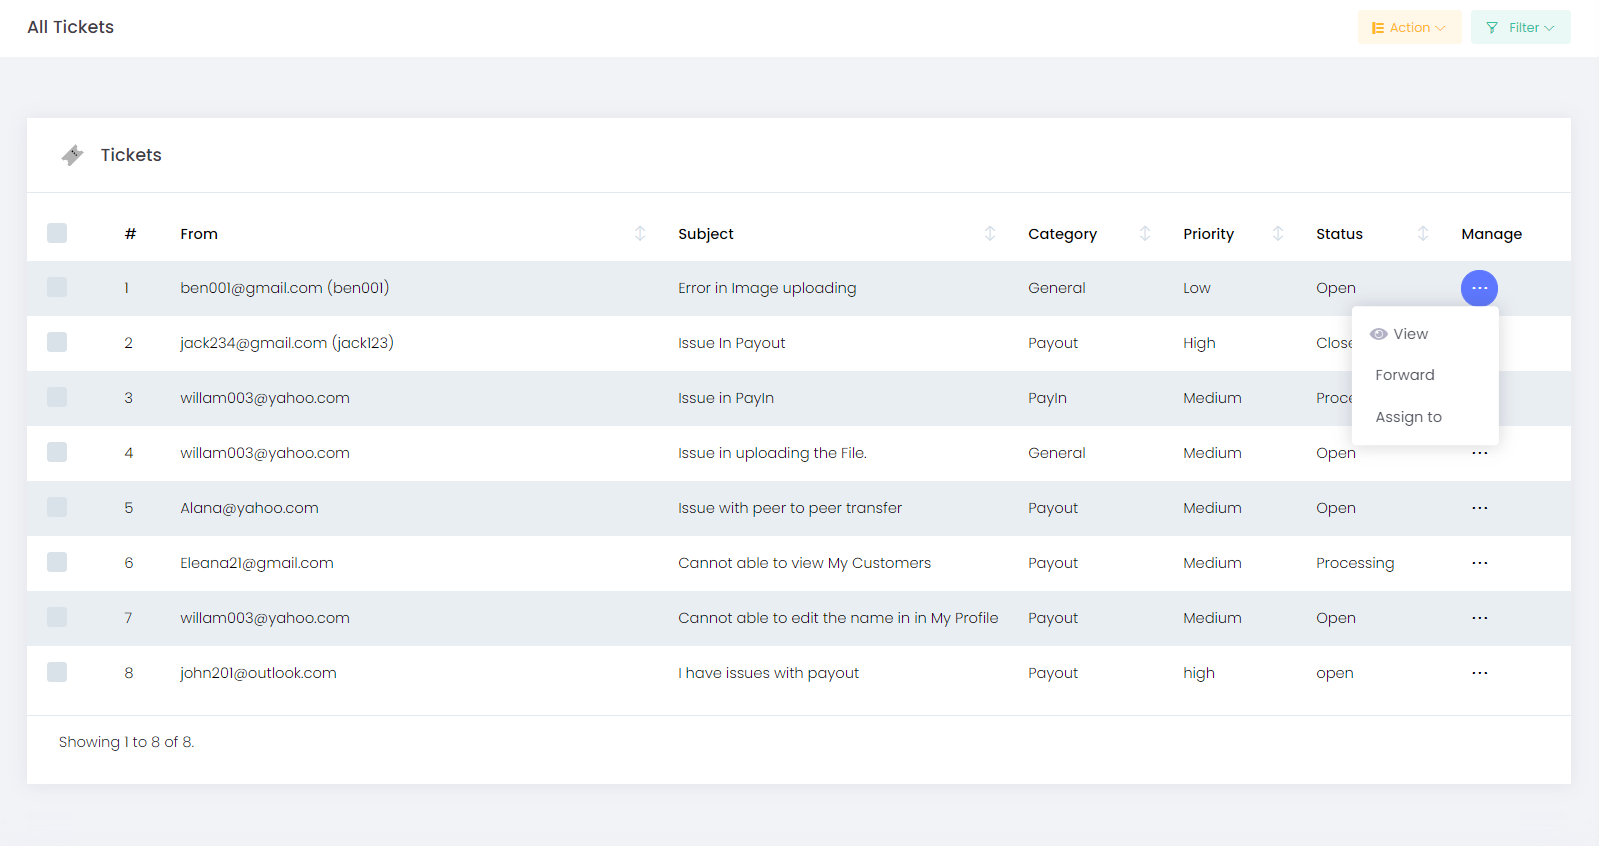
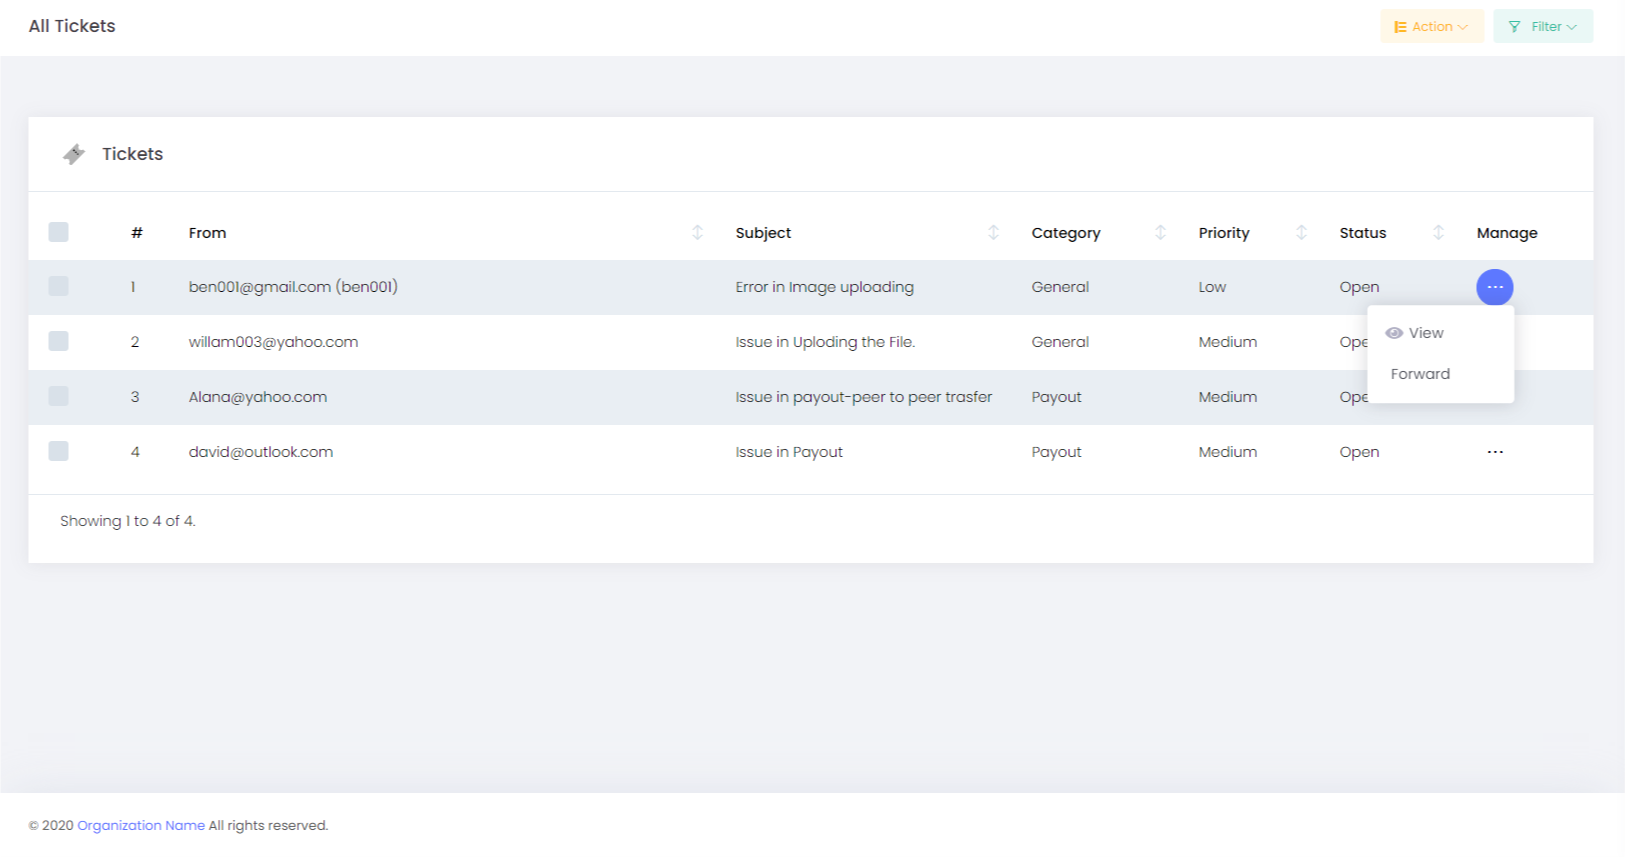
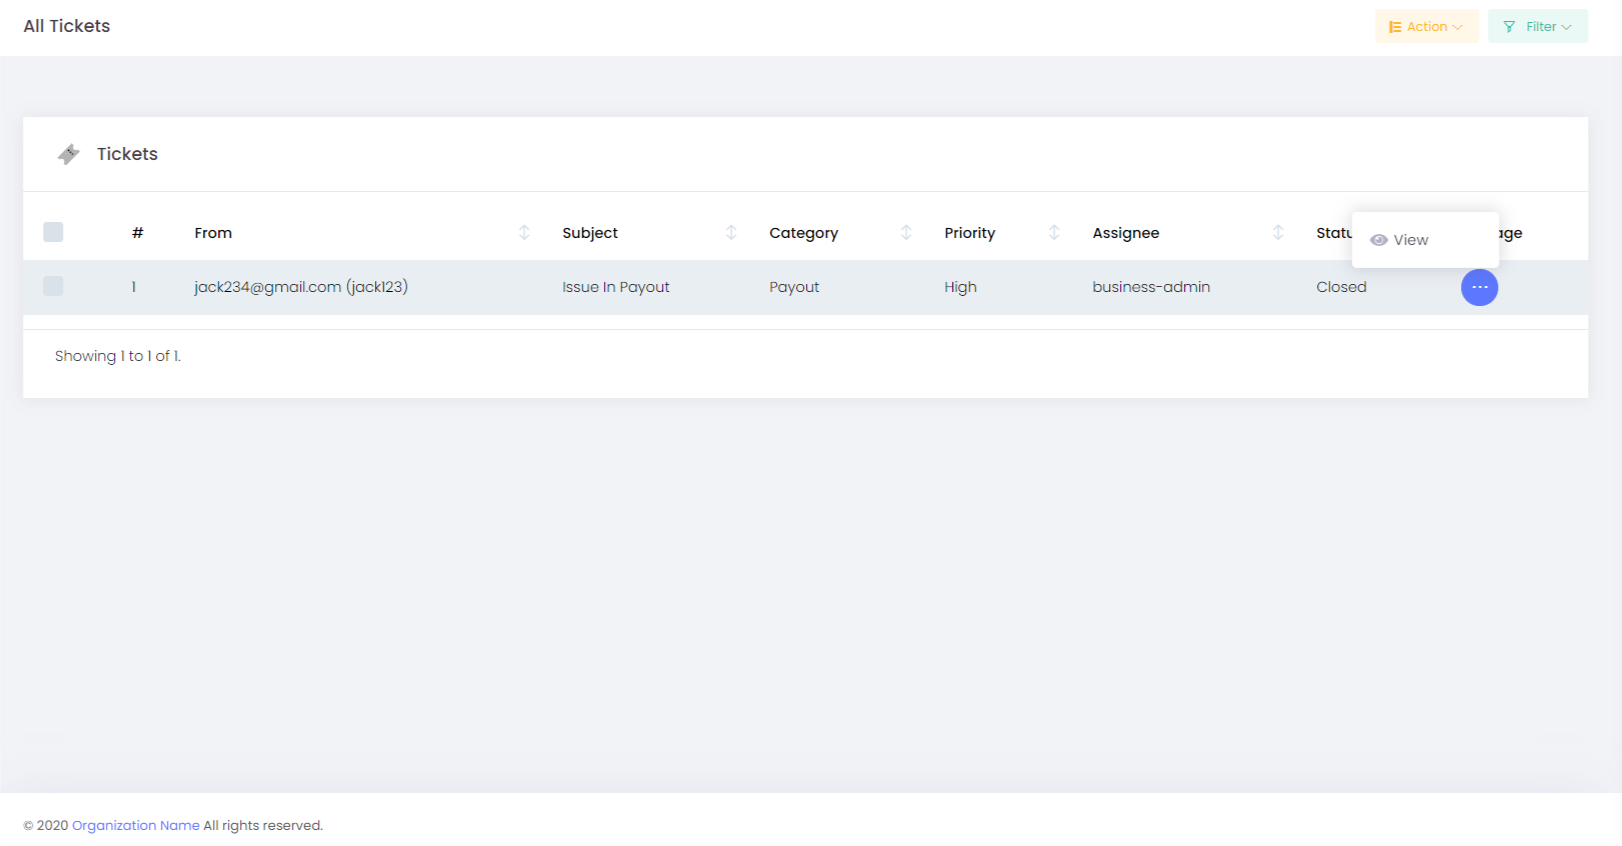
Manage: In this section, we can control the use of the tickets.
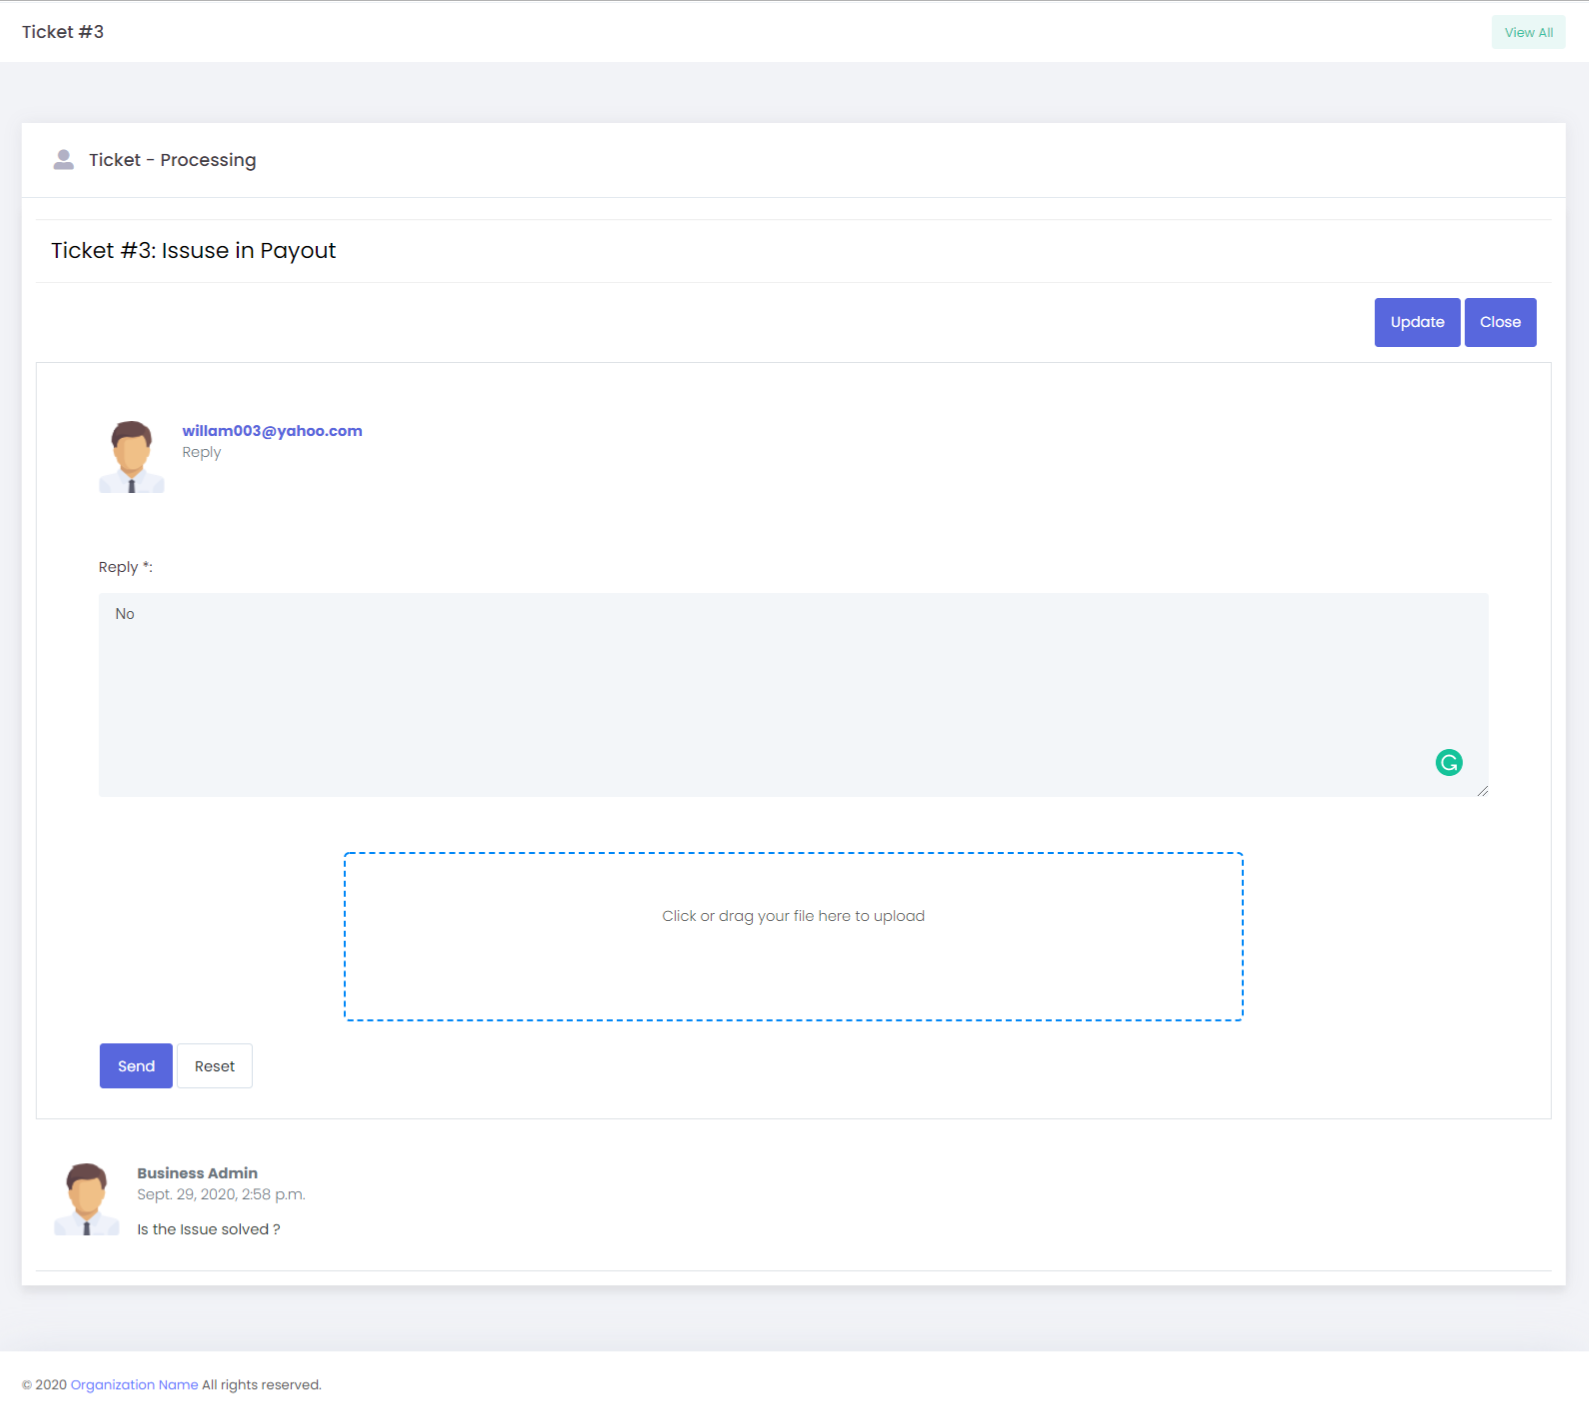
View: We can view the ticket and we can respond to the ticket. Admin can ask for more information about the tickets. We can able to upload the files regarding the tickets.
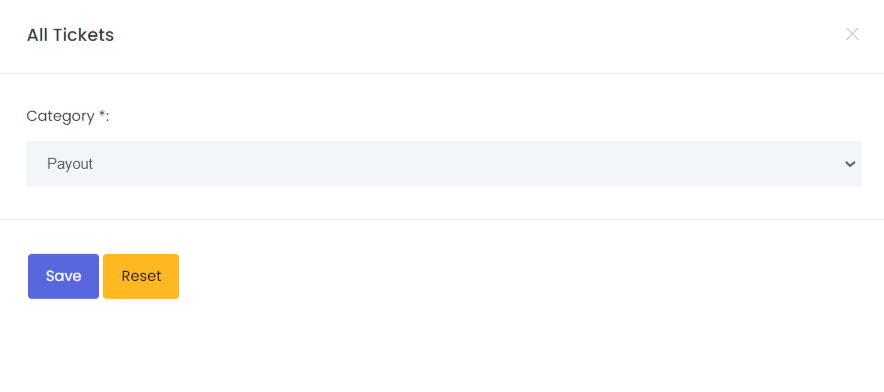
Forward: Admin can forward the ticket to some other category.
Assign to: Admin can assign the tickets to different departments that have been created.
Open Tickets: In this option, we are able to see the entire open tickets that have been created in the system.
Filter: The filter option helps you to reach the exact details you are looking for by submitting the Subject and E-mail id of the tickets.
Action: With this option, we can able to delete the selected ticket.
Manage: In this section, we can control the use of the tickets.
View: We can view the ticket and we can respond to the ticket. Admin can ask for more information about the tickets. We are able to upload the files regarding the tickets.
Forward: Admin can forward the ticket to some other category.
Assigned Tickets: With this option, we are able to see the entire tickets that have been assigned in the system. Here we are able to see only the processing tickets.
Filter: The filter option helps you to reach the exact details you are looking for by submitting the Subject and E-mail id of the tickets.
Action: With this option, we are able to delete the selected ticket.
View: We can view the ticket and we can respond to the ticket. Admin can ask for more information about the tickets. We can able to upload the files regarding the tickets.
Update: Admin can update the ticket by setting the priority and also by providing the tags. Depending upon the issues Admin can set the priority.
Knowledgebase: Saved snippets (Previously used answers to copy and paste into incoming tickets).
Forward: Admin can forward the ticket to other categories depending upon the issue.
Close: Admin can close the tickets if the issue is solved. Once the ticket is closed, then we can see the tickets in the closed tickets section. We can open the closed tickets also with this option.
If we go to this option, further sub-option will be displayed.
From: Here we are able to view from which user's email id the ticket has been generated.
Subject: Title of the ticket.
Category: Under which category the issue is coming.
Priority: Under which priority the issue is coming.
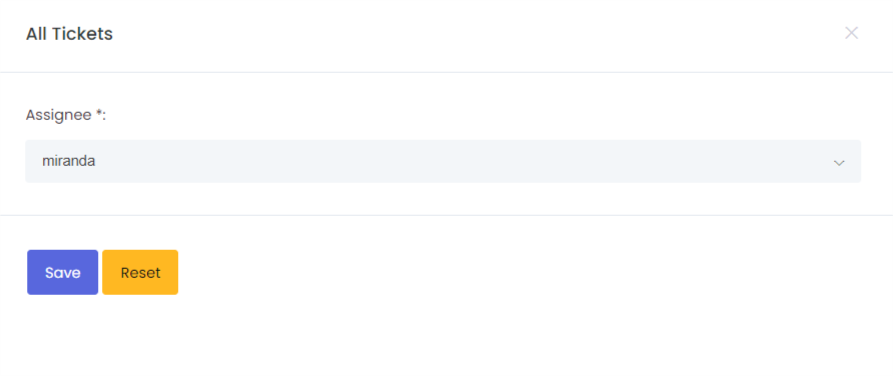
Assignee: We can view which person the ticket has been assigned.
Status: We can view the status of the ticket whether it is open, closed, or processing.
Closed Tickets: With this option, we are able to see the entire tickets that have been closed in the system. Here we are able to see only the closed tickets. We can open the closed tickets also with this option. Admin can open the tickets if the issue is not solved.

Filter: The filter option helps you to reach the exact details you are looking for by submitting the Subject and E-mail id of the tickets.
Action: With this option, we are able to delete the selected ticket.
Manage: In this section, we can control the use of the tickets.
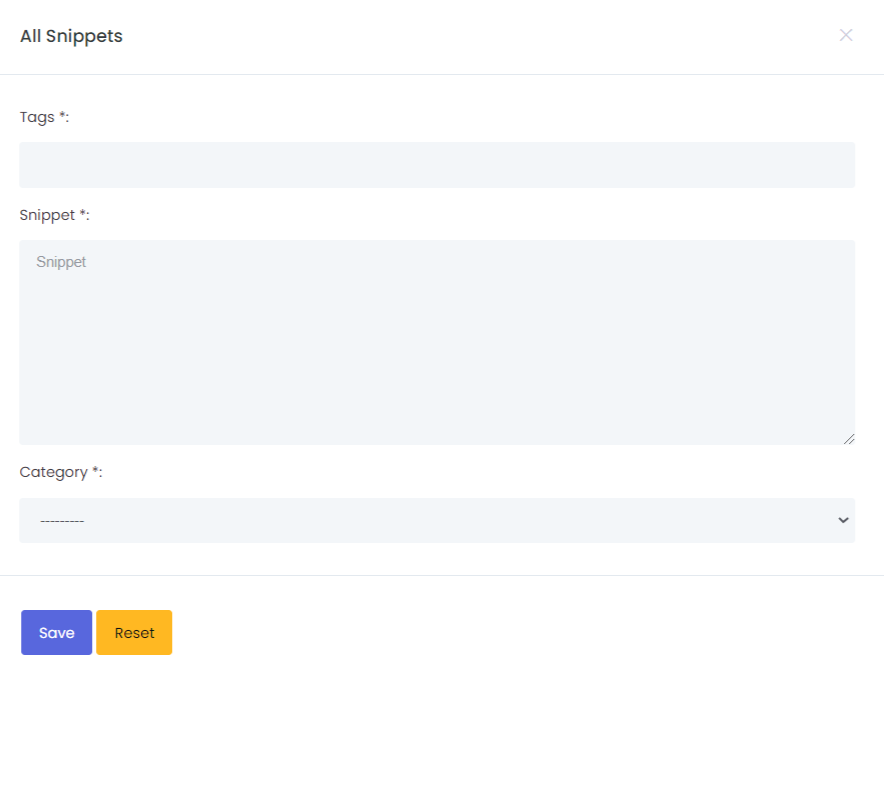
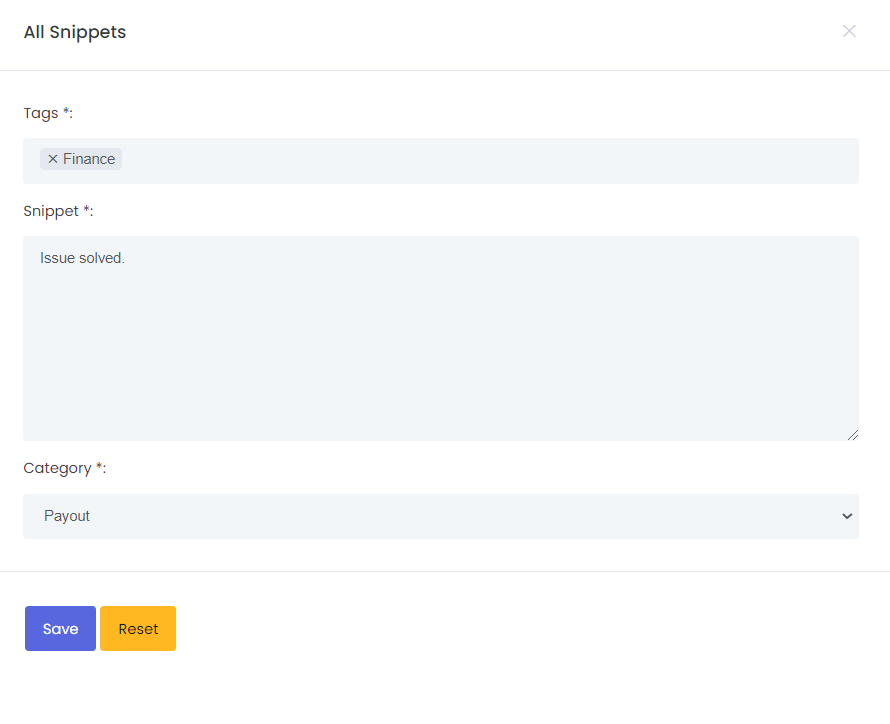
Knowledge base: With this option, we can add snippets ie we can copy and paste the previously used answers into incoming tickets. Here we have to provide the tag name, snippets, and Category. In the Manage section, we have the option for Edit and Delete the Knowledgebase.
For eg: Suppose for particular tags the answers will be the same so in this case, we make things easier for Admin not to type the answers each time, Admin can save it in the snippet and can reply to the answers of incoming tickets.
In this option, we have three features
Add: In this option, we can create a Knowledge base based on the system. With this option, we can add snippets ie we can copy and paste the previously used answers into incoming tickets
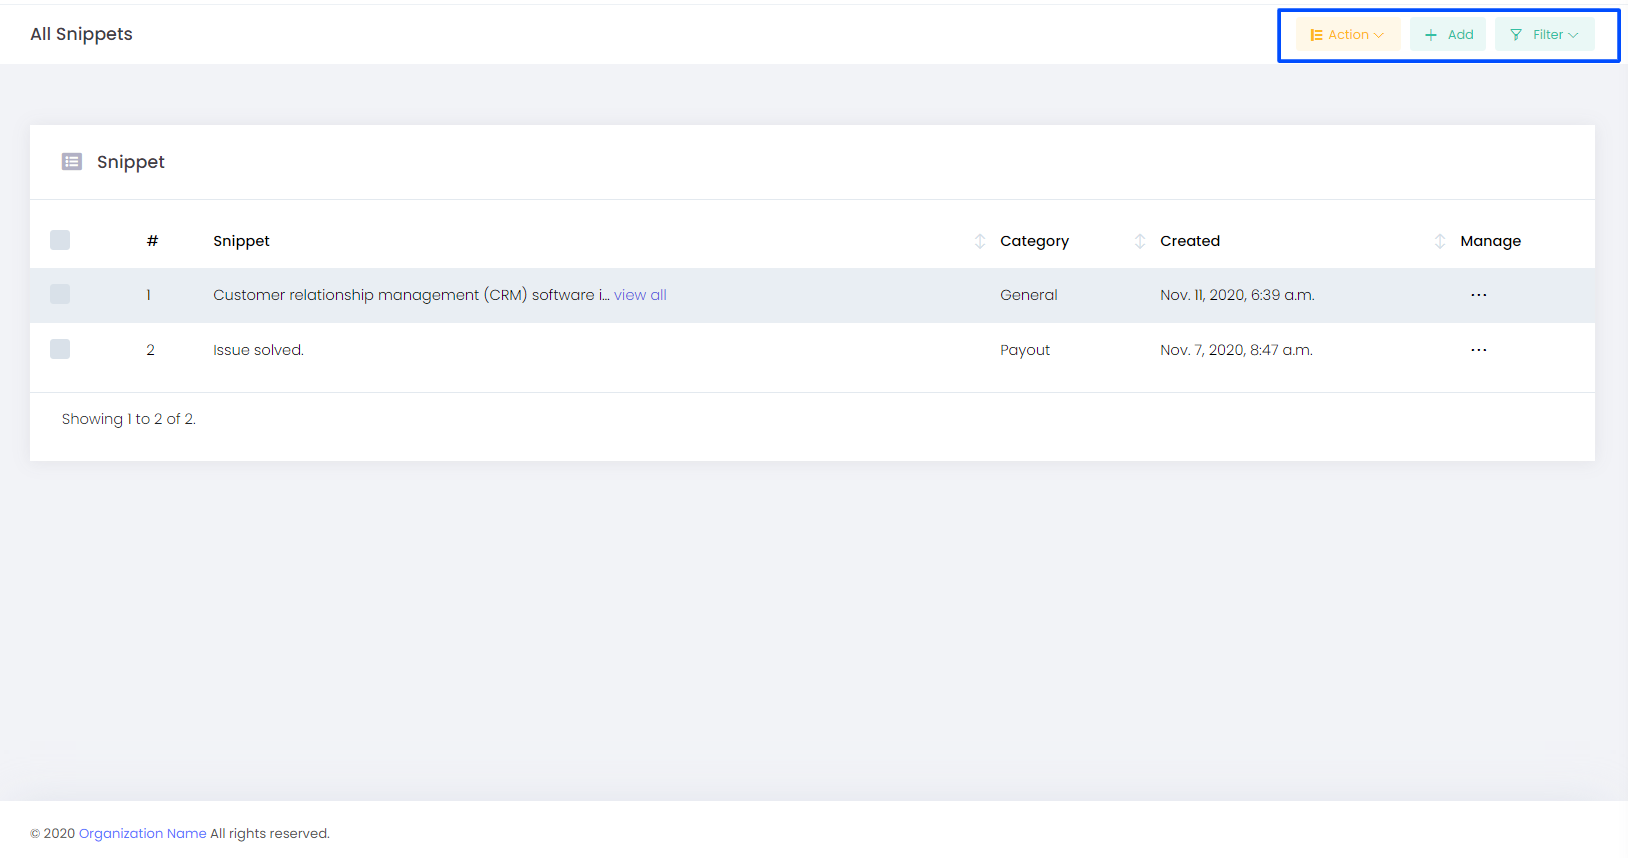
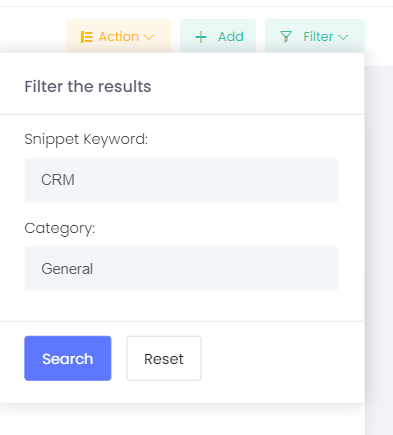
Filter: Filter helps us to search with the Snipped Keyword and Category.
Action: In this option, If we want to delete the Snippet that we have created then we have to select the Snippet and then we can delete it.
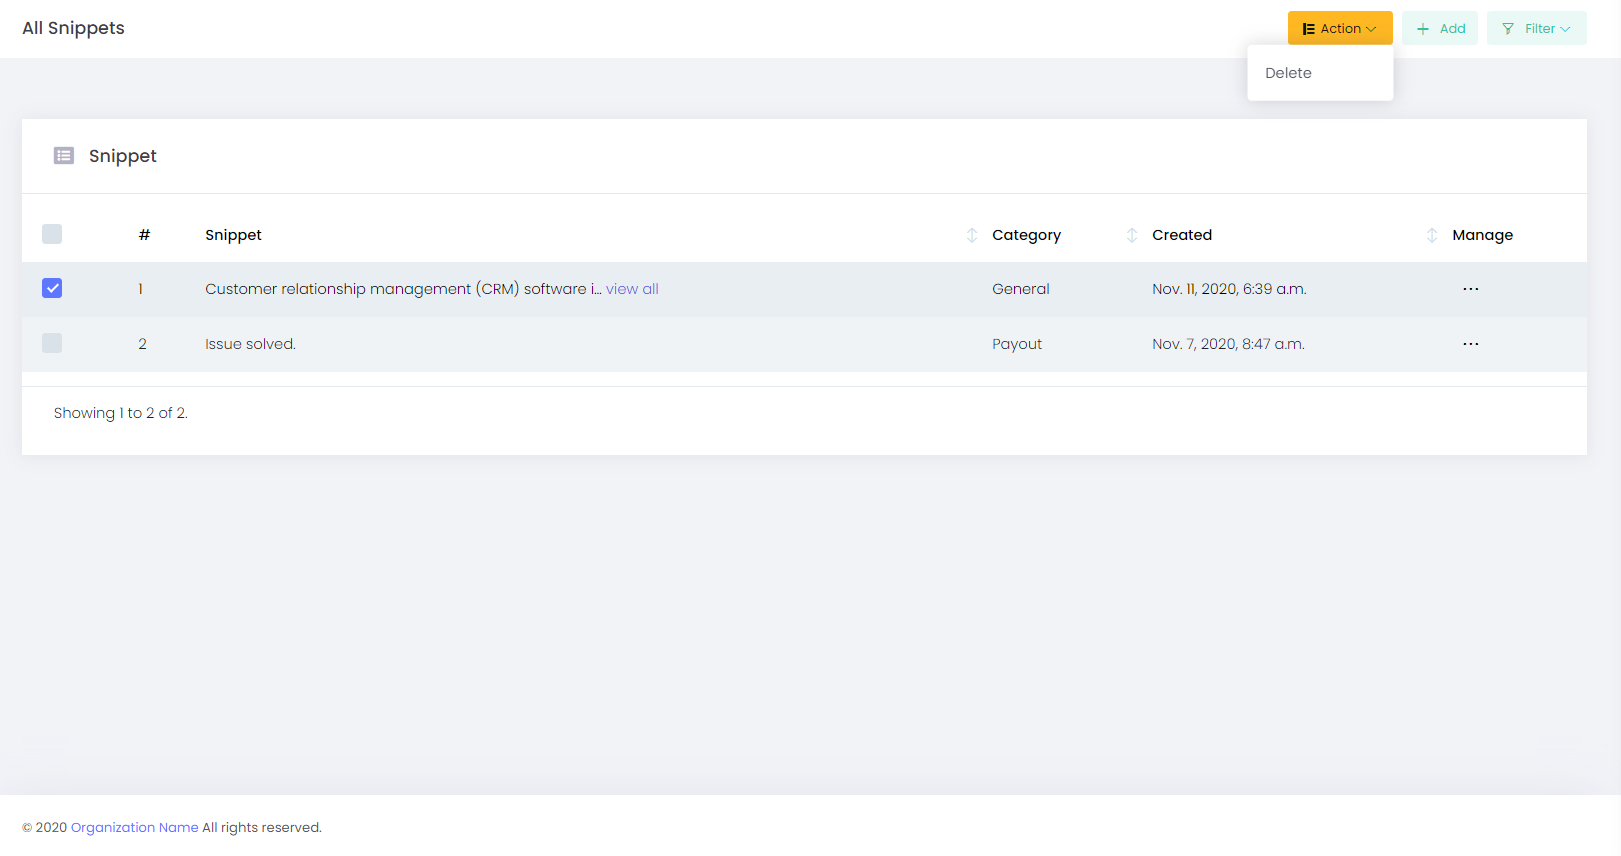
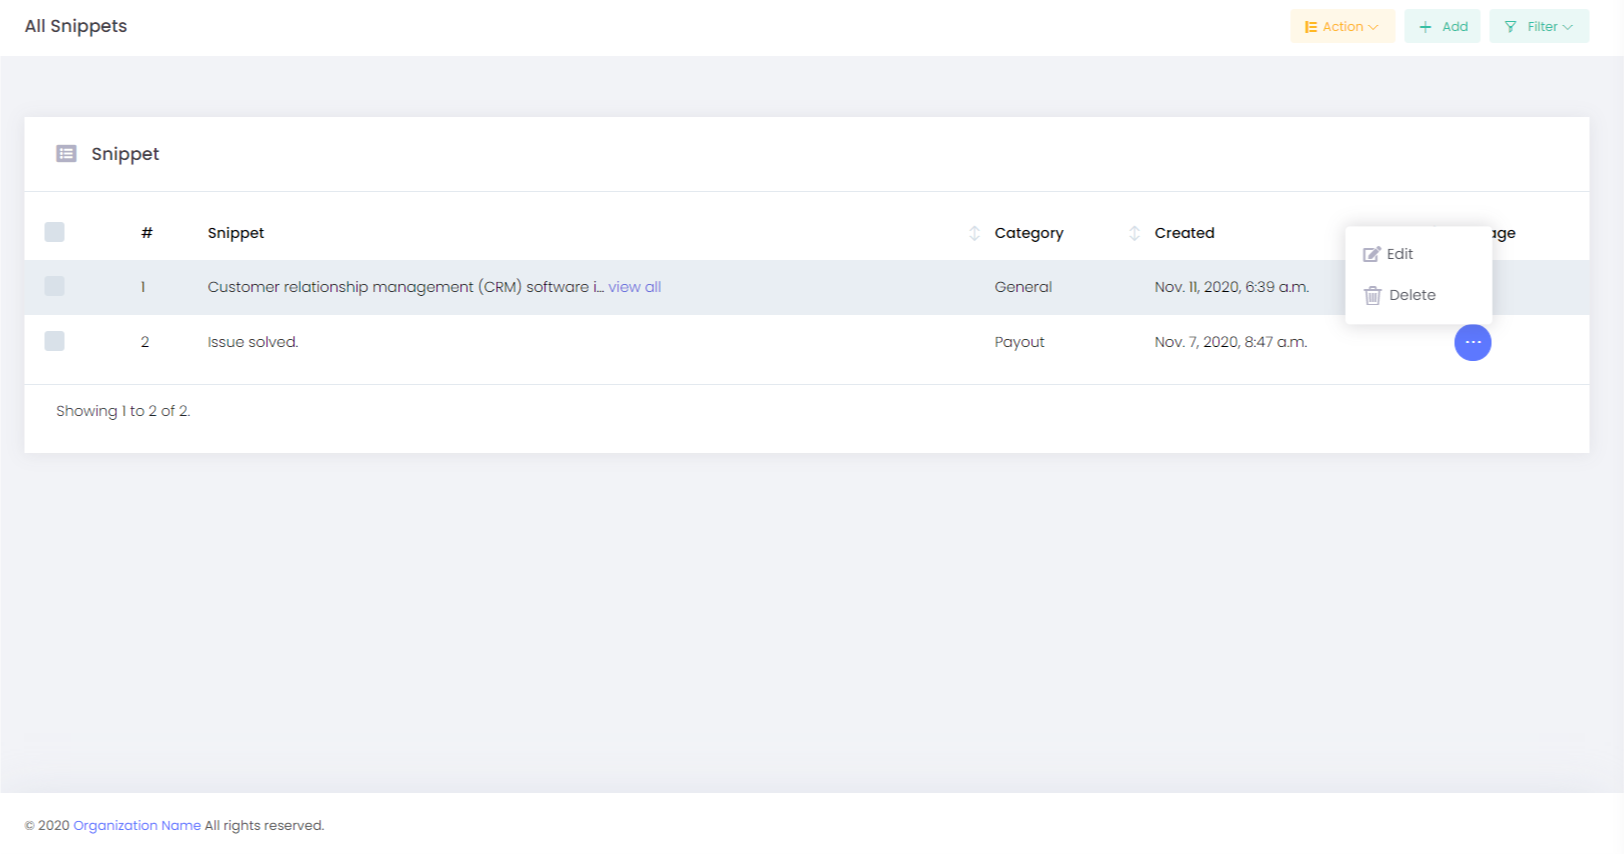
Manage: In this section, we can control the use of the tickets and we have an option to Edit and Delete the Knowledgebase.
 .
.
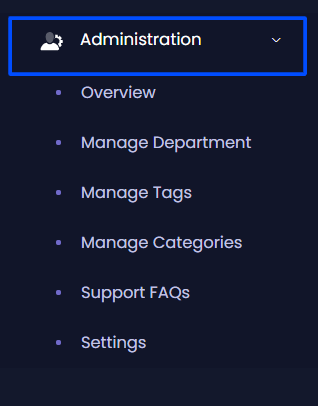
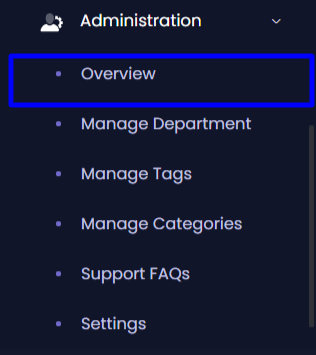
Administration Overview- With this option, Admin is able to view the full overview of the tickets that are Open, Processing, Closed, and Total tickets. Here we can have an overview of Total tickets per department and also Recent tickets.
Open Tickets: Here we are able to view the entire opened tickets that are created in our system.
Closed Tickets: Here we are able to view the entire closed tickets that are created in our system.
Processing Tickets: Here we are able to view the entire processing tickets that are created in our system.
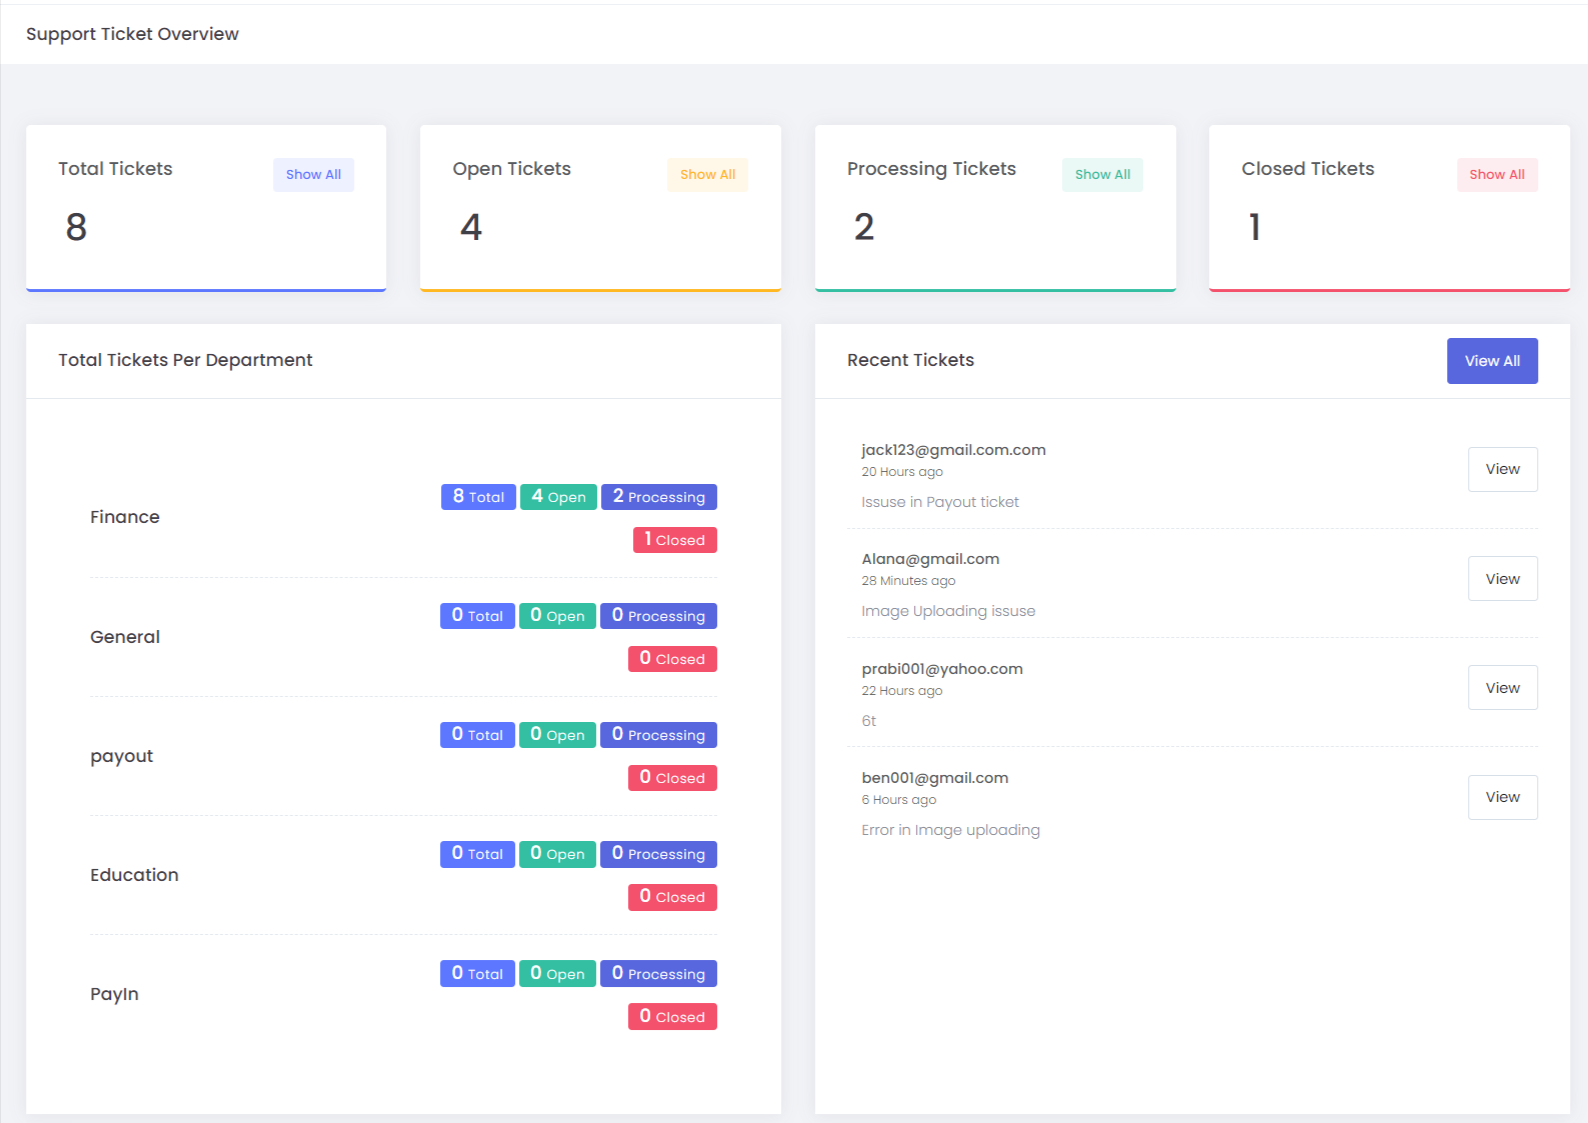
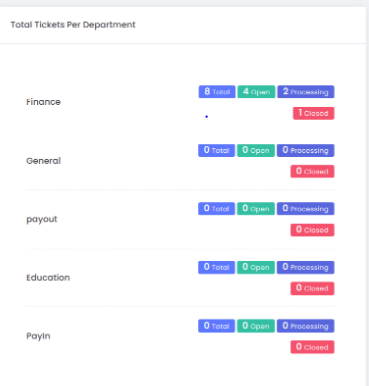
Total tickets per department: In this option, we are able to view the total tickets that are created in the various departments. We are able to view the total summary of the tickets in the various departments.ie total, open, closed, and processing.
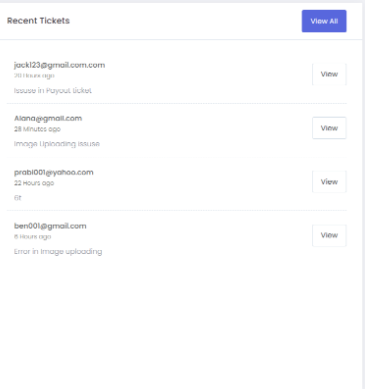
Recent Tickets: In this section, we are able to view all the recent tickets that are created by the users and also by the admin.
Total Tickets: Here we are able to view the entire tickets that are created in our system.

With this option show all, we are able to view the tickets and here there is an option to manage the tickets. in this option, there are 3 features such as
1.View-With this option, we are able to reply to the users in the Reply section, we can upload the files. We are also able to provide the information and we can provide our concerns regarding the issues that we have created on the tickets.
2.Forward - In this section, we are able to forward the tickets to different departments as the admin wishes.
3.Assign to- Admin can assign the tickets to different departments or staff.
Manage Department:
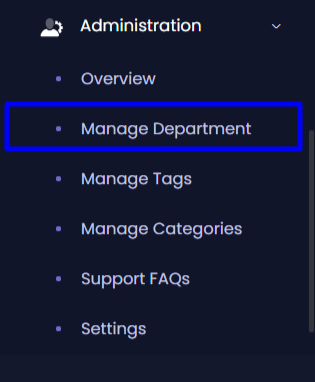
With this option, Admin can create different departments according to the requirement. We can add many departments here so that it will be easy to categorize the tickets.
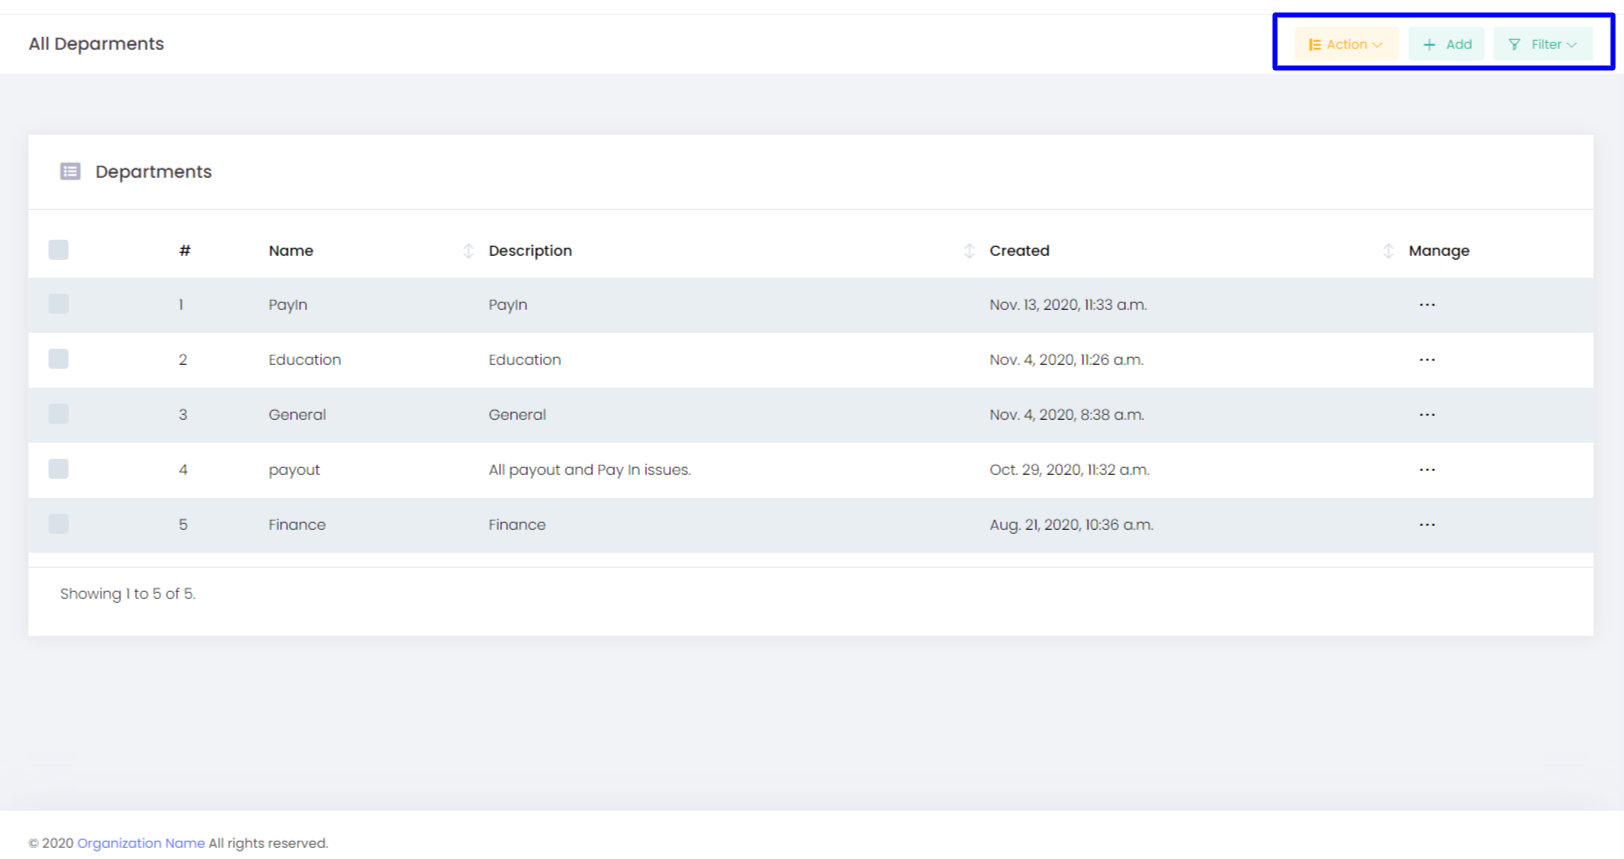
In this option, we have three features
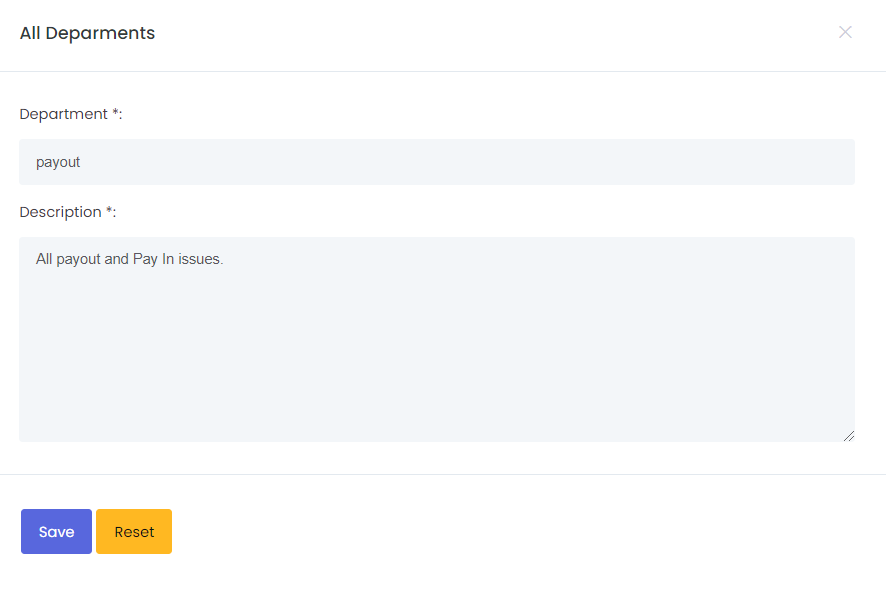
Add- To create a new department. We can add a department by providing a department name and a short description of the department. 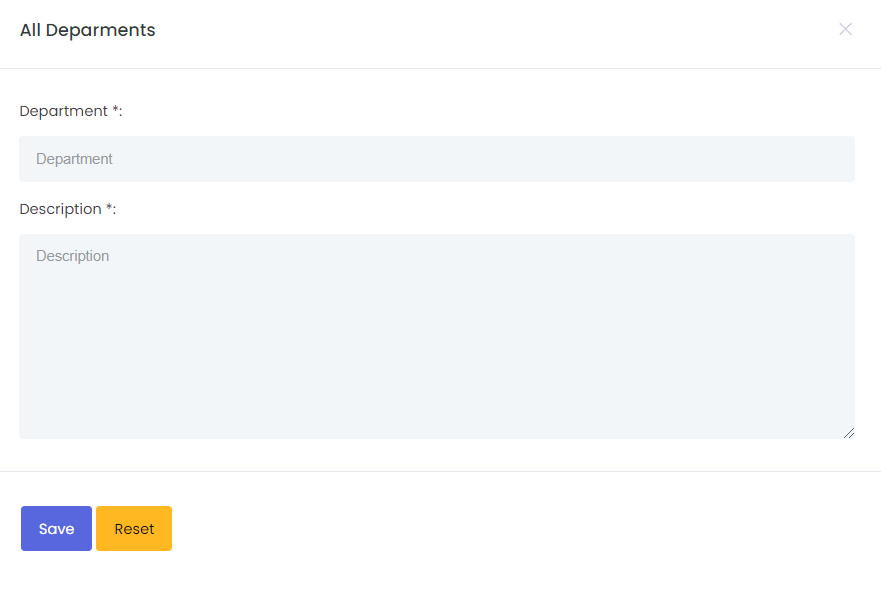
For Eg: Suppose if we create the department name as Payout as department name And we gave a description of the department as “ Payout and PayIn related issues “ then a department was created.
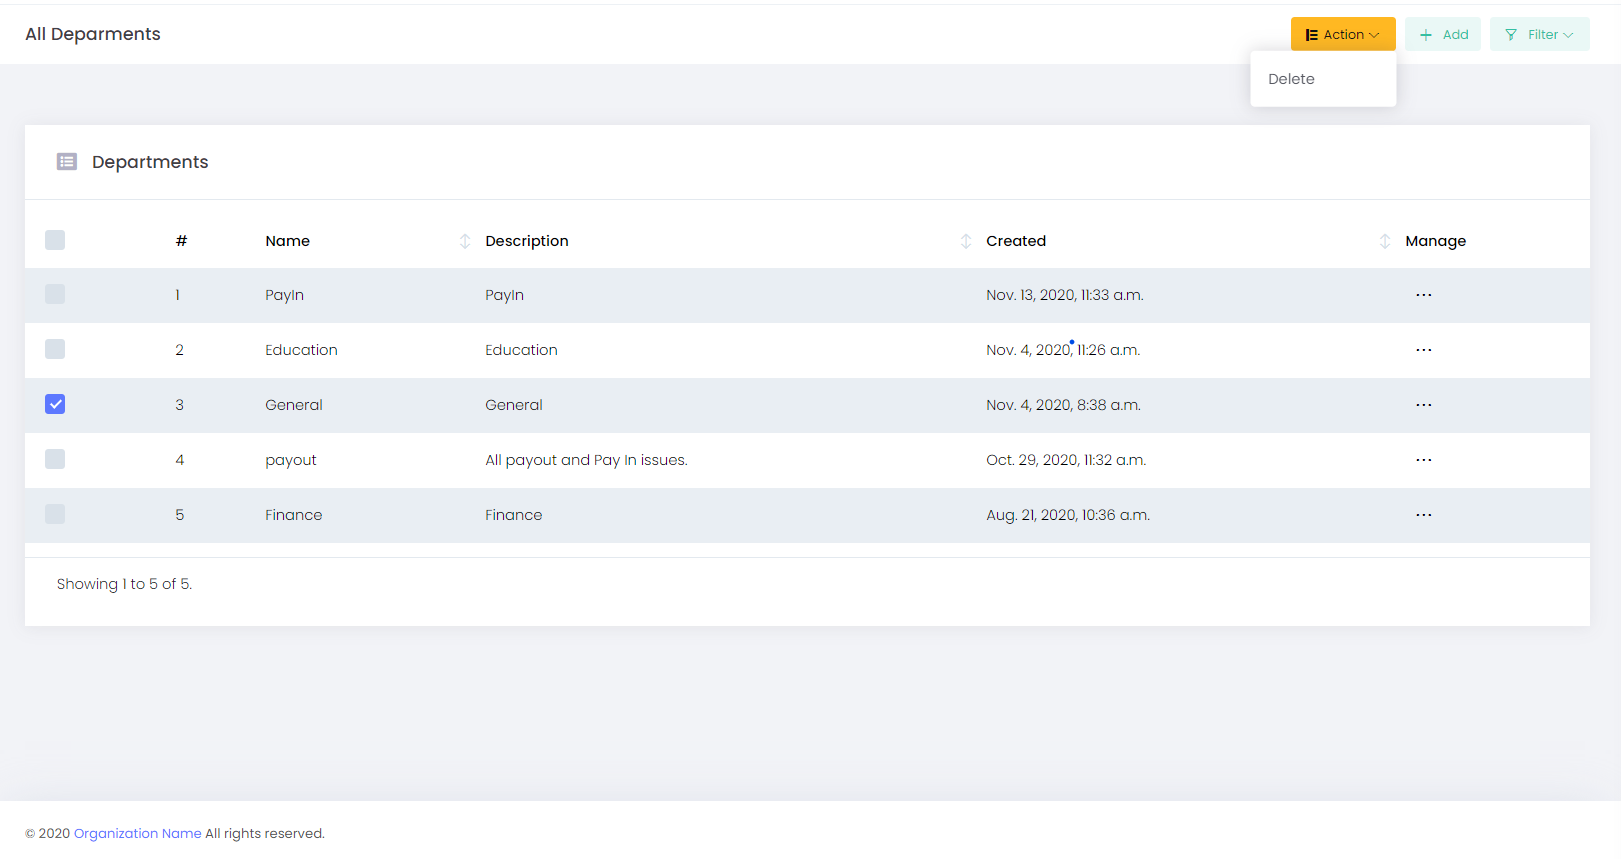
Action: With this option, If we want to delete the department that we have created then we can select the department and we can delete it.
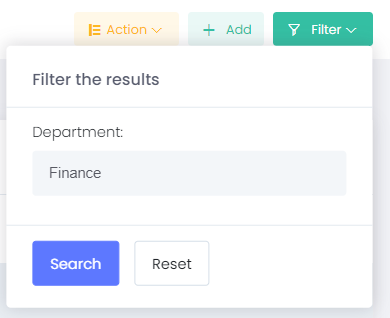
Filter: Filter helps us to search with the department name.
Once we created the department then there is an option to Edit, Delete, Update staff in the manage option.
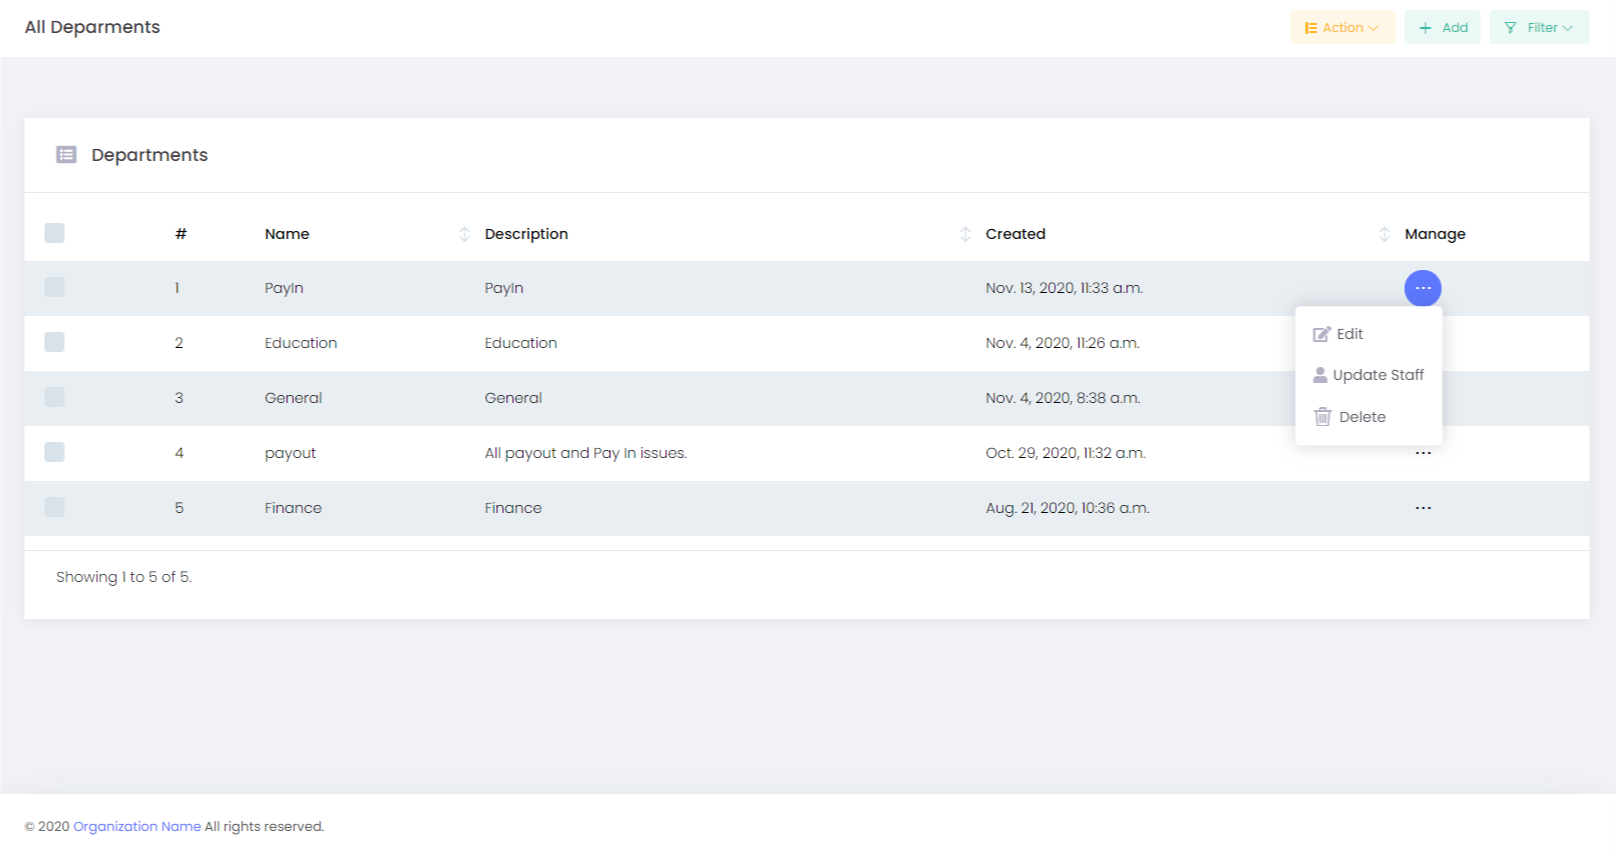
Edit- We can make the changes in this option ie Suppose if we want to edit the description or to edit the name of the department and all we can do in this option.
Update Staff - With this option, we can assign this particular department to the staff. We can assign one department to one or more staff according to our wish/ requirement.
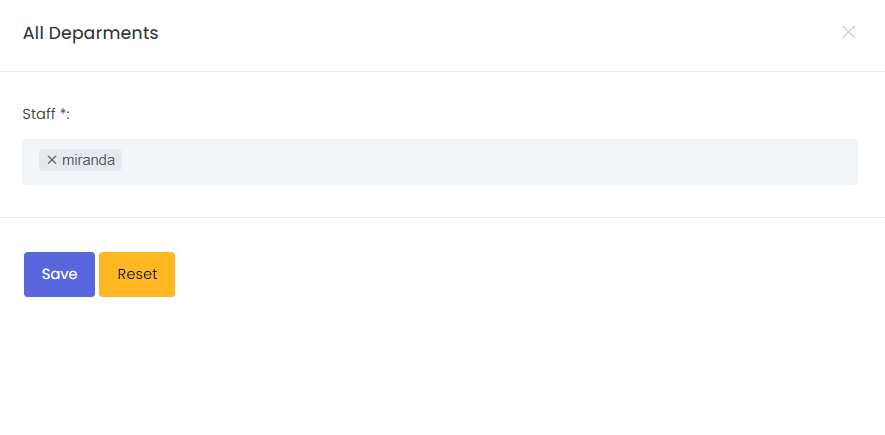
Kindly note: If staff is assigned to a category then he has to Search through all tickets, open in his category then he takes a ticket from that list then he has to Review those tickets. Follow up or respond to that tickets and finally, he can Assign tickets to other categories or Resolve tickets.
Kindly refer to Manage staff roles -To create a staff and for all other requirements to create a staff.
Delete: With this option, If we want to delete the department that we have created then we can select the department and we can delete it.
Manage Email
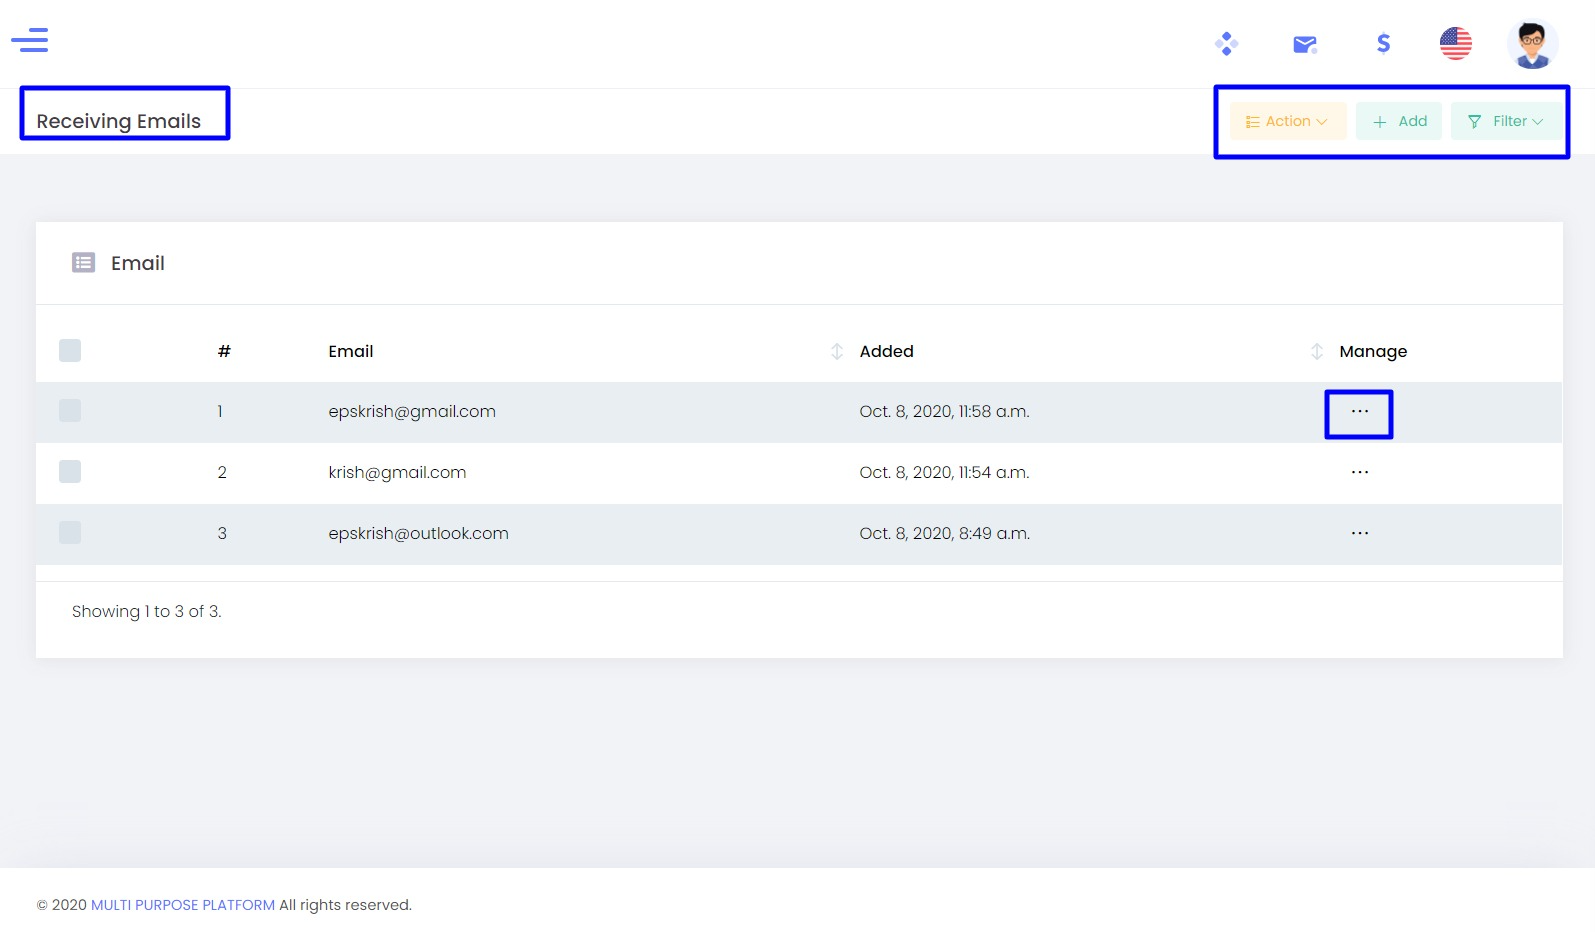
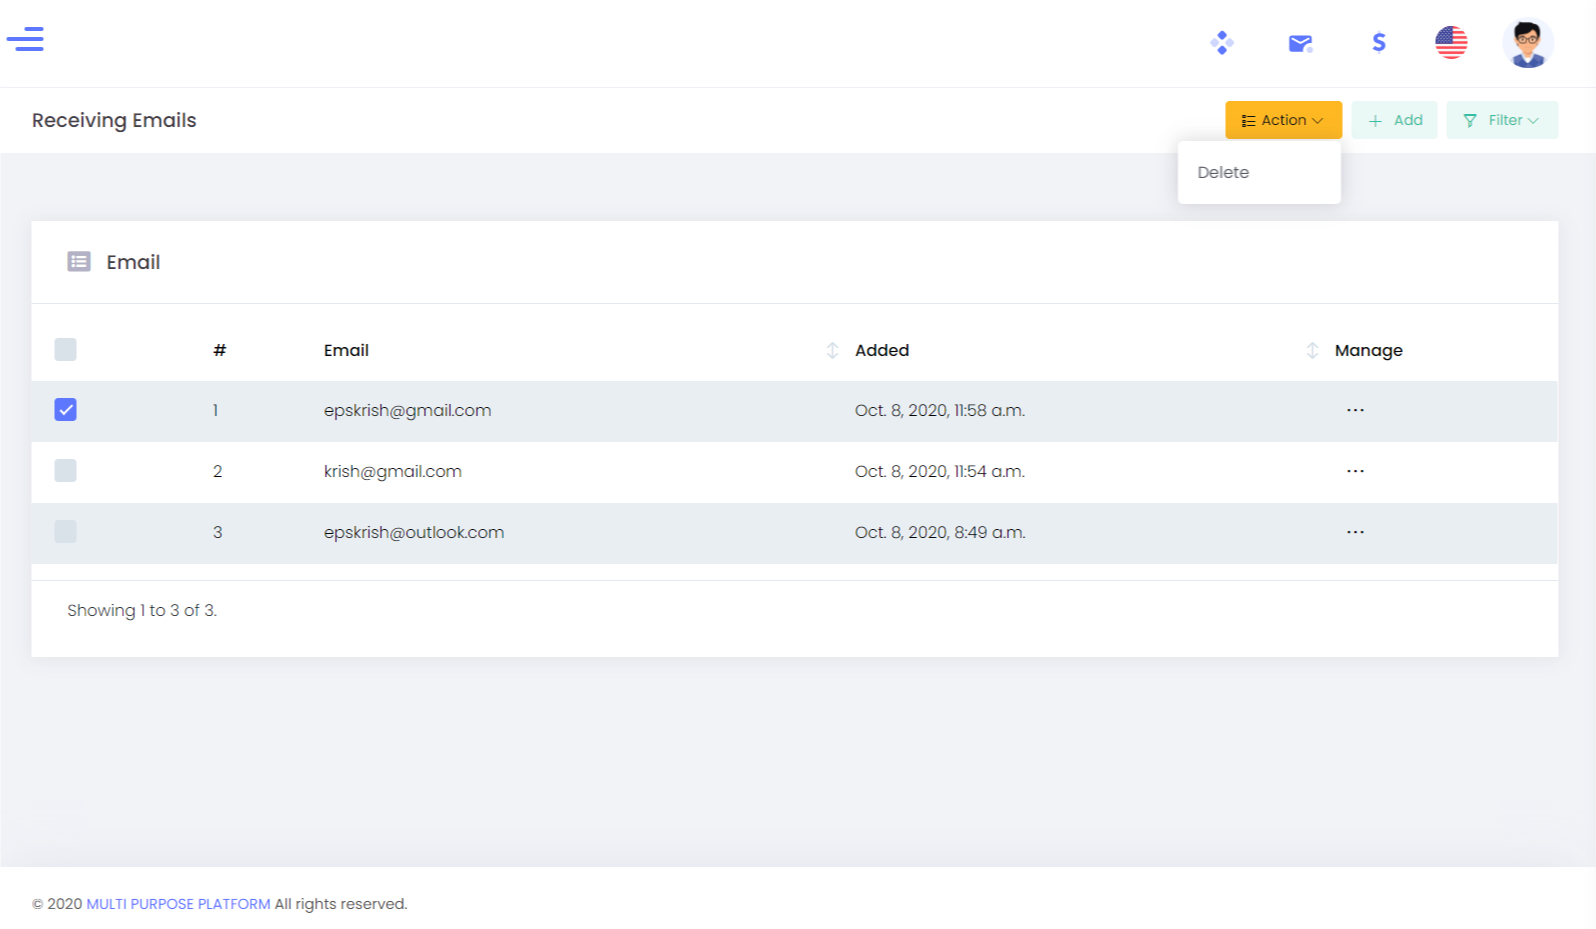
With this option, Admin can create/add different emails according to the requirement. In this option, we have three features such as Add, Action, and Filter.
Here we can able to view the three subheadings such as Email, Added, and Manage.
Email Added: It gives an idea on which date the Email was created.
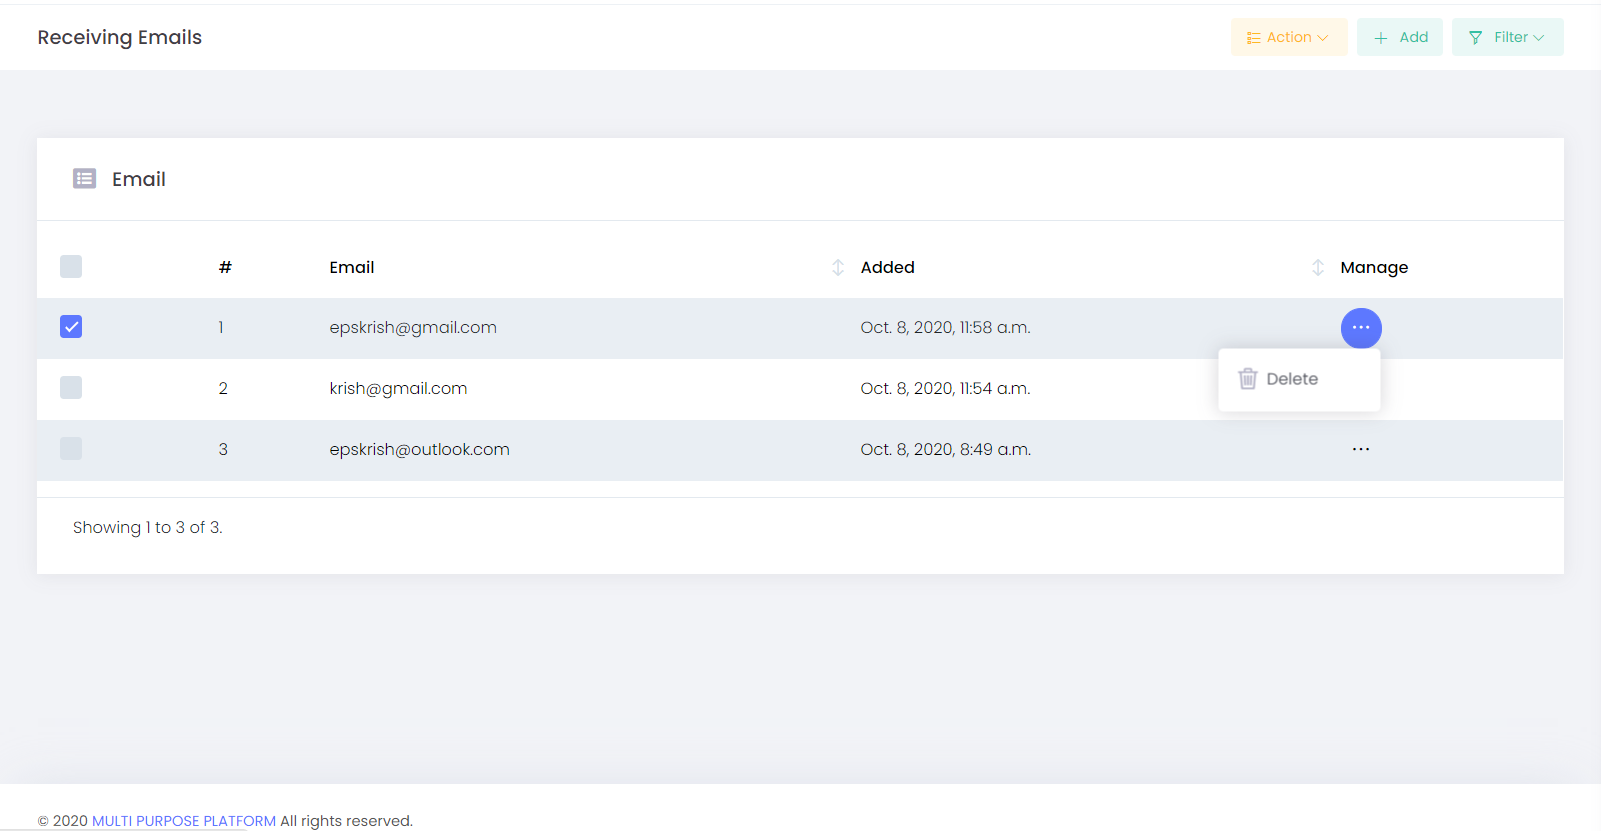
Manage: We have to select the email id and we can delete it if we want.
Step: 1
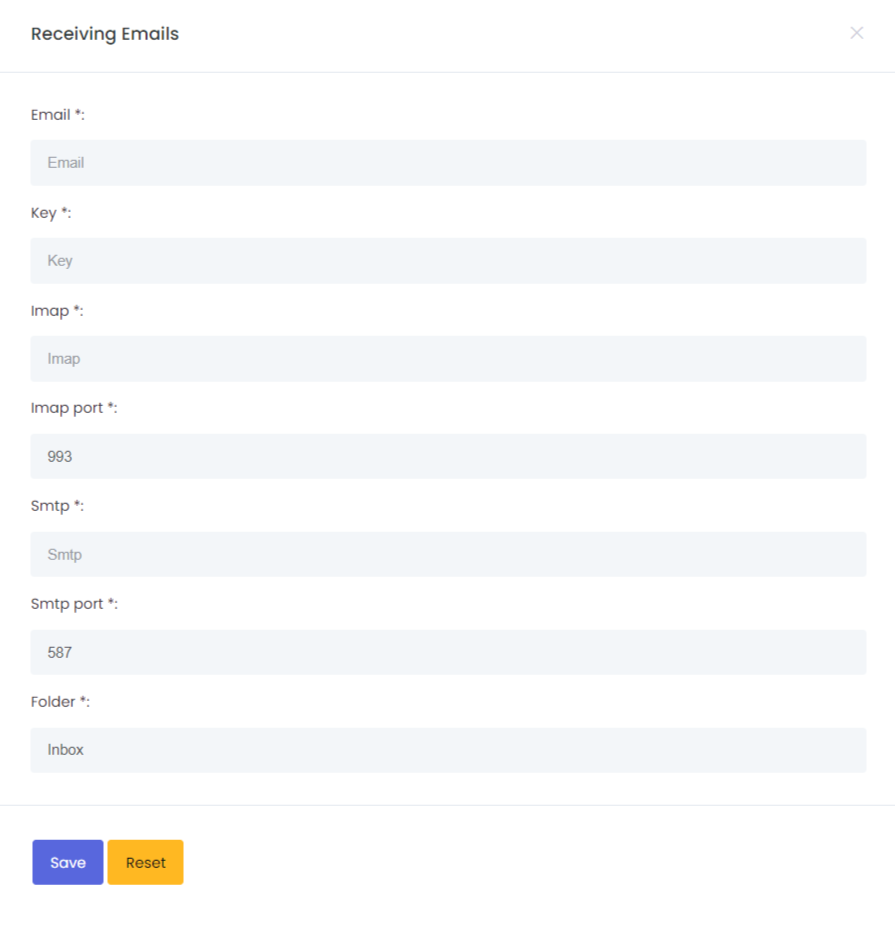
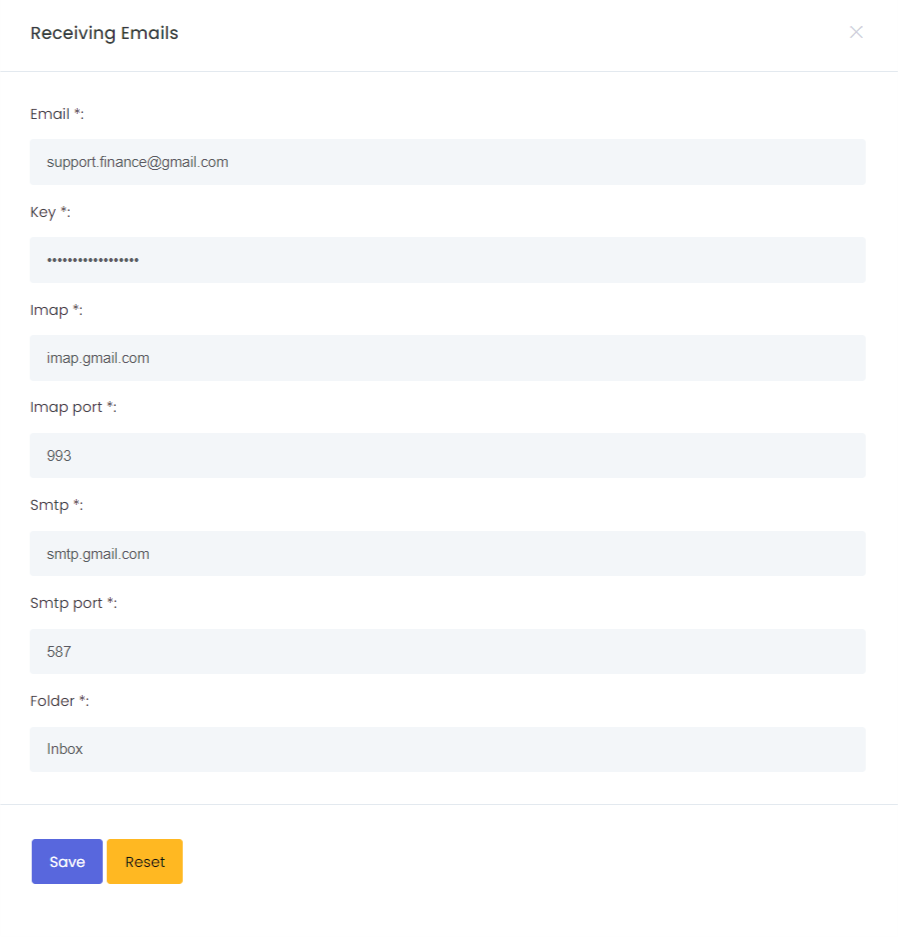
Add- To create a new Email id We can add an email id by providing some basic information.
Email: We have to provide the Email id here
Key: We have to provide the password of the Email id.
IMAP: IMAP of the email ids For Eg: Suppose if we are using Gmail or Yahoo then,
IMAP of Gmail is: imap.gmail.com
IMAP of Yahoo is: smtp.mail.yahoo.com
IMAP port: Imap port number of the corresponding email, Whatever email id we are creating we have to give the IMAP port number in this option.Eg: Suppose if we are using Gmail then we have to provide the IMAP port number of the Gmail.
SMTP: SMTP of the email ids For Eg: Suppose if we are using Gmail or Yahoo then,
SMTP of Gmail is: smtp.gmail.com
SMTP of Yahoo is: imap.mail.yahoo.com
SMTP Port: SMTP port number of the corresponding email, Whatever email id we are creating we have to give the SMTP port number in this option.Eg: Suppose if we are using Gmail then we have to provide the SMTP port number of the Gmail.
Folder: In which folder the email should receive.
Action: With this option, If we want to delete the Email that we have created then we can select the Email and we can delete it.
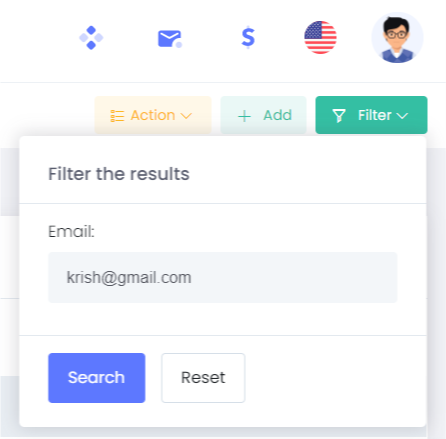
Filter: Filter helps us to search with the Email id.
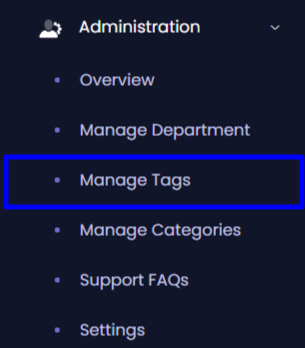
Manage Tags
With this option, the tag will be assumed automatically based on the keywords.
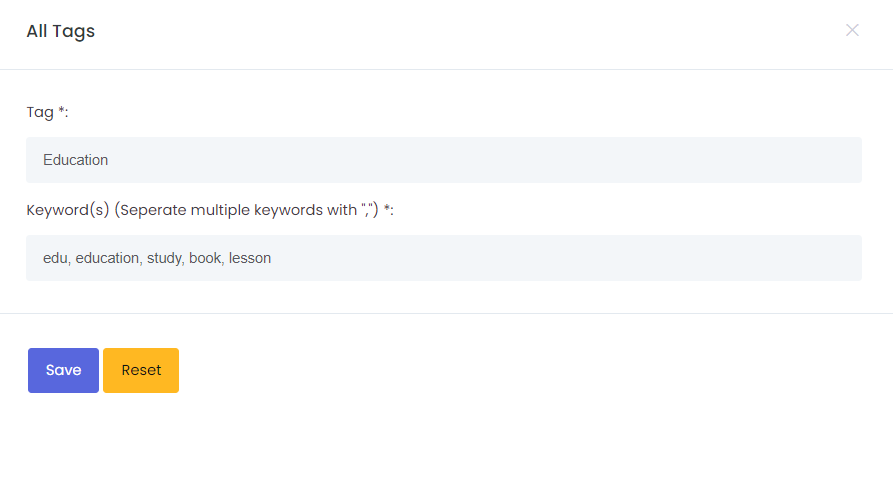
For Eg: Suppose if we create the tag name as Education and we give keywords as education, study, learning, learn, then a tag is created. The purpose of Keywords is whatever we search in education or learning or study i.e. anything related to this education will be seen under this “ Education Tag “
In this option, we have provided three features
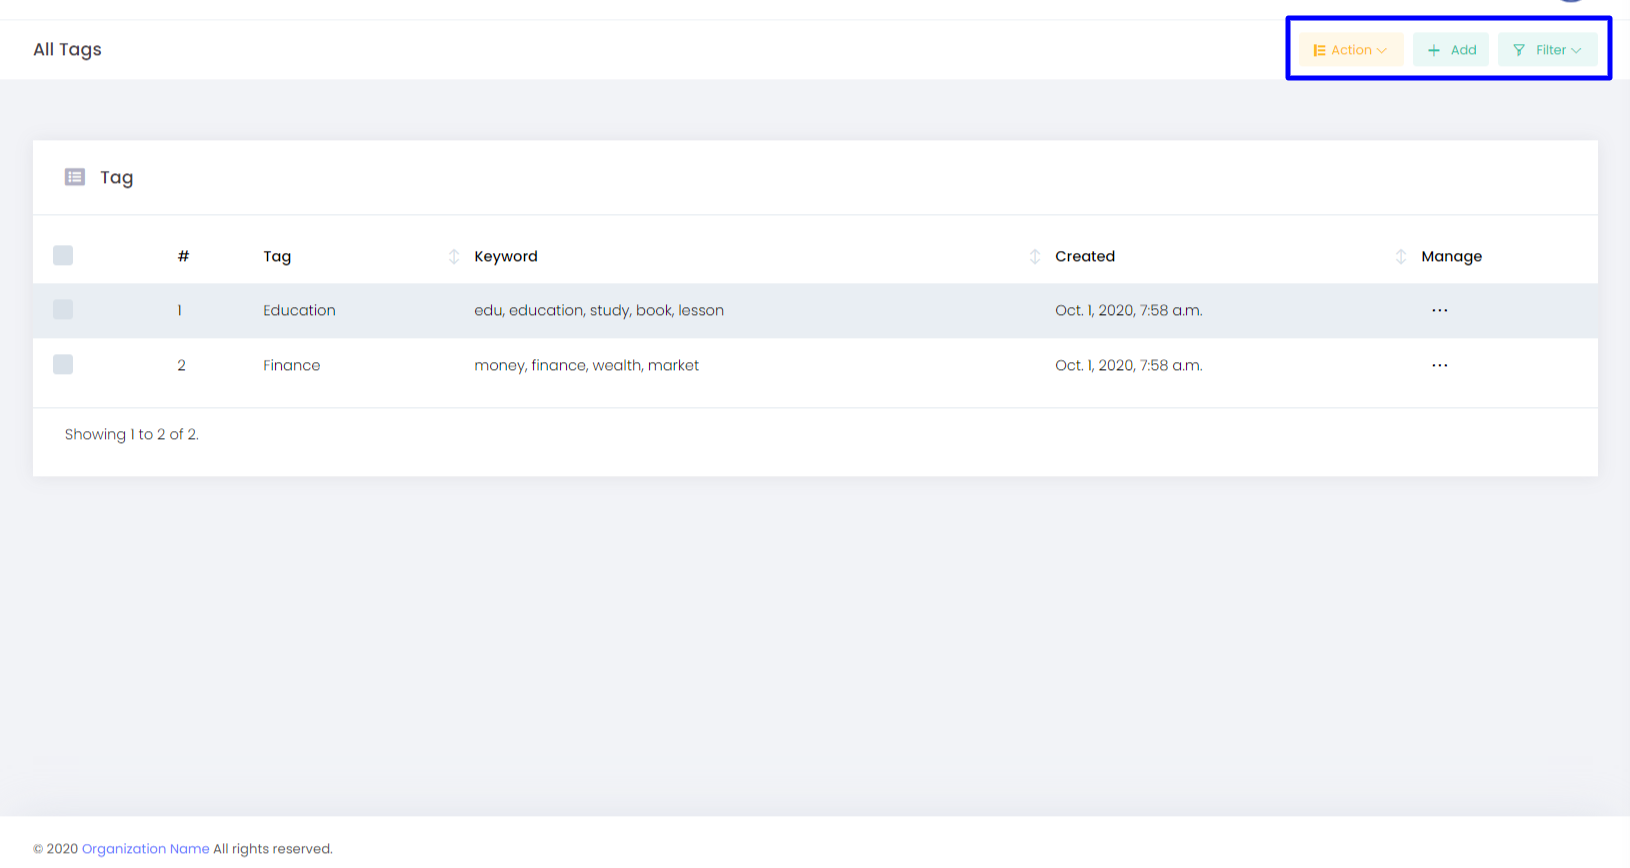
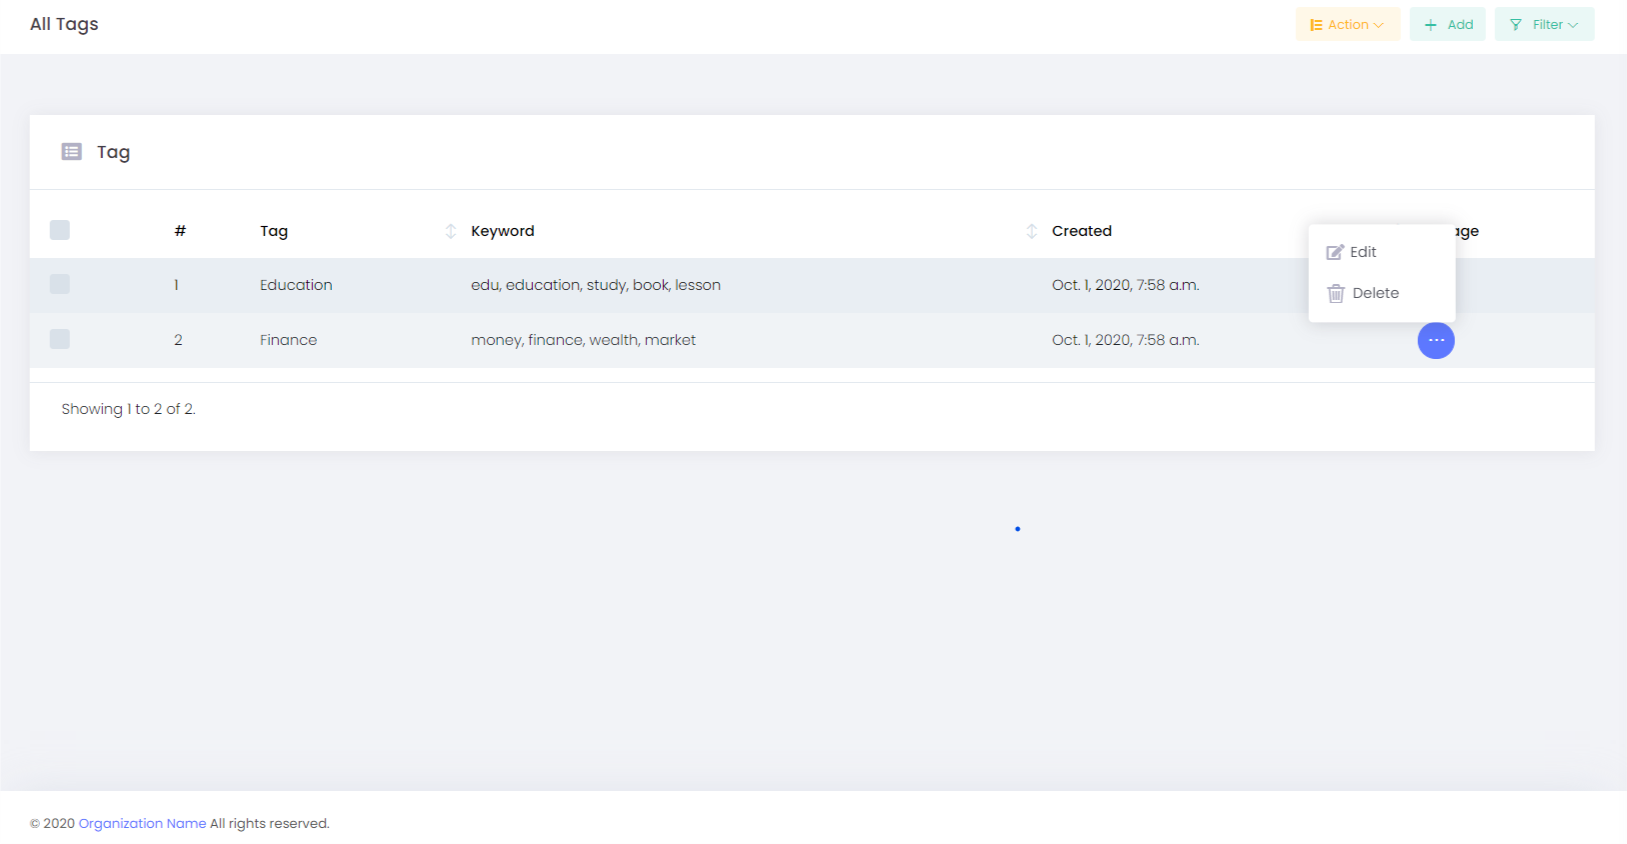
Manage: With this section, we can control the use of the tickets and we have an option to Edit and Delete the Tags.
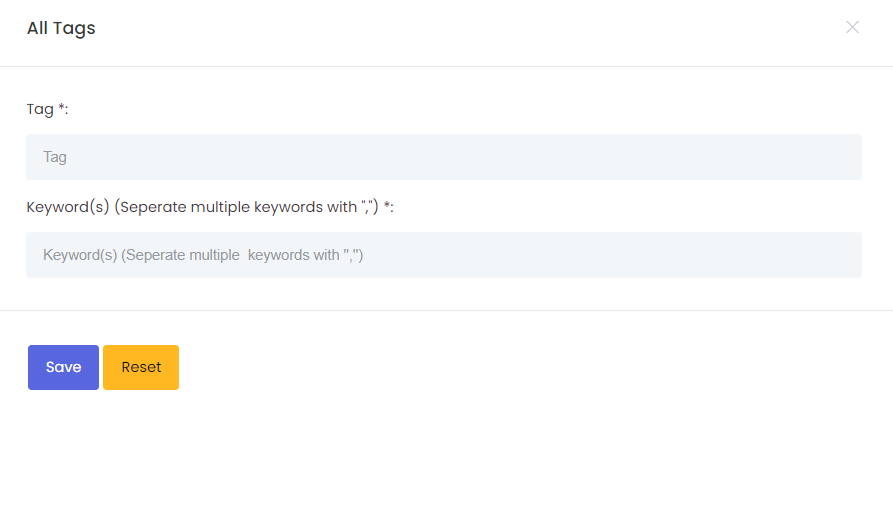
Add- To create a new tag. We can add a tag by providing a tag name and we have to provide the keywords also. We have to separate the keywords with “,”
Action: In this option, If we want to delete the tag that we have created then we can select the tag and we can delete it.
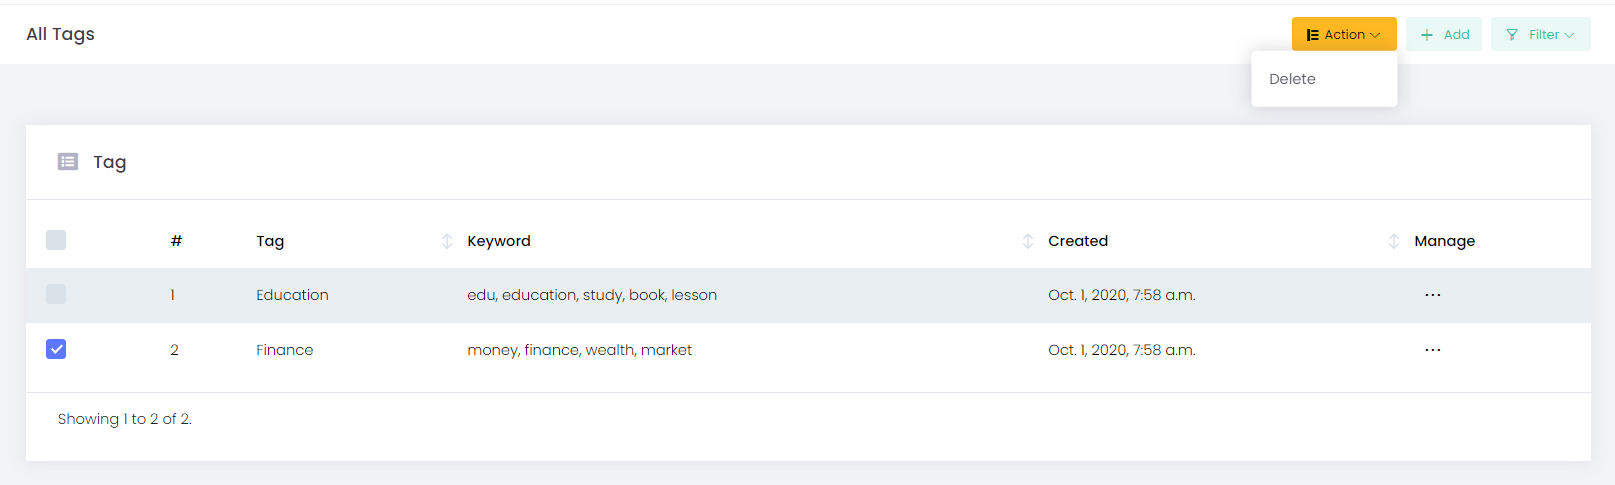
Filter: Filter helps us to search with the tag name.

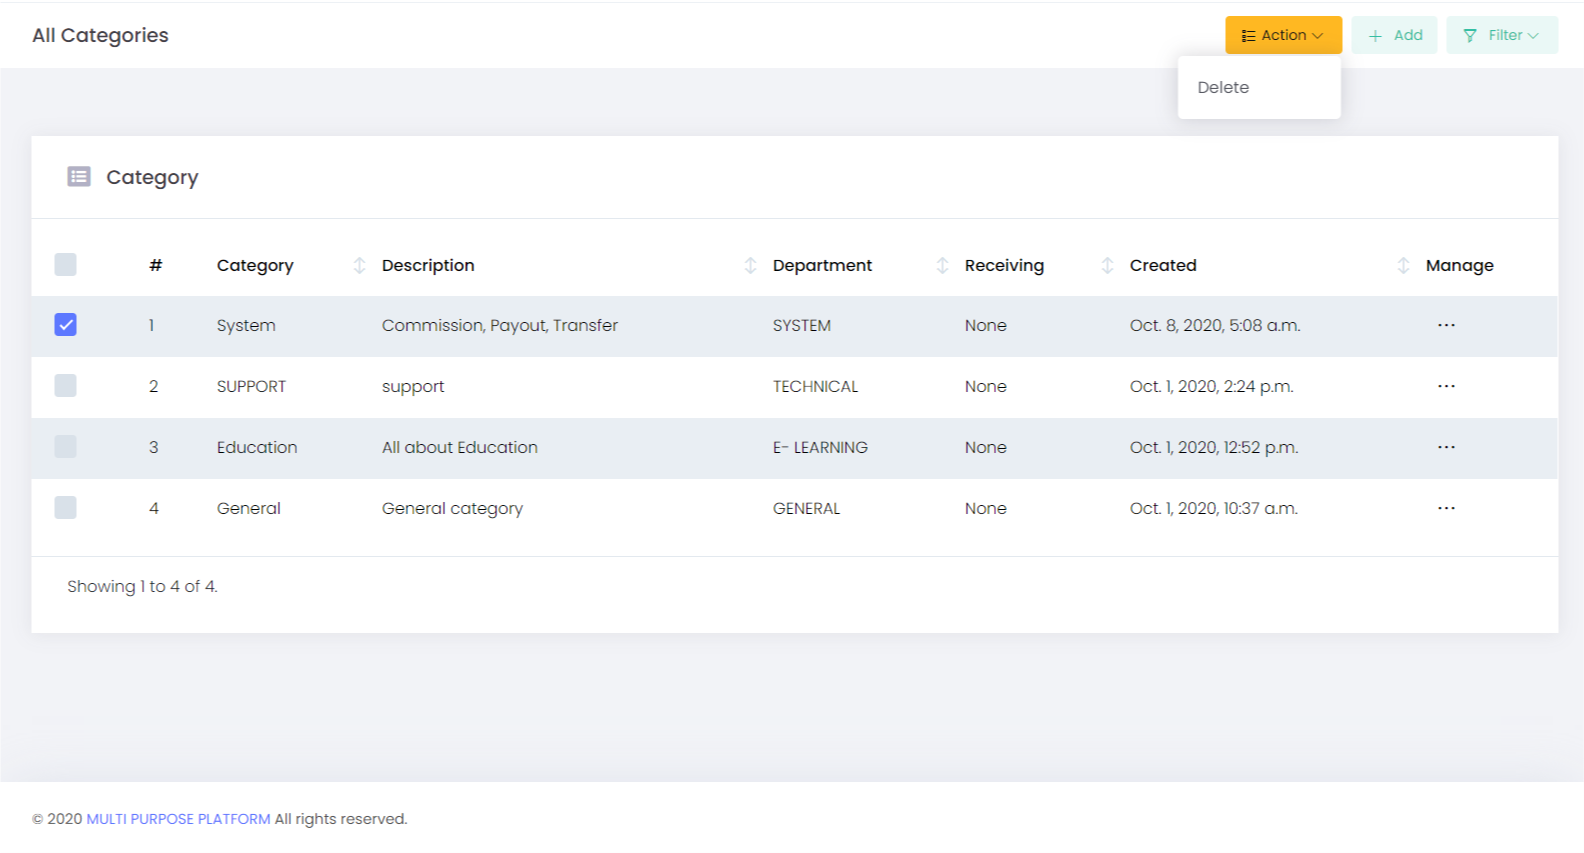
Manage Categories
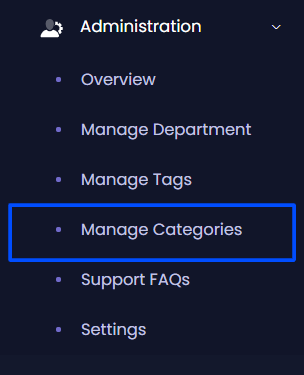
With this option, Admin can create different categories according to the requirement. We can add many categories here so that it will be easy to categorize the tickets.
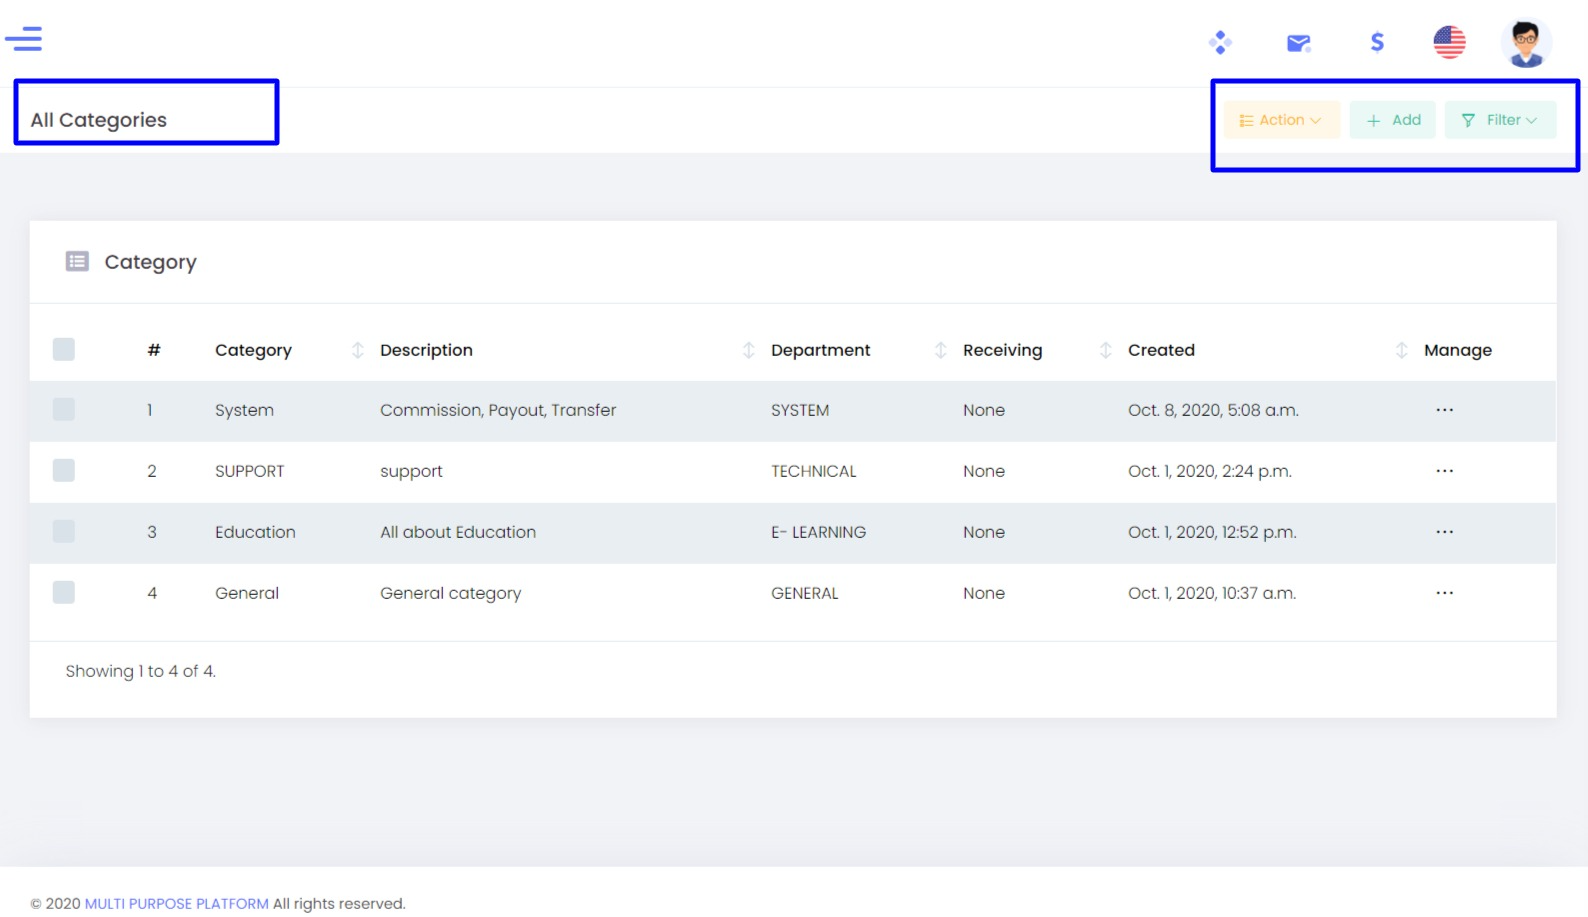
In this option, we have three features such as Add, Action, and Filter.
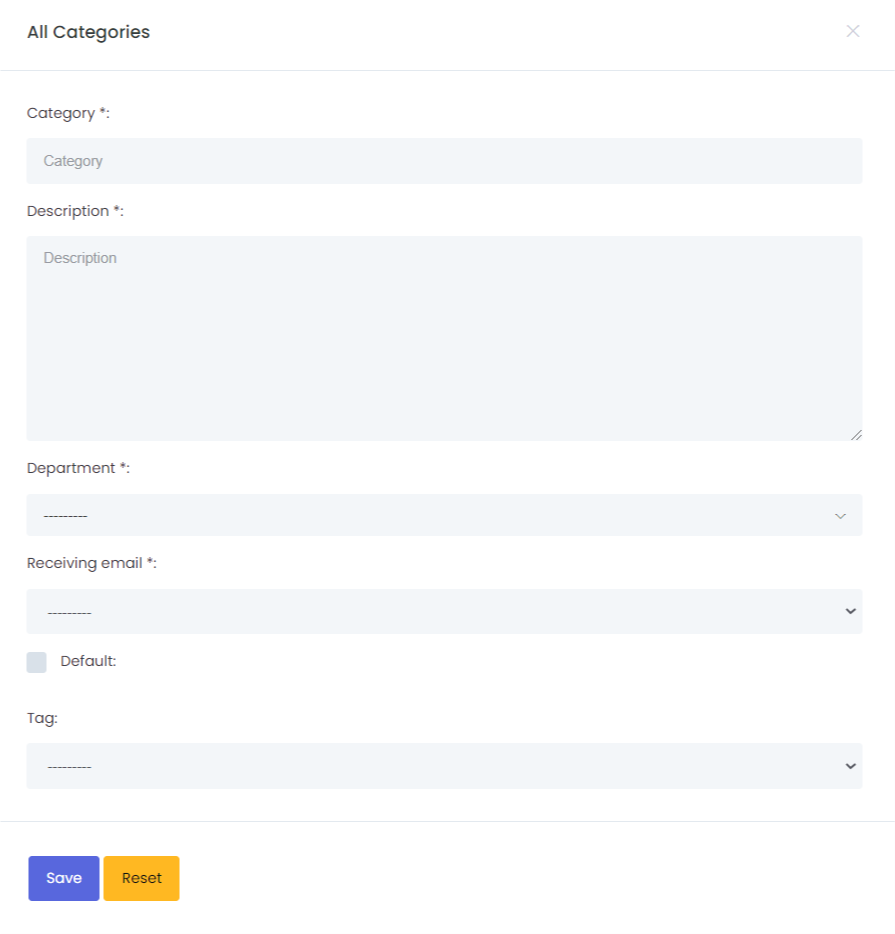
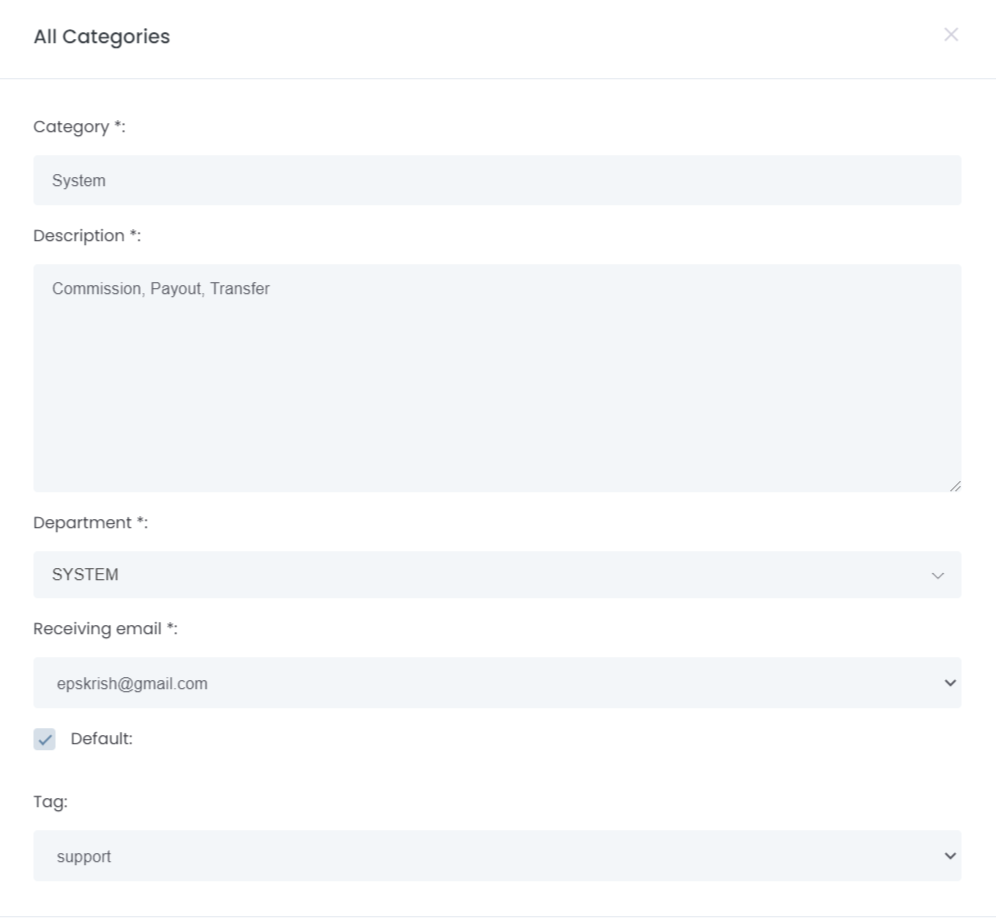
Add- To create a new category in the support for that we have to provide some basic information in the category such as
Category: We need to provide a Category name.
Description: We need to provide a short description of the category of what we have given in the category.
Department: We need to select a Department for the category.
Receiving email: We need to select a Receiving email for the category.
Tag: We need to select a tag for the category.
Default: If we enable this feature

Action: With this option, If we want to delete the category that we have created then we can select the category and we can delete it.
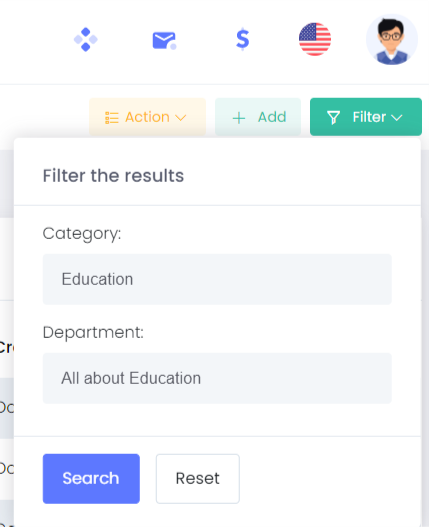
Filter: Filter helps us to search with the category and department name.
Manage: Once we created the category then there is an option to Edit and Delete in this option.
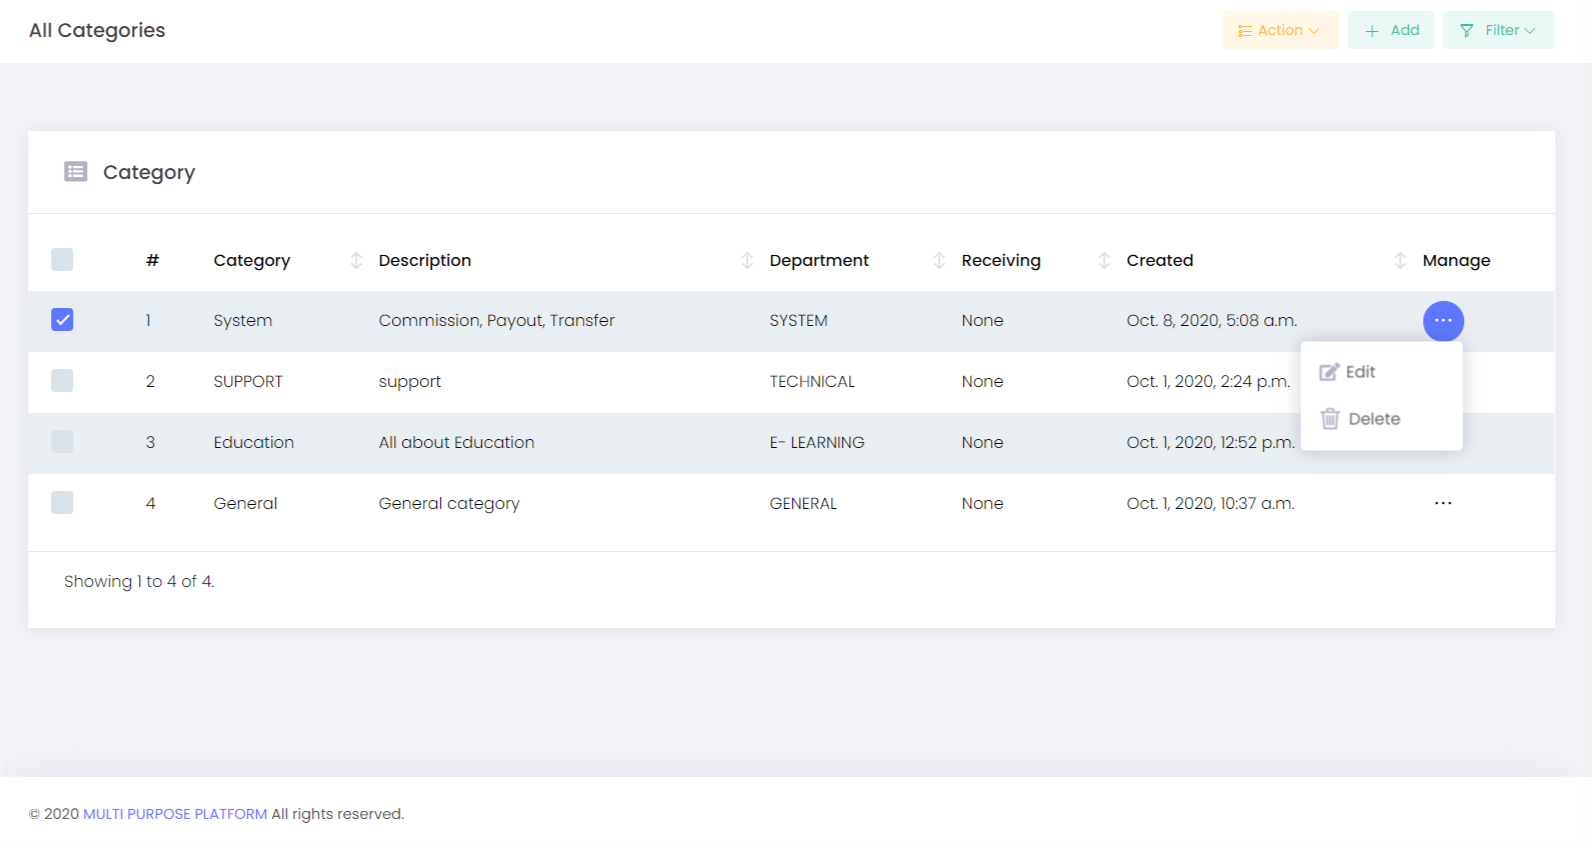
Edit- We can make the changes in this option ie Suppose if we want to edit the description or to edit the name of the category and all we can do in this option.
Delete: With this option, If we want to delete the category that we have created then we can select the category and we can delete it.
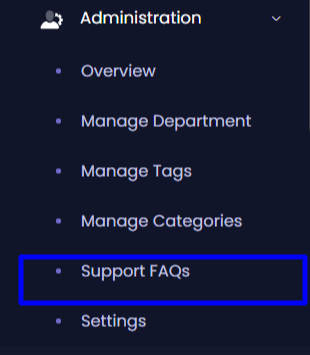
Support FAQs
With this option, we can create frequently asked questions based on the system.
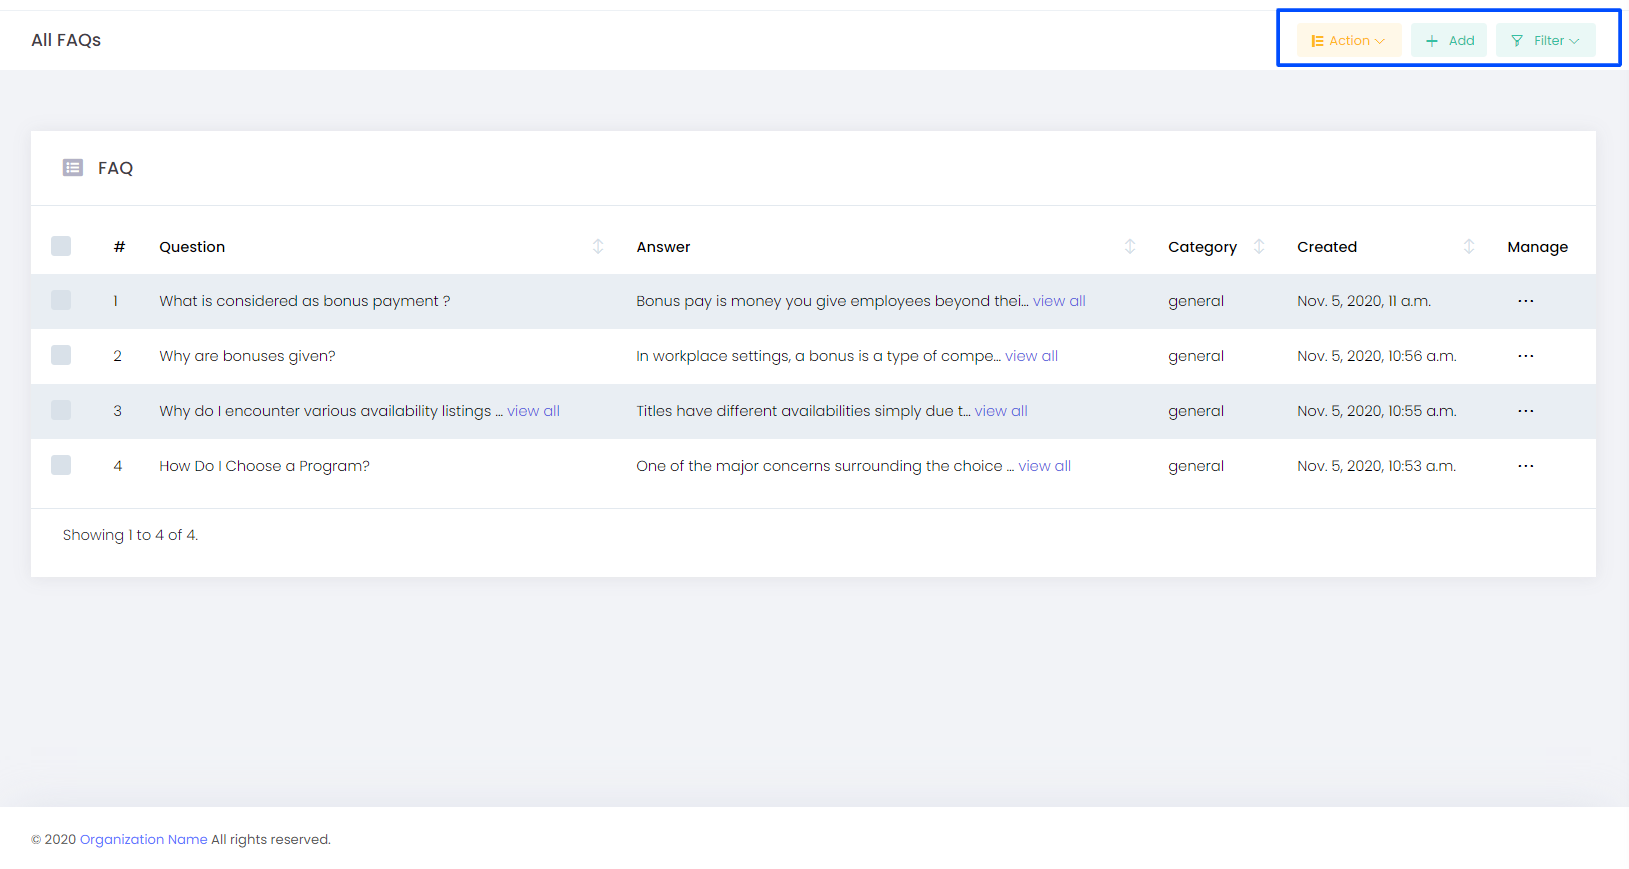
In this option, we have three features
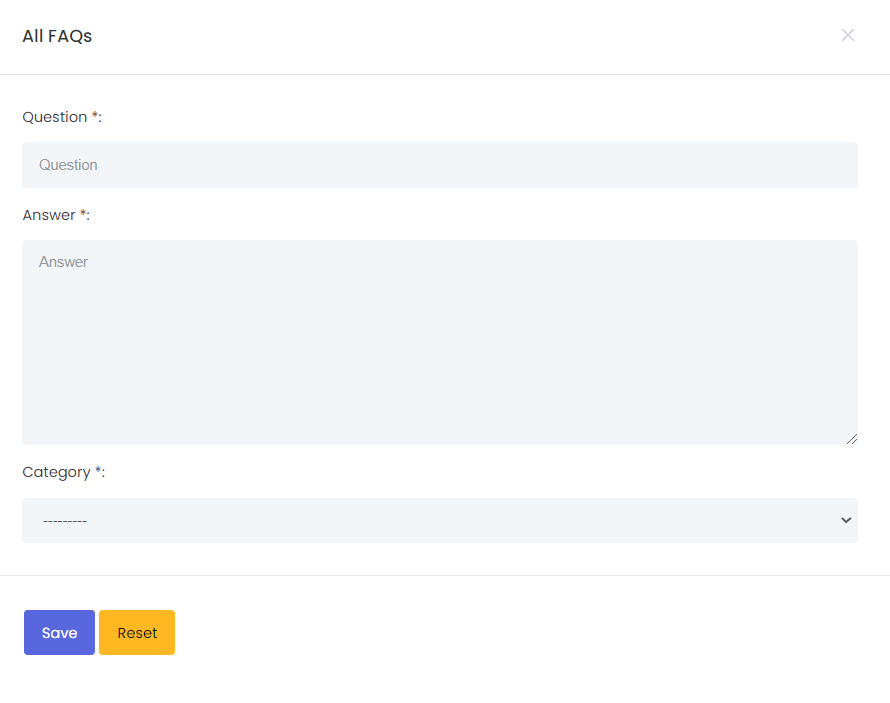
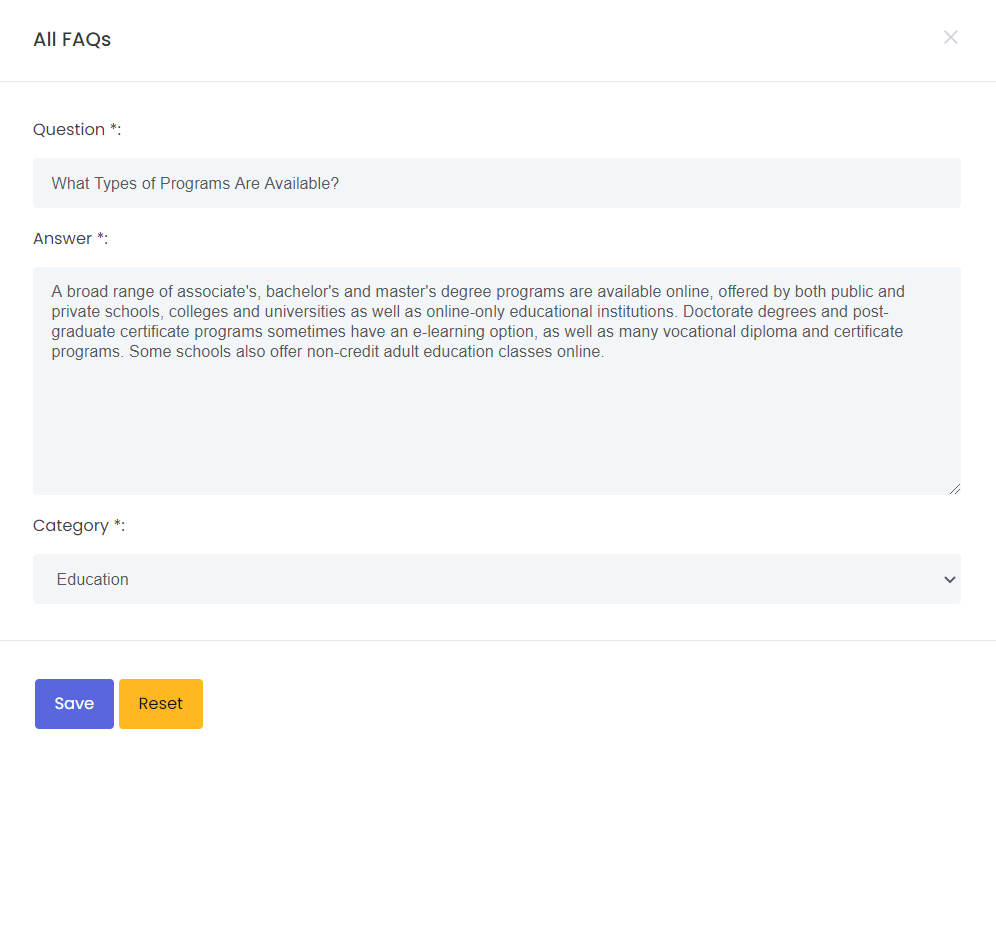
Add: In this option, we can create frequently asked questions based on the system.
Filter: Filter helps us to search with the Question Keyword and Category.
Action: In this option, If we want to delete the FAQs that we have created then we can select the FAQS and we can delete it.
In the Manage option, we can edit and delete the questions that we have created.

Settings

With this option, we can enable/disable the settings of the ticketing of the entire system.
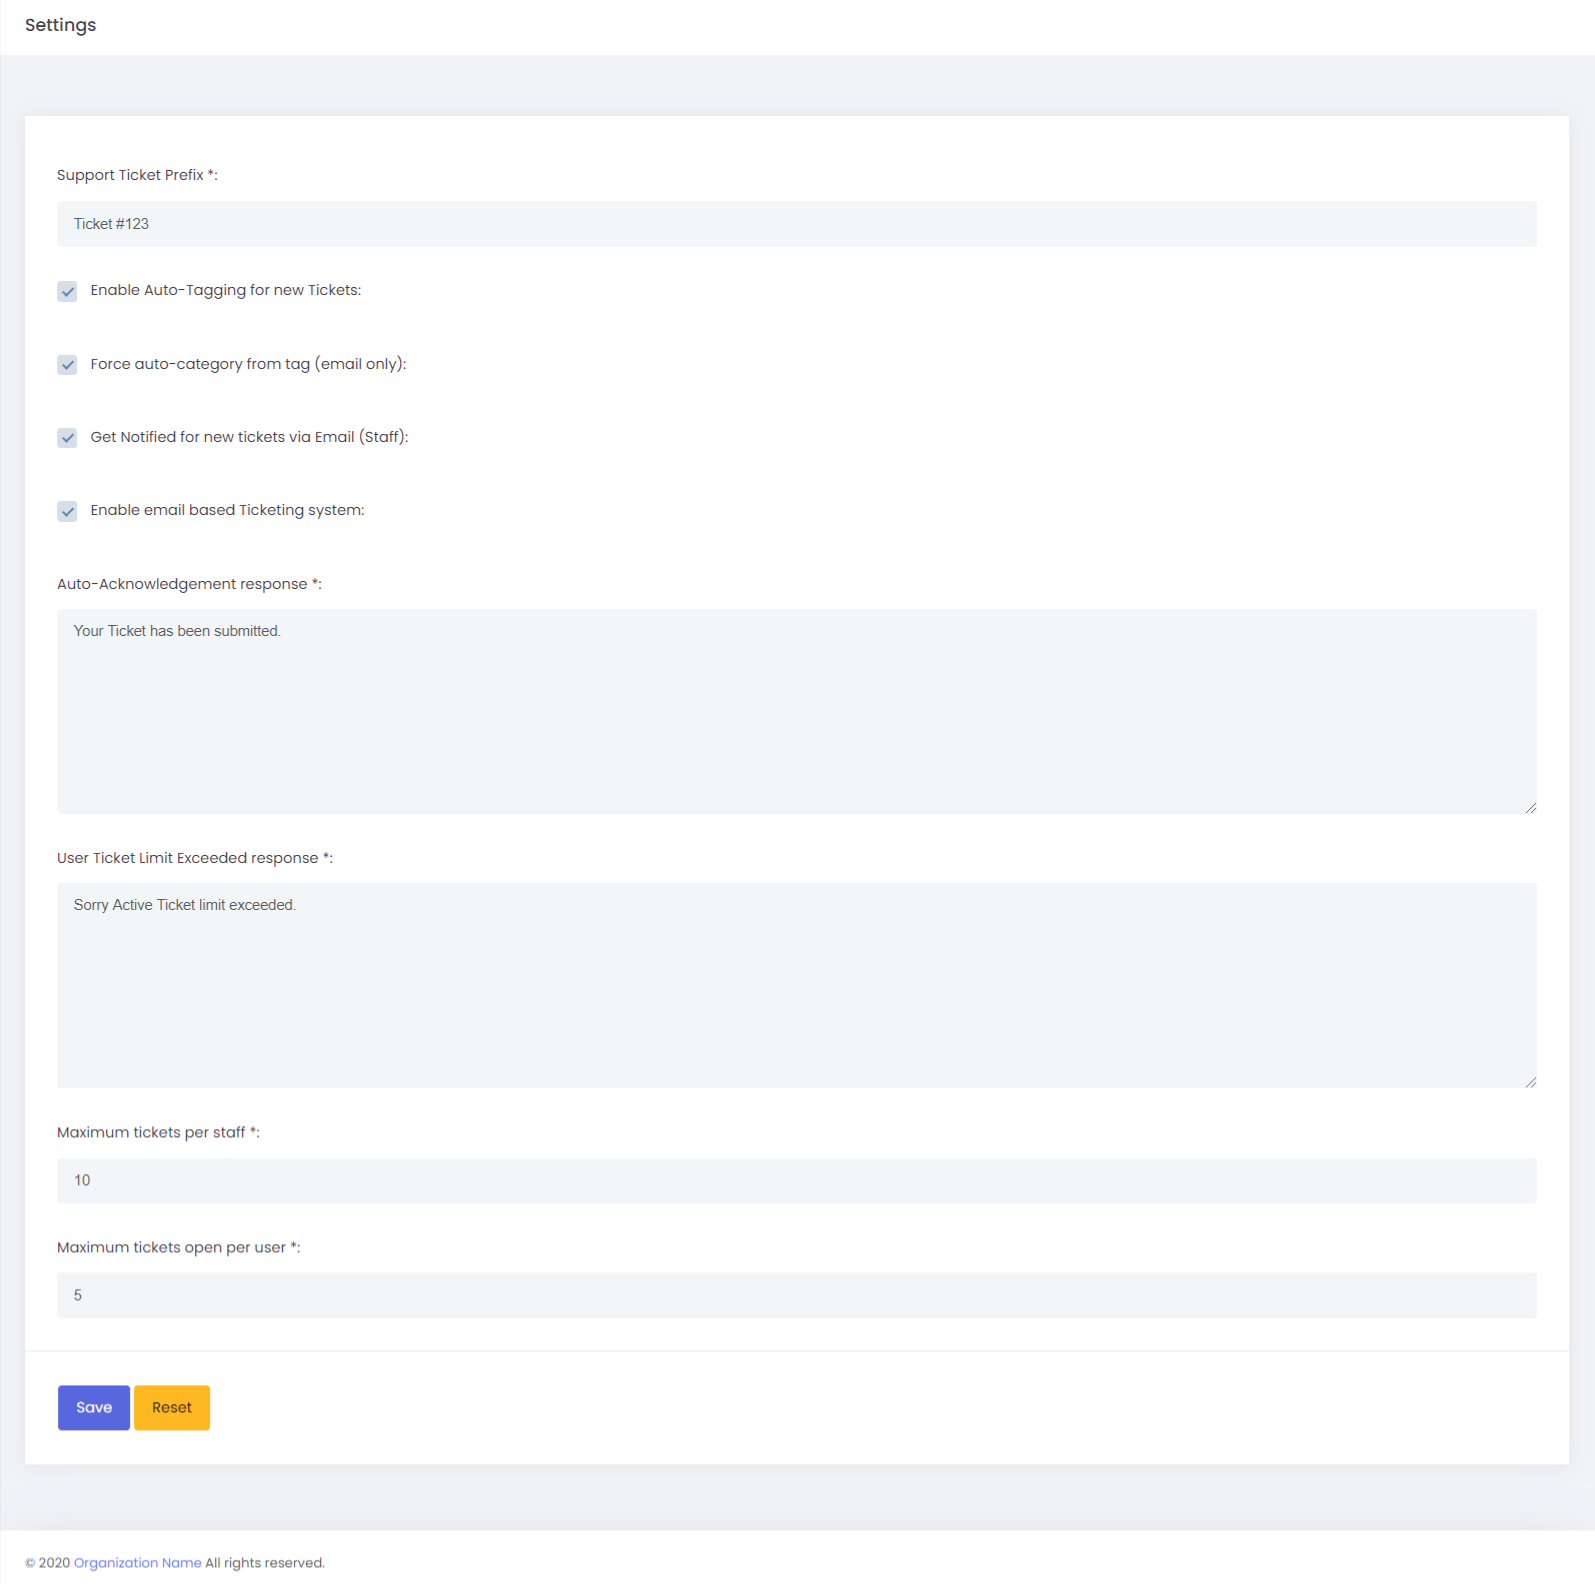
Support Ticket Prefix: Here, We can provide the ticket numbers ie when an email is coming from the support ticketing system then we can able to provide the format for the tickets. For eg: Ticket #123 is assigned to this staff role.
Enable Auto-Tagging for new Tickets: To assign tags to a ticket automatically based on content.
Force auto-category from the tag (email only): To assign a category based on the tag for emails.
Get Notified for new tickets via Email (Staff): If we enable this then the tickets will be notified in the Email for the staff, suppose if a new ticket has been created then the staff will get notified via email.
Enable email-based Ticketing system: If we enable this then the tickets will be notified in the Email.
Auto-acknowledgment response: Here, we can provide an Auto-acknowledgment response for the tickets that have been created in the system as "Your Ticket has been submitted".
User Ticket Limit Exceeded response: Here we can configure the ticket limit exceeded response for the users as "Sorry Active Ticket limit exceeded ".
Maximum tickets per staff: We can provide a maximum number of tickets per staff. Here we can set how many numbers of tickets can be assigned to staff.
Maximum tickets open per user: We can provide a maximum number of tickets per user. Here we can set how many numbers of tickets can be assigned to the user.