Epixel E-commerce Platform
Manage Products
Manage Products
Manage Products
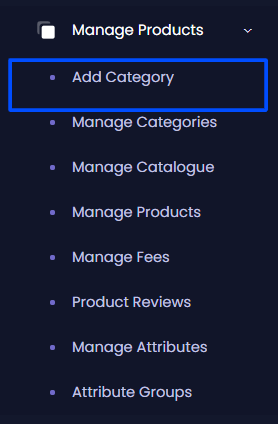
Add Category
A group of products that offer similar benefits can be referred to as product categories. With this option, we are going to add the different types/brands of Face wash we want to market. Example: Aloe Vera, Tan Removal, Whitening, etc.
Here we can create a product category with a name (eg: clothing) to combine all the required modules for that product and the continue button is clicked.
Type this in the ‘Name’ field and tick the checkboxes below if that is applicable to your product and now click continue to add the category.
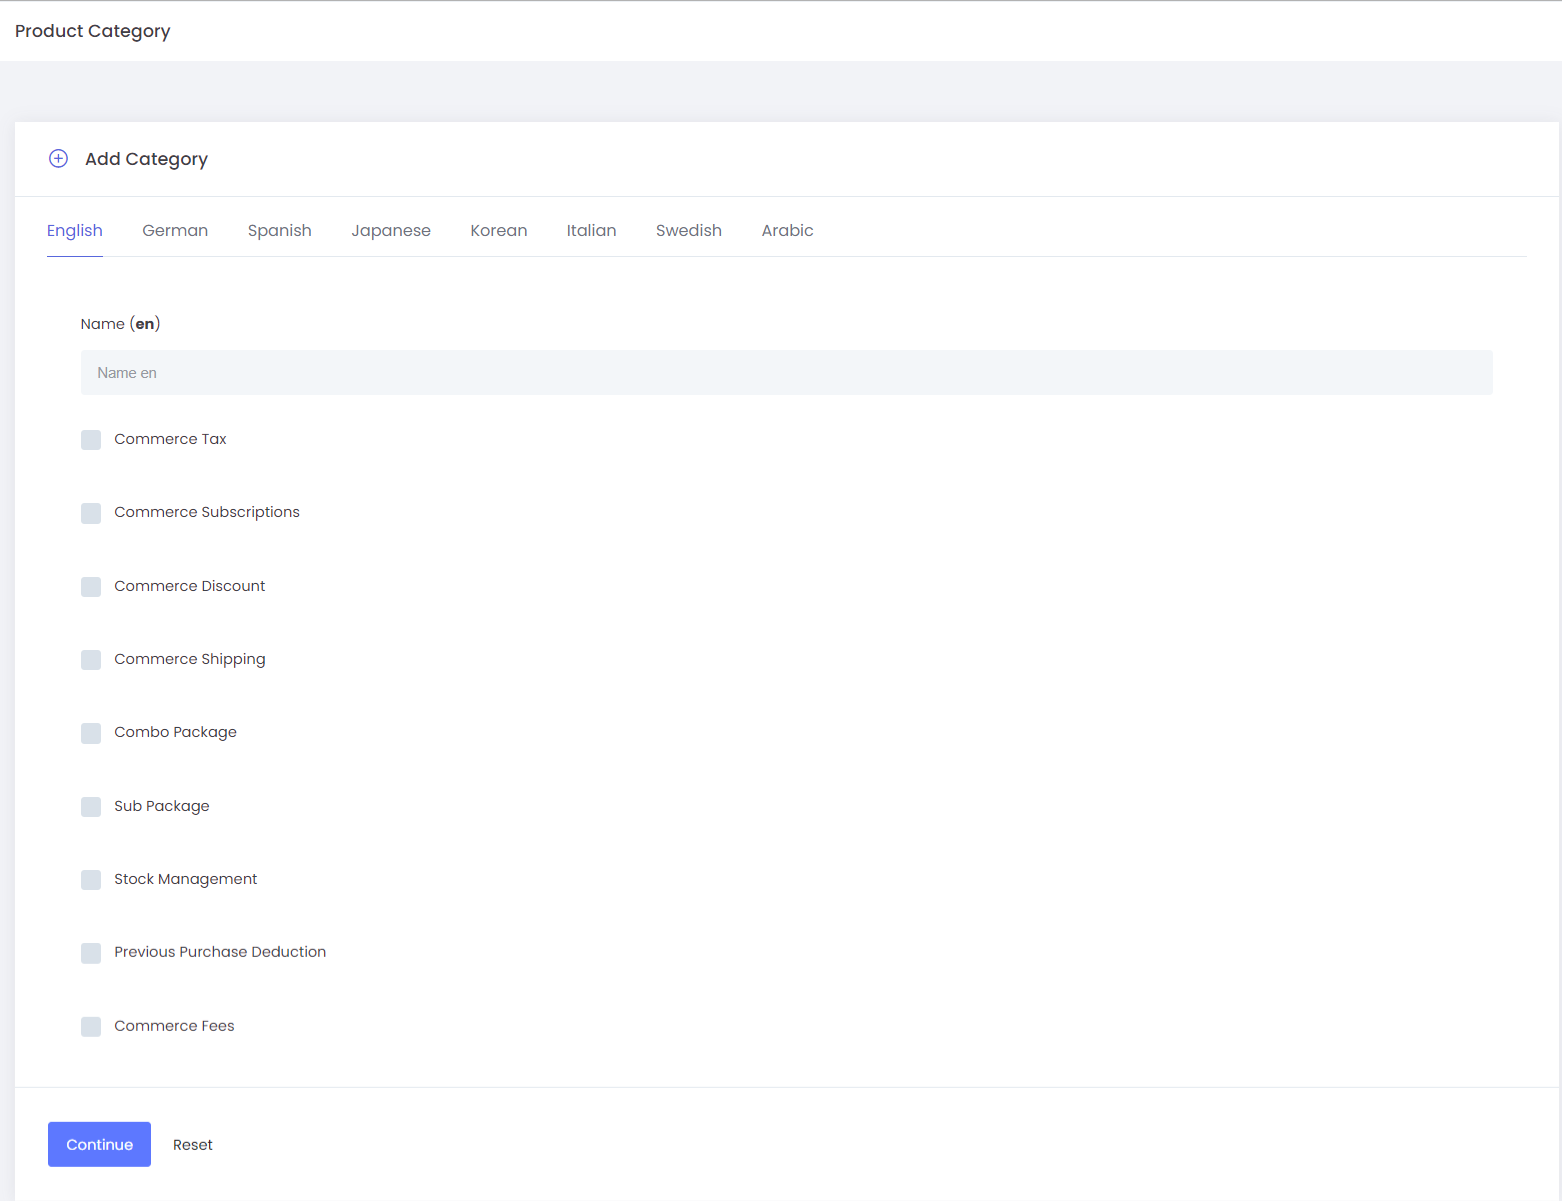
The checkboxes you see are commerce modules. Check the module if it applies to your product. Clicking on ‘Continue’ takes you to a page like this:
On the next page, we can choose the created catalogs for this product(clothing), also there will be an option to choose which attribute group we require for this product type/ category, while choosing the attribute group we can view which all attributes come under that attribute group we chose (image(b)).
The count of created product categories will be shown in the commerce dashboard.

You select ‘Facewash’ as your Catalog and choose the attribute group ‘Face wash attributes’ and fill in the Attribute specifications and click save. You will get a view of your Attribute Group on the right. Now we have created a category and your added categories can be viewed in ‘Manage Categories’. Come, let’s add the product now.
Manage Categories
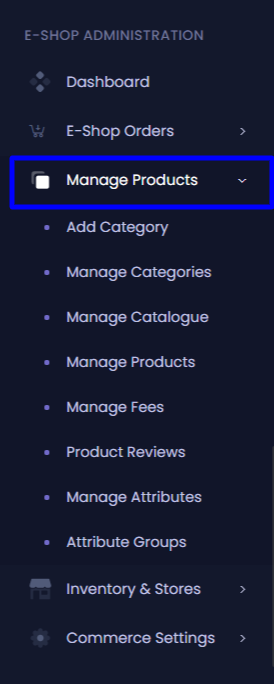
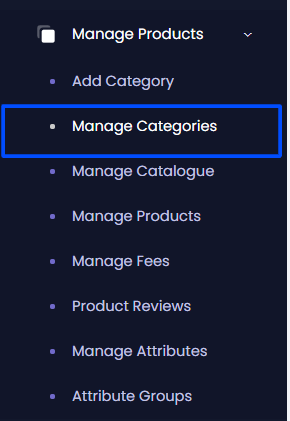
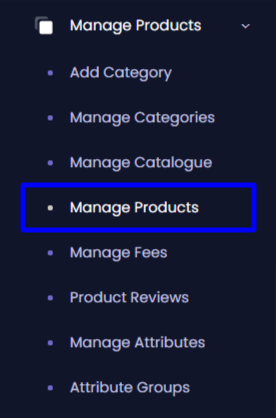
In the menu, under E-SHOP ADMINISTRATION click on Manage Products. Under this click Manage Categories. You will see the categories you have added.
Now to add a product click on the Add product that is appearing against it. This will take you to the Product Data page.
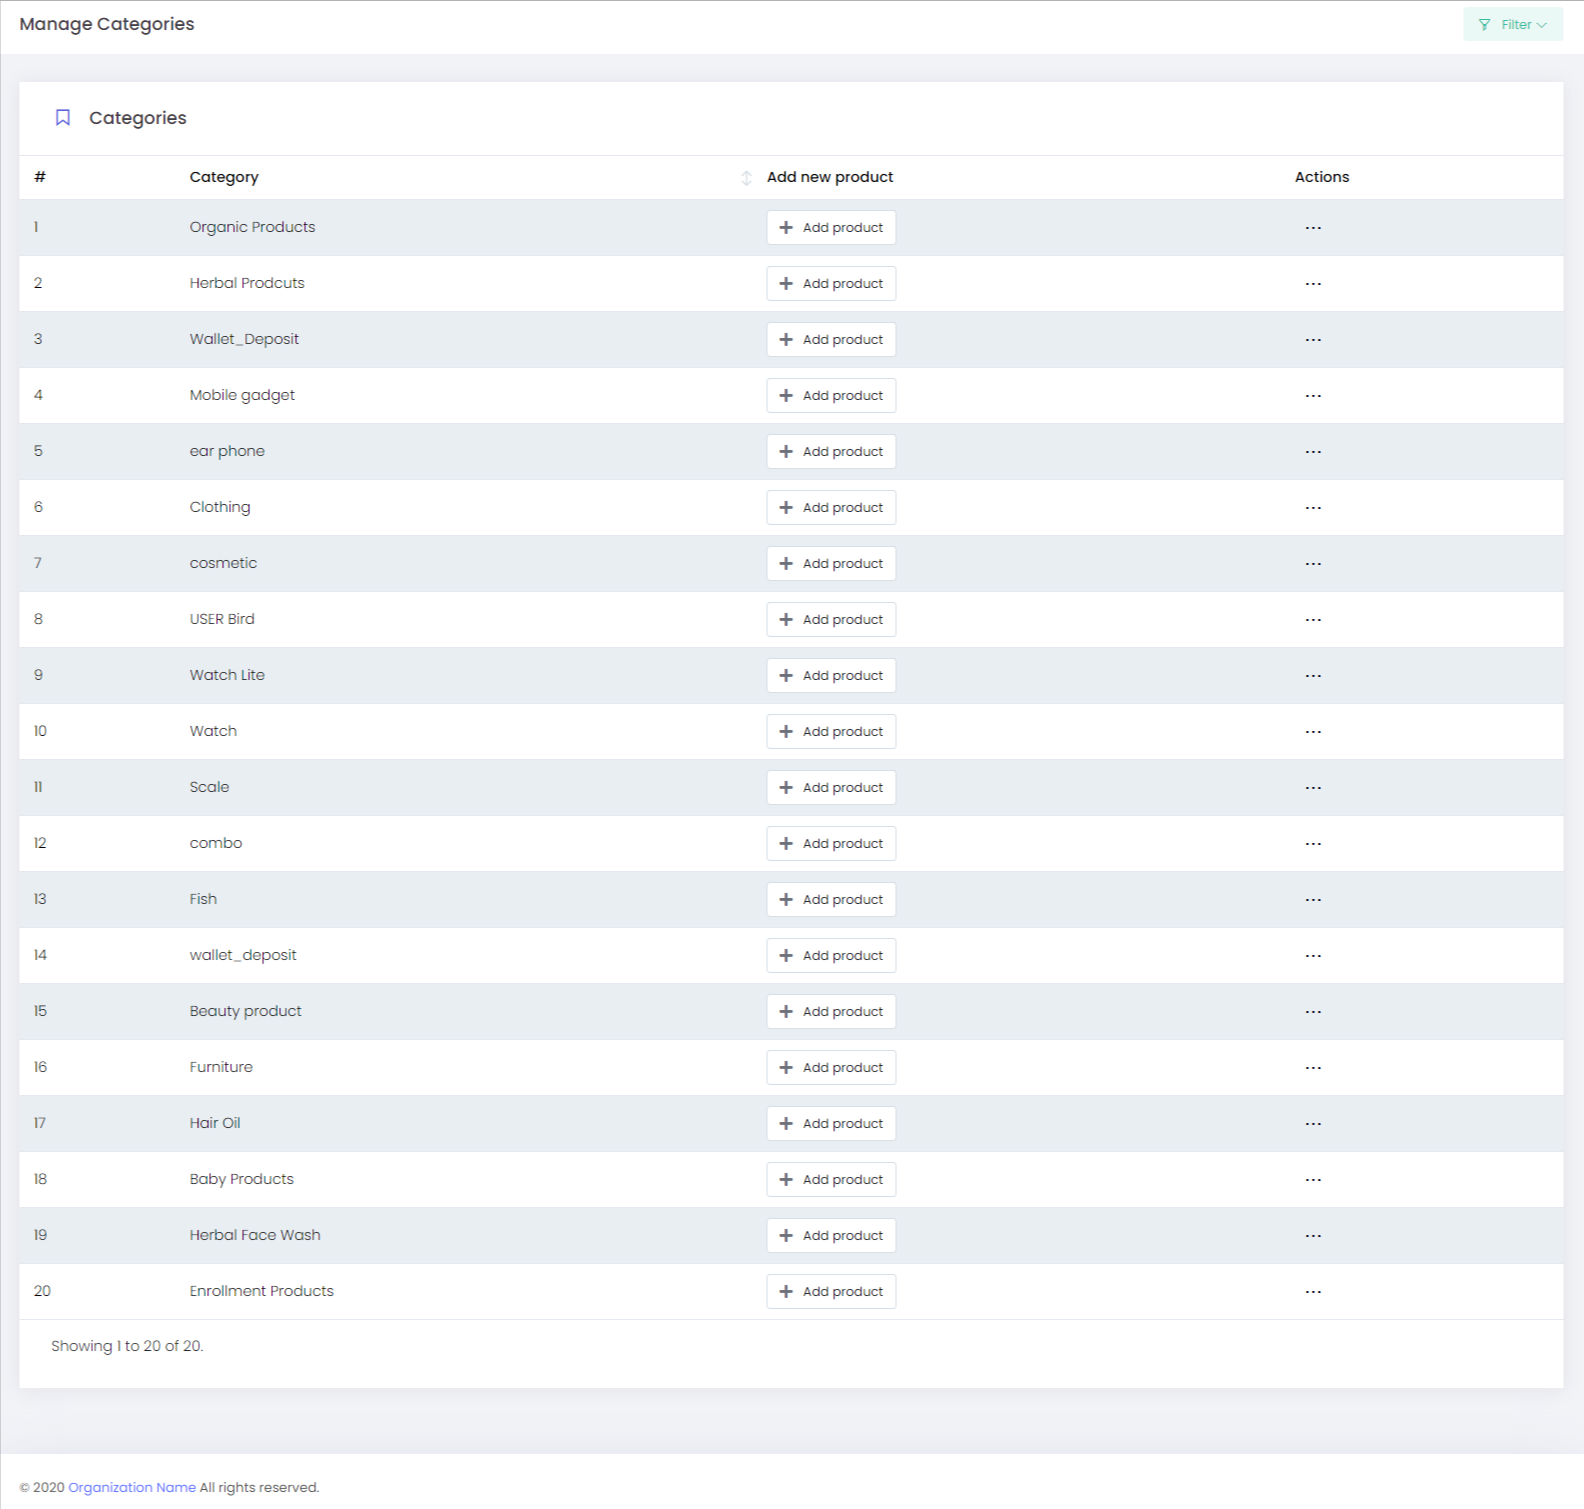

Actions: With this option, we can able to Edit and Delete the category that we have added.
This area requires a lot of information about your product.
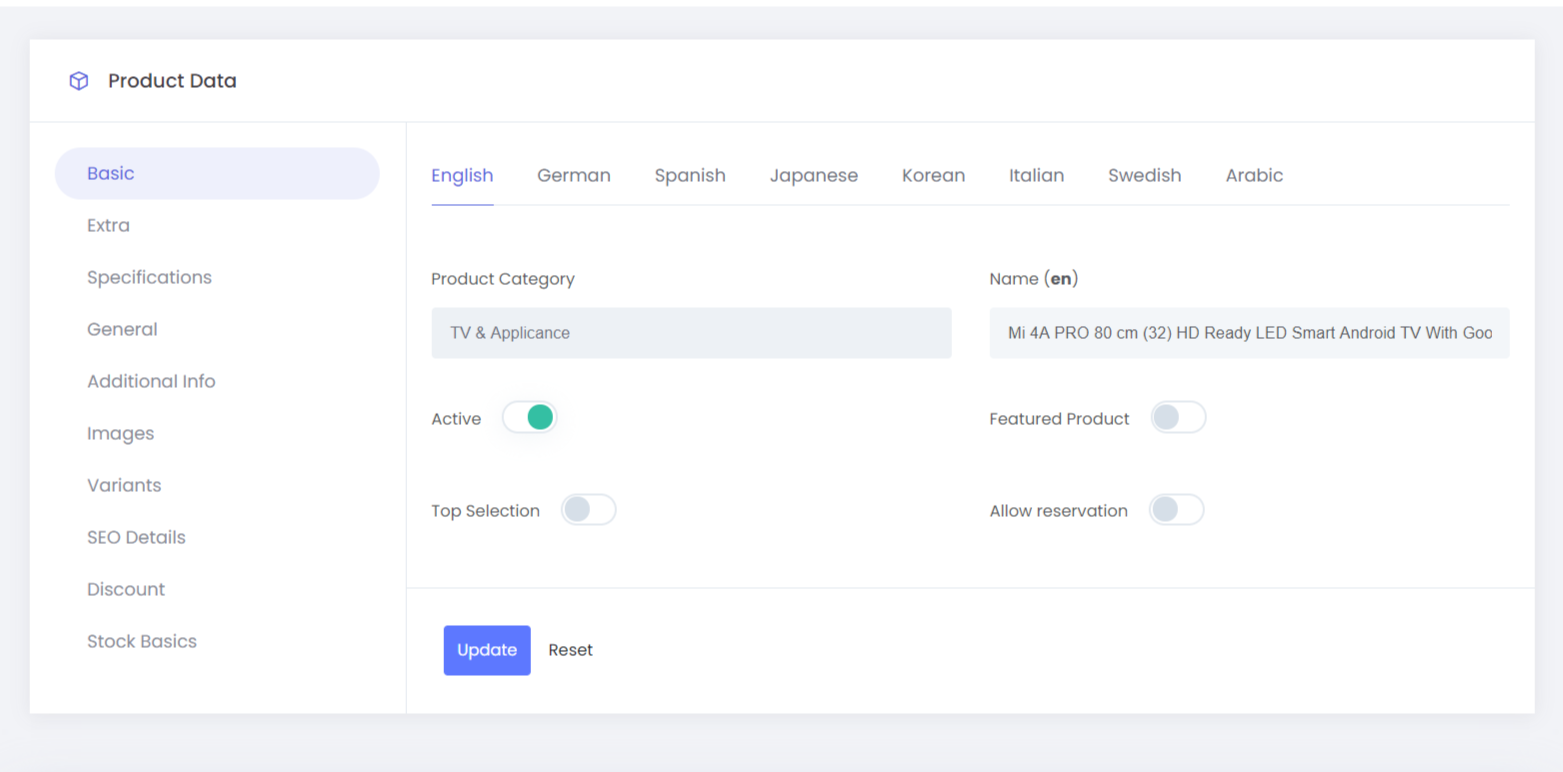
Let us explain the tabs one by one in detail starting with the first one, Basic.
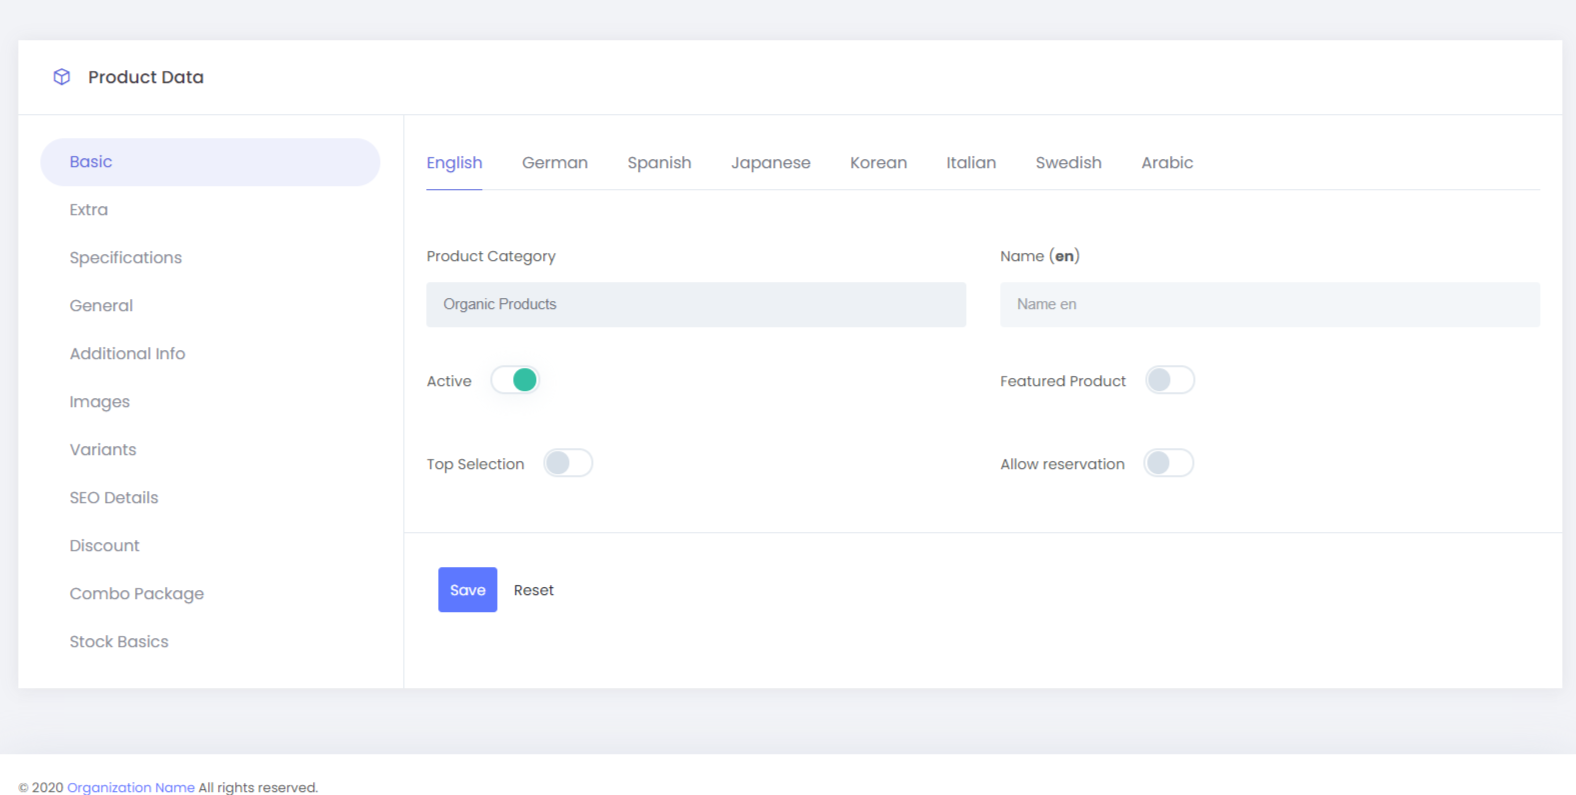
Product Type:
Name
Active
Featured Product
Top Selection
Allow Reservation
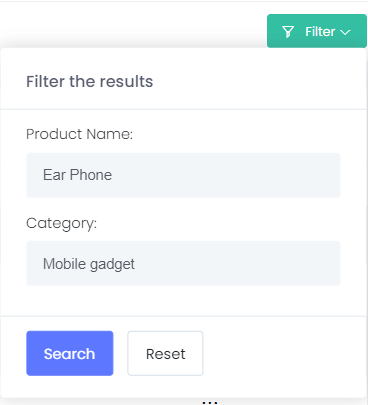
Filter :The filter option help you to sreach with the Category

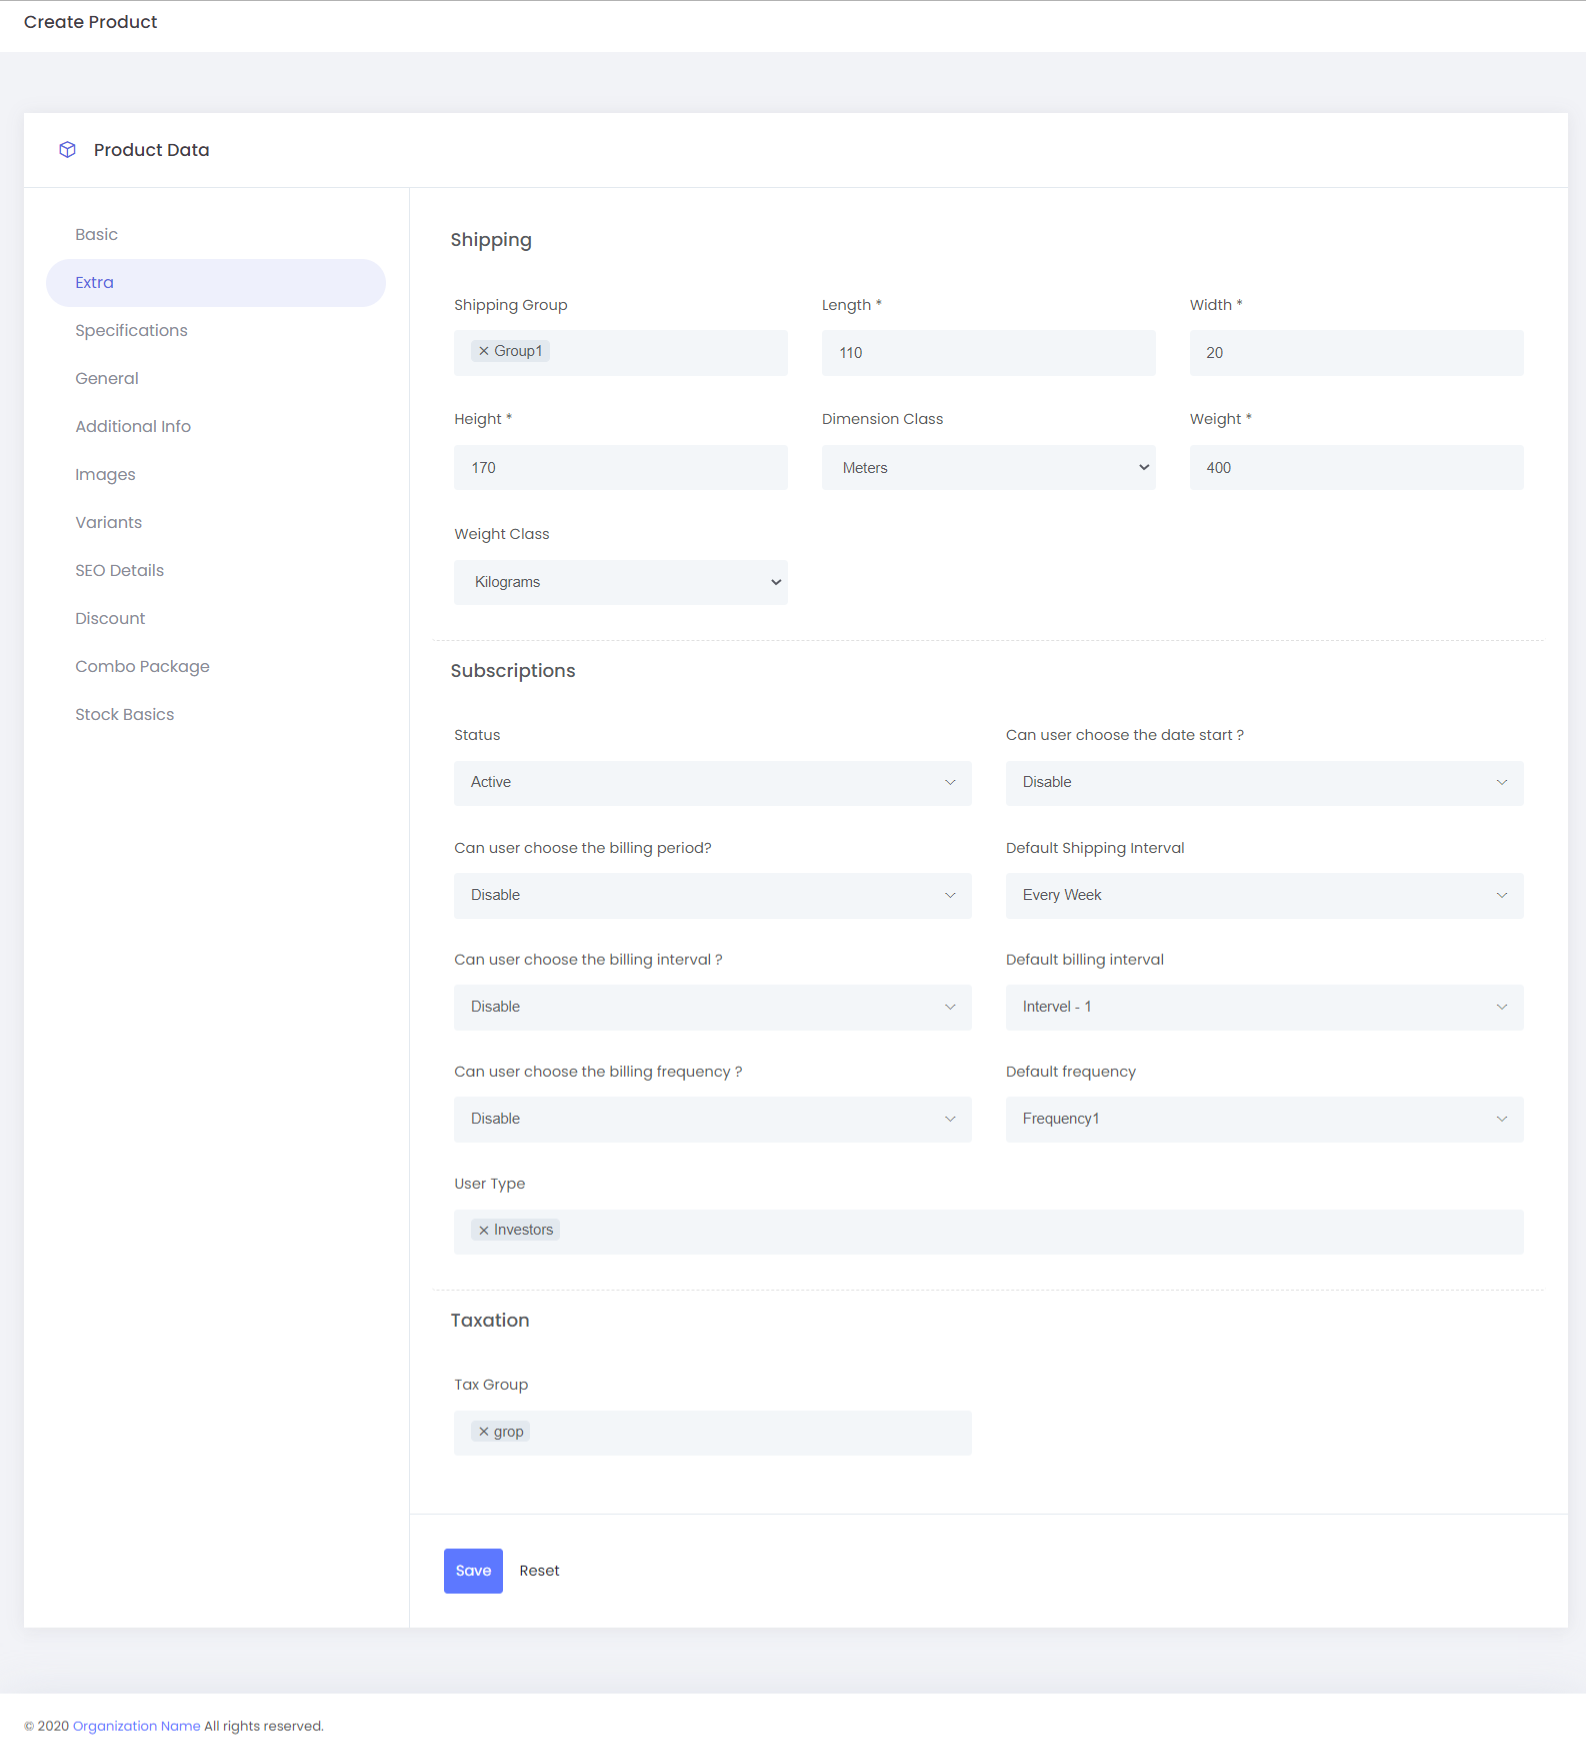
Extra
This has 3 sections-Shipping, Subscriptions, and Taxation.
Enter all of your product’s data by clicking each of the tabs on your left and then click Save .
Your product has been successfully added. Now we have to display it in the store.

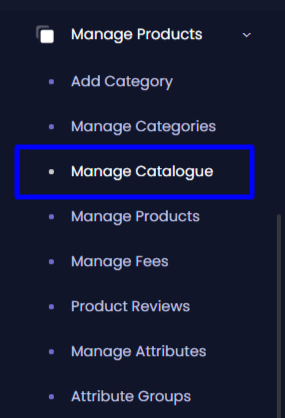
Manage Catalogue
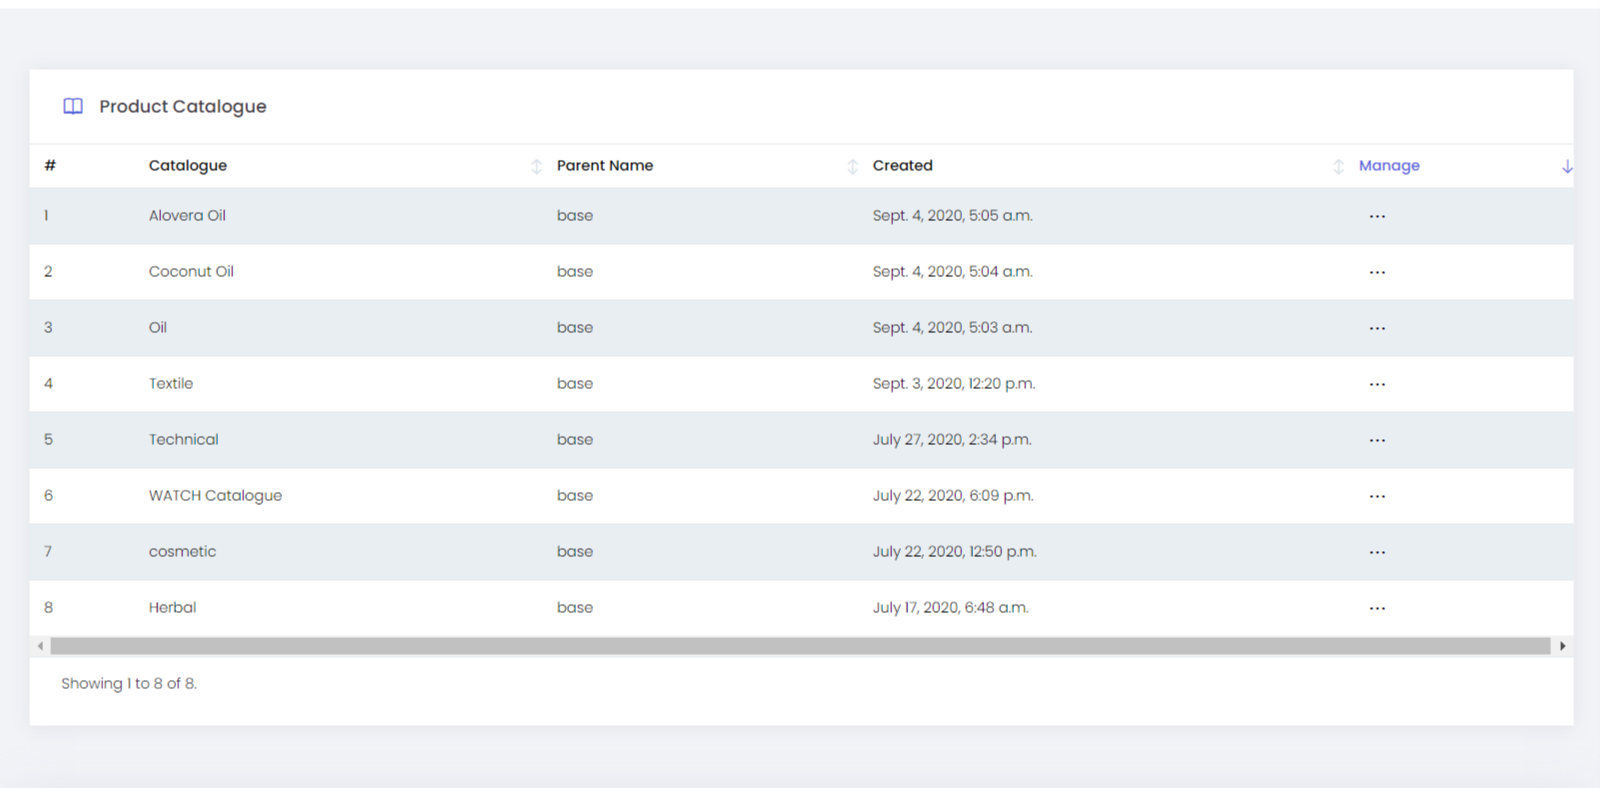
Catalogue in simple terms represents your business. If you are a Personal Care Products provider, then the name of your Catalogue can be Personal Care.
Now if you want to add face wash, in the Name field add Facewash and select Personal Care as Parent. Likewise, you can create different catalogues for different products.
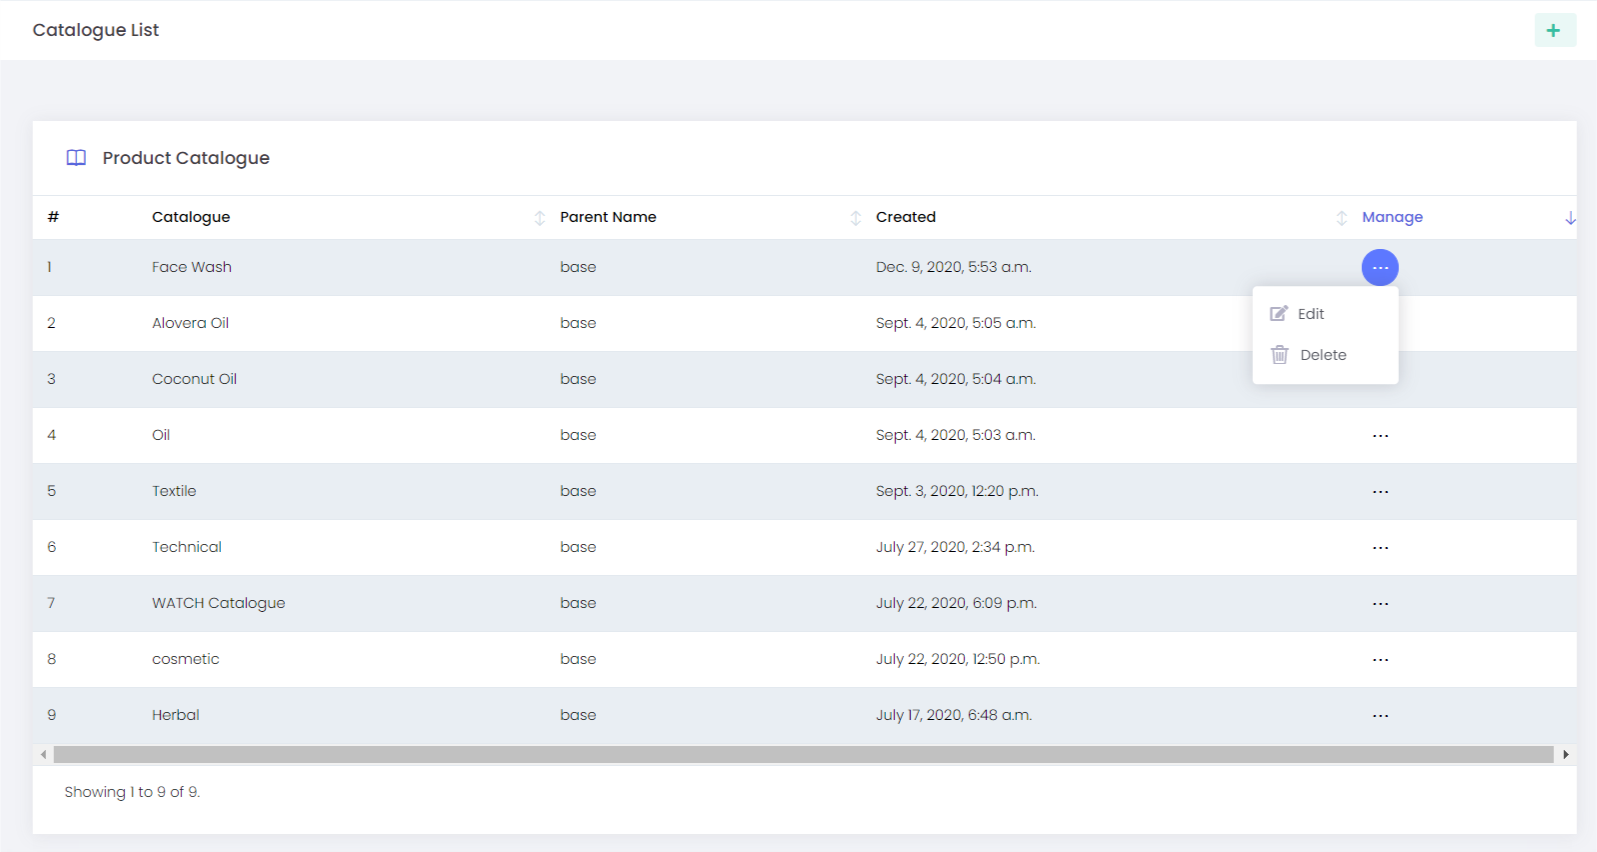
To add a new Catalogue, click on the " + " on the top right corner and table like this is displayed
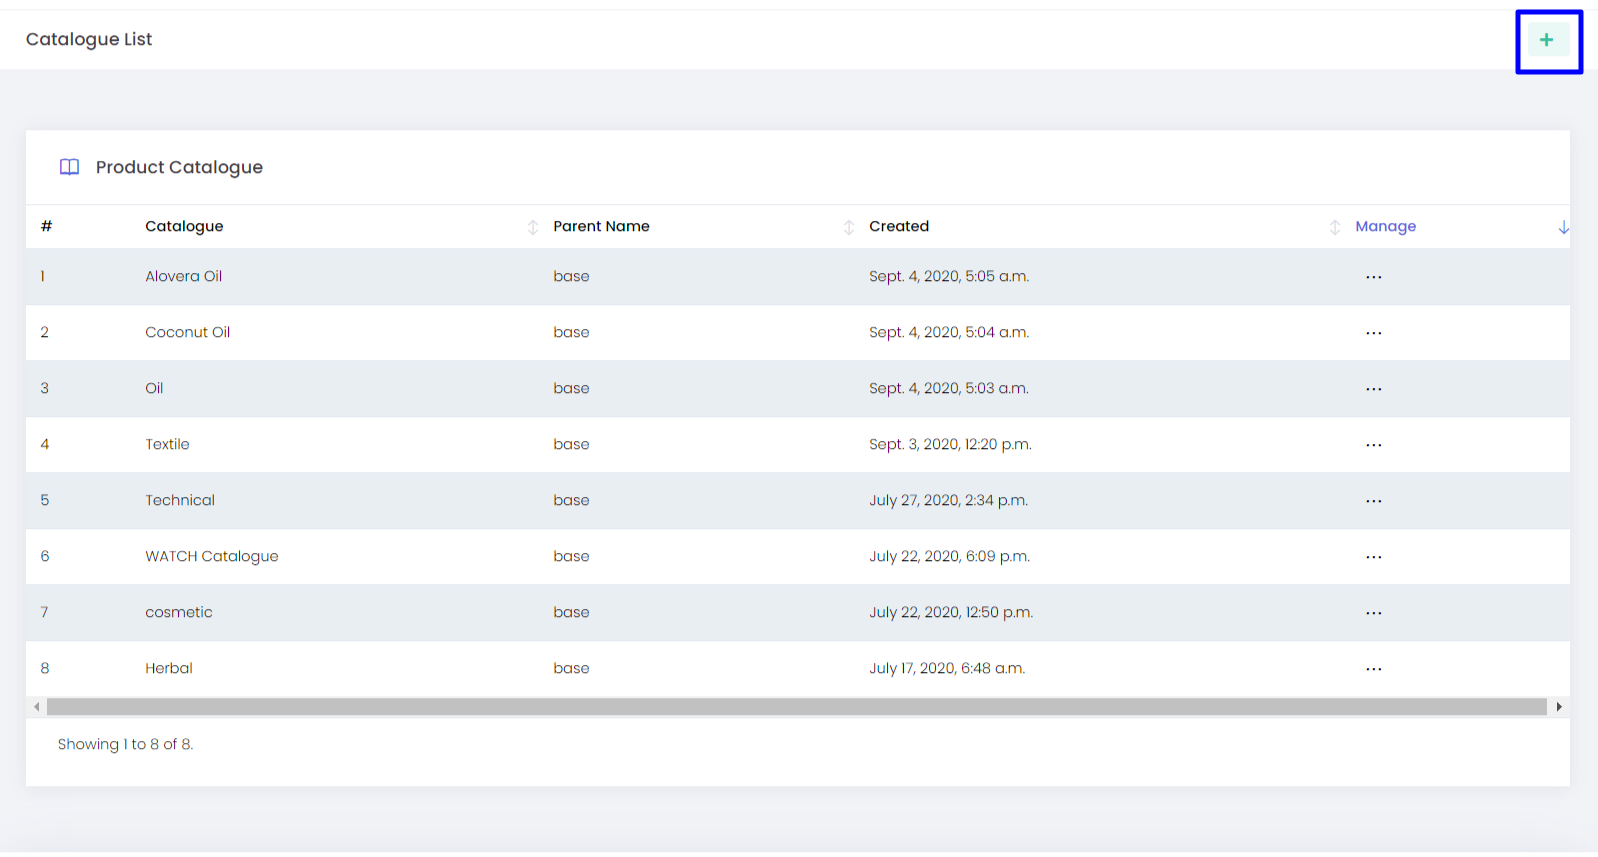
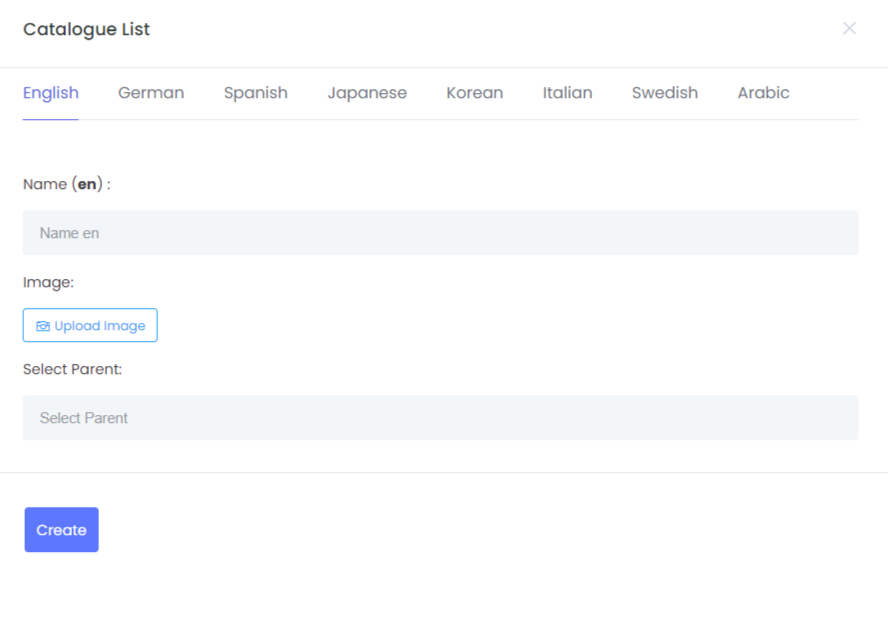
Add a name for your catalogue, e.g. Face wash, as that is a category that comes under personal care. In the Parent name field, you can choose not to fill in if you are creating the base, ie, if you want to add Personal Care, leave the Parent name blank because Personal care is the parent ie your business. Face wash, body wash, body lotion etc would be considered as children of Personal care.
In the Manage option, we have an option to Edit and Delete the Product Catalogue that we have added.
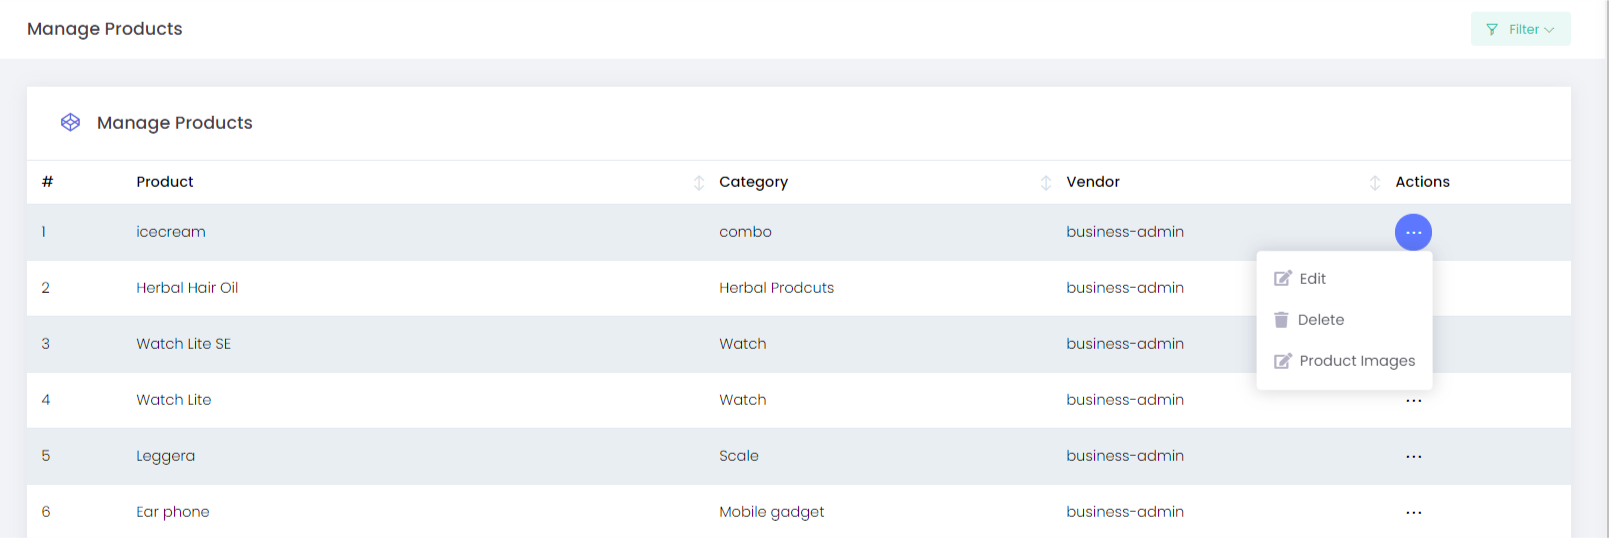
Manage Products
With this option, we can add products. The product can have a common name. The Product should be active, for the purchase/subscription to work. The product can be configured as featured and top selection products so that it’s shown in the front end. It can also allow reservation if required. The total product count is shown in the dashboard based on the variant.
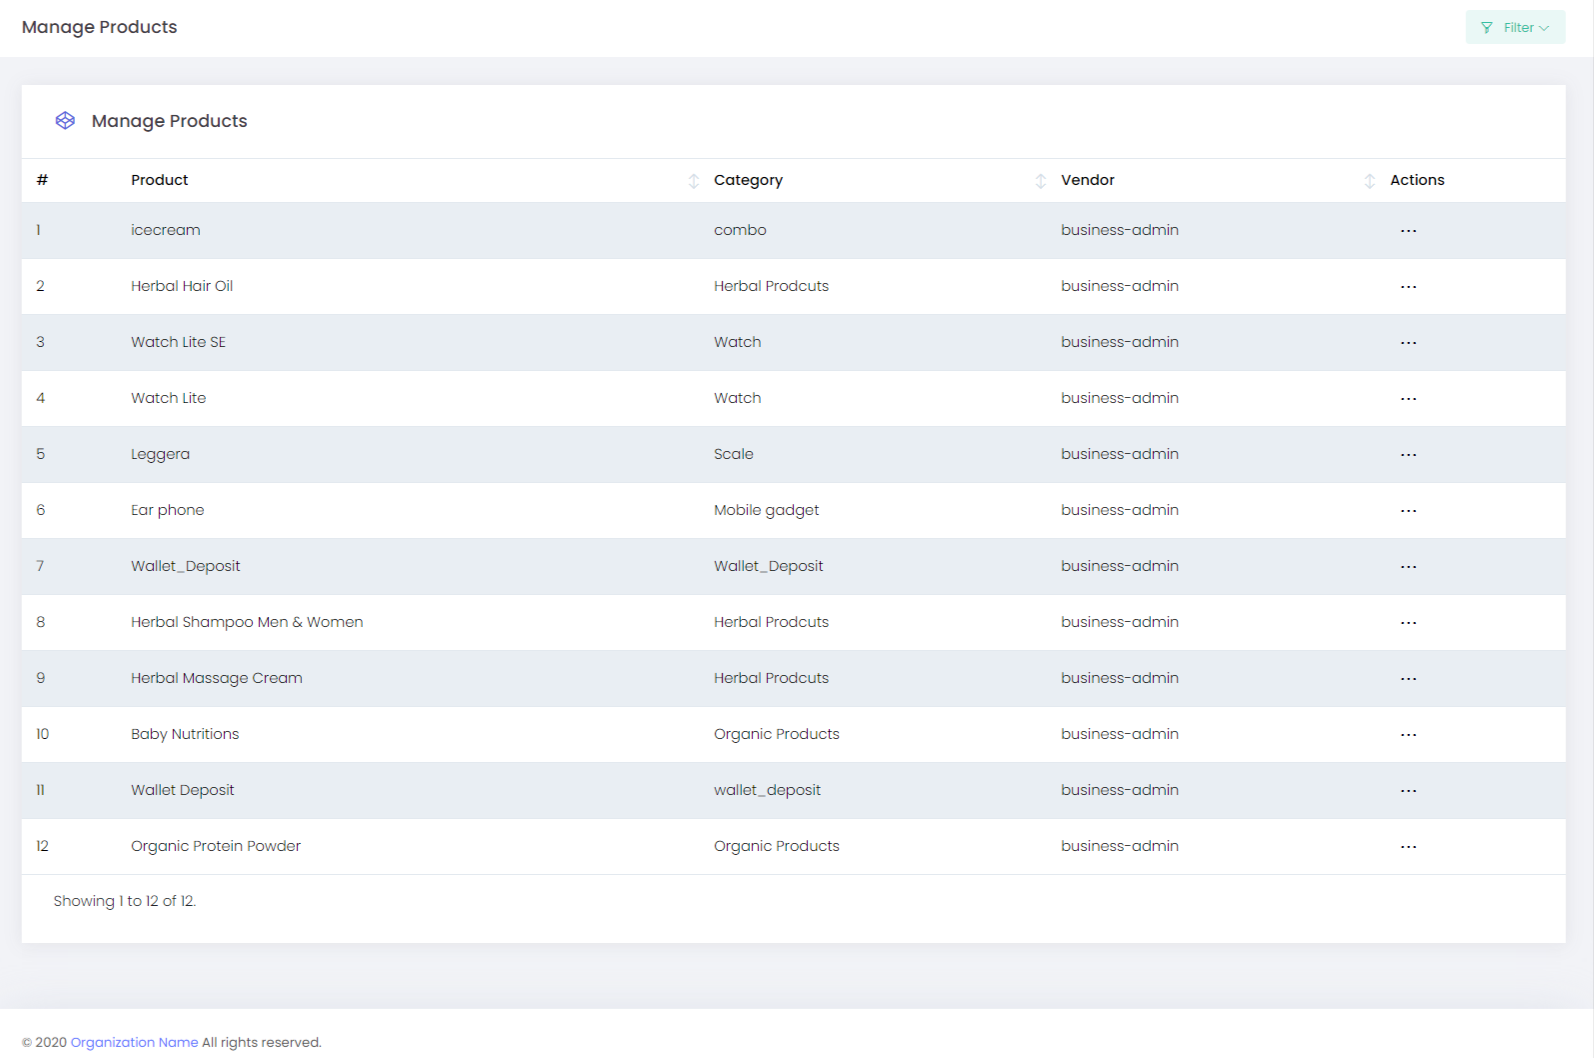
Filter: The filter option helps you to reach the Product Name you are looking for by submitting the category.
Actions: With this option, we have an option to Edit and Delete the Product and also we can add the Product Images.
Shipping: The shipping group created is given in the field Shipping Group. The height, length, width of the product with their dimension class are also configured. The weight of the product with weight class will be chosen to calculate the shipping charge conjured in the shipping group
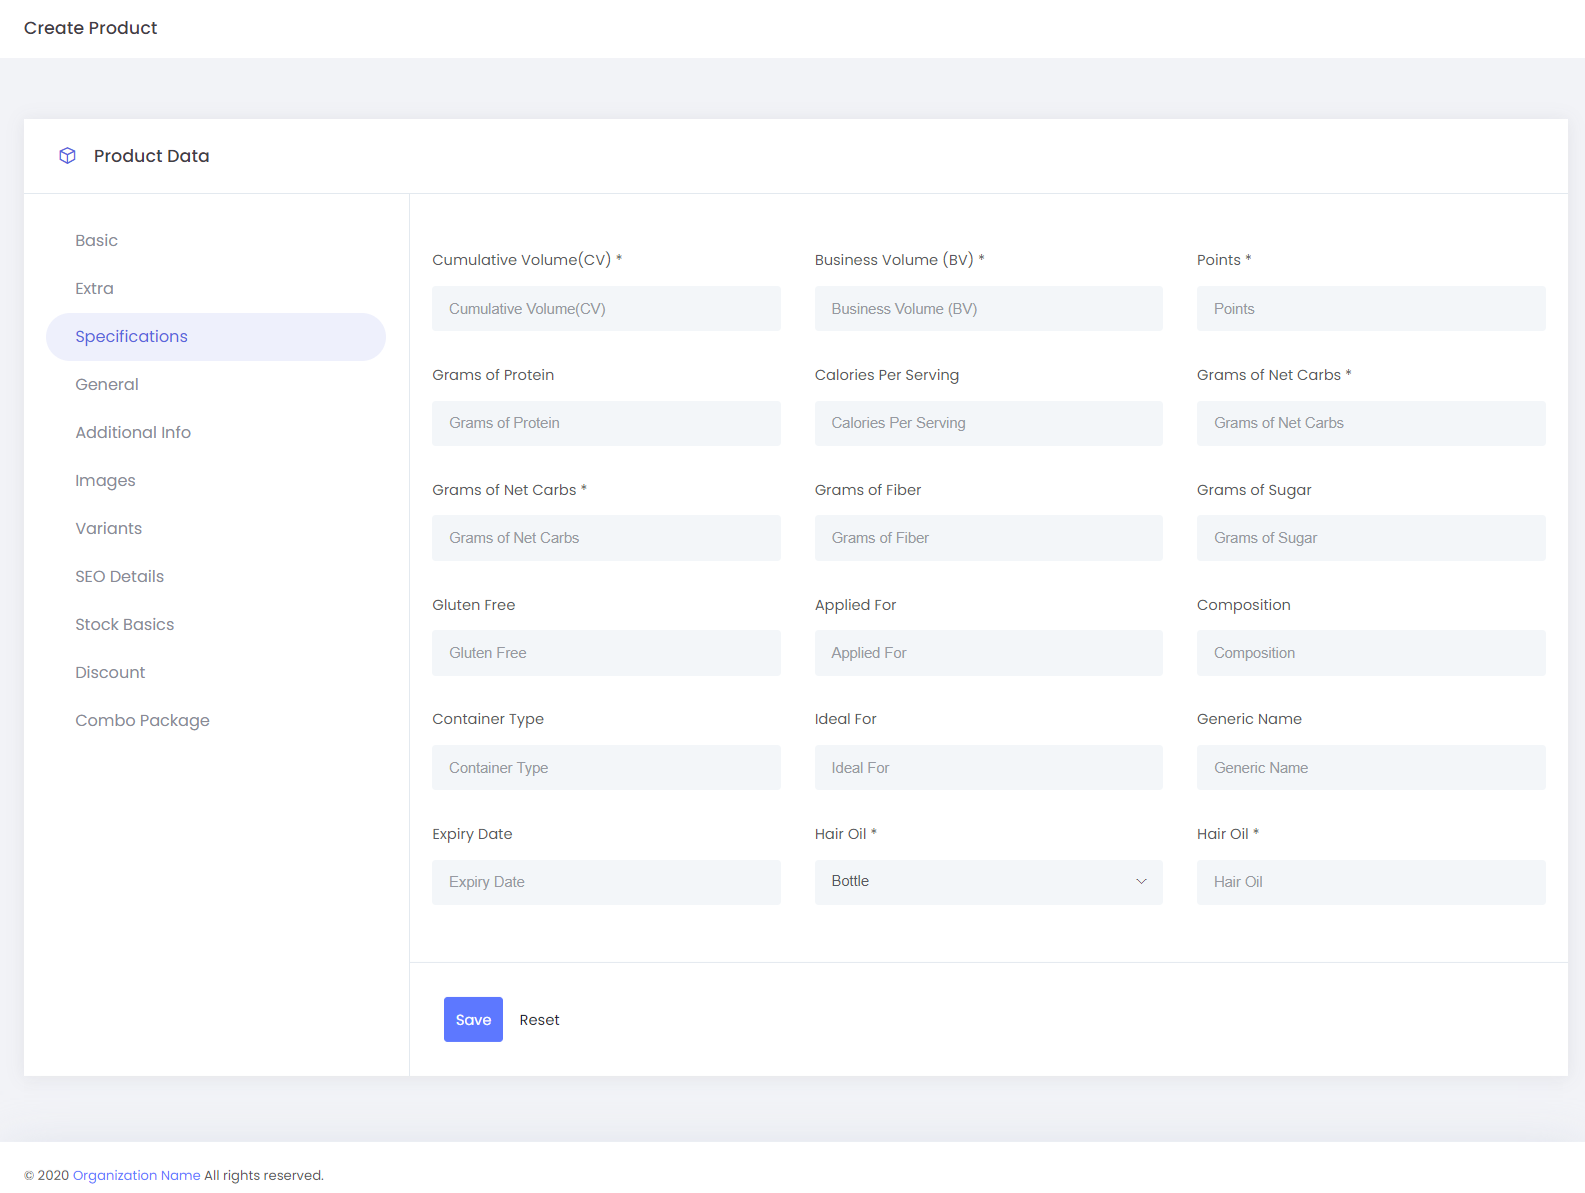
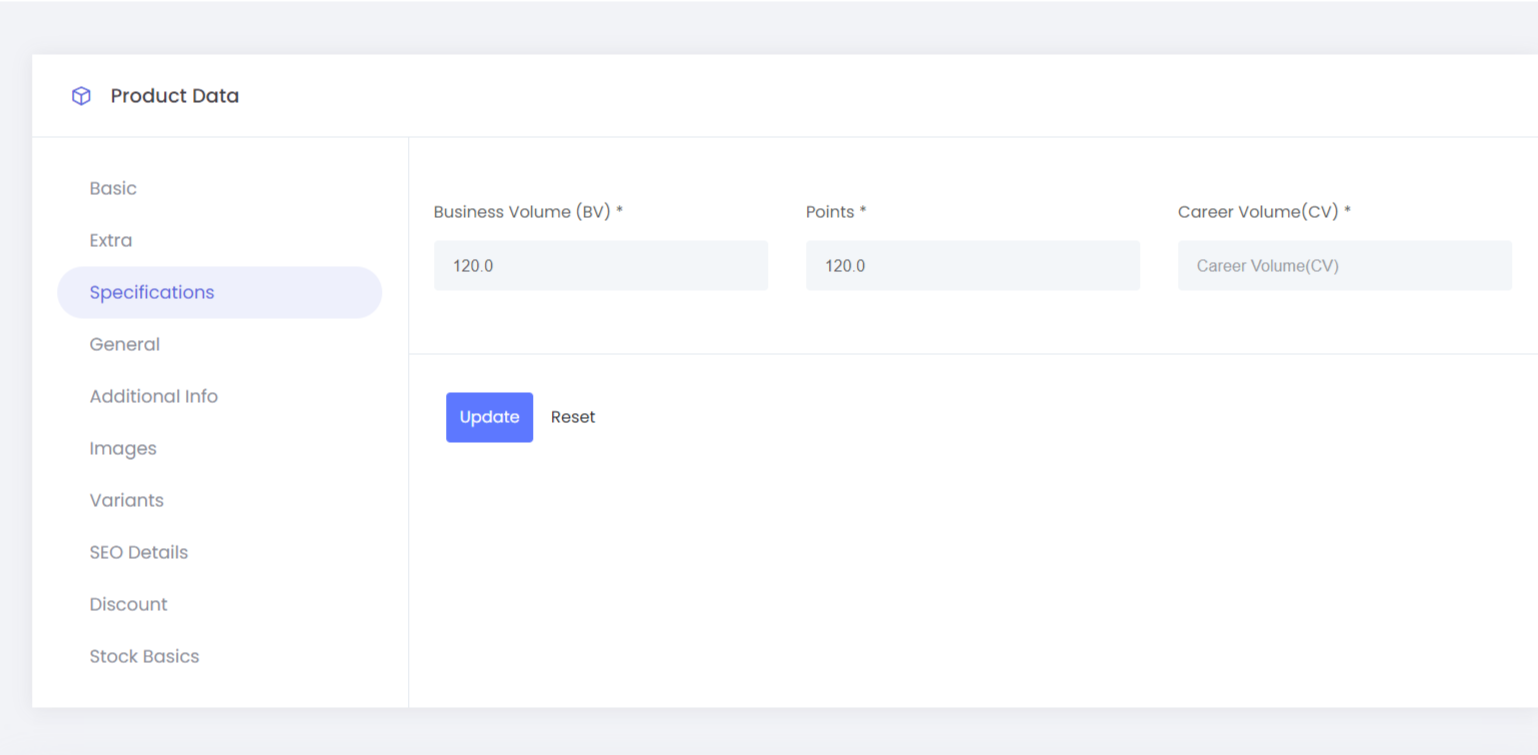
Specifications
The attributes created as general is configured in this like BV, CV, Points, etc
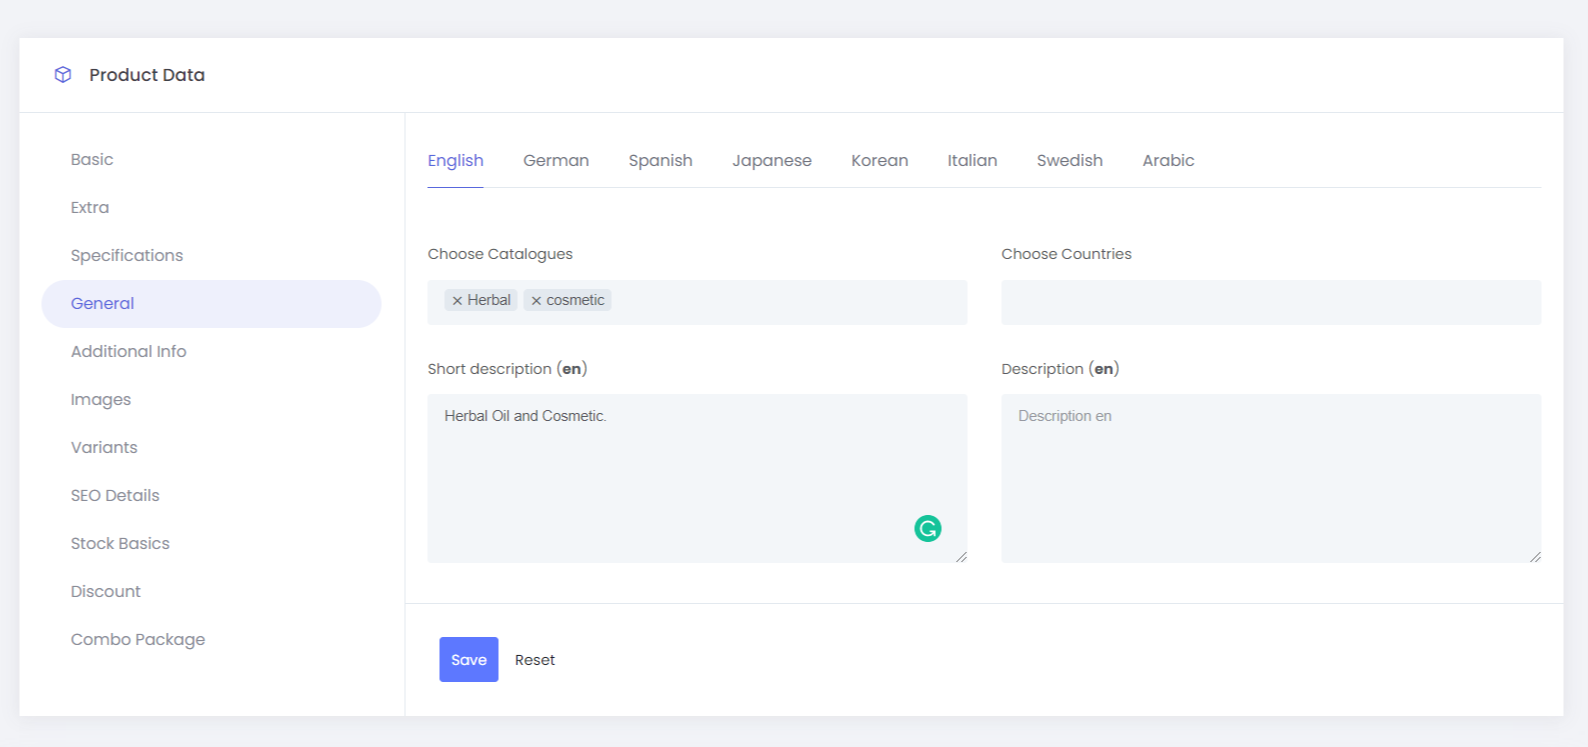
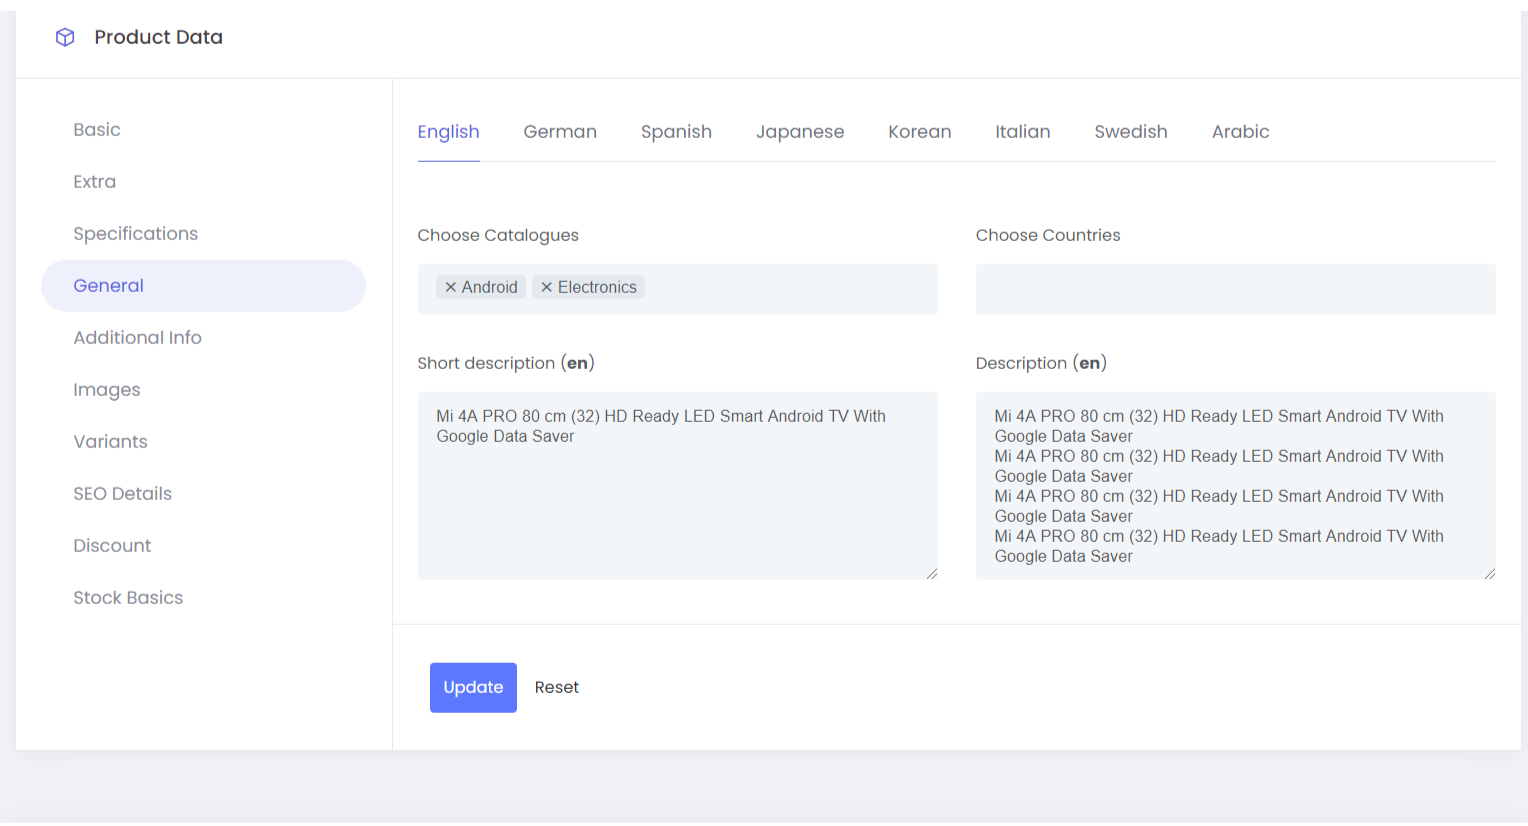
General
Choose Catalogues which are required for this product, Product will be visible only for Choose Countries, if no country is chosen the product will be visible for all countries. Sort description and long description of the product are given which is shown in the product detail page
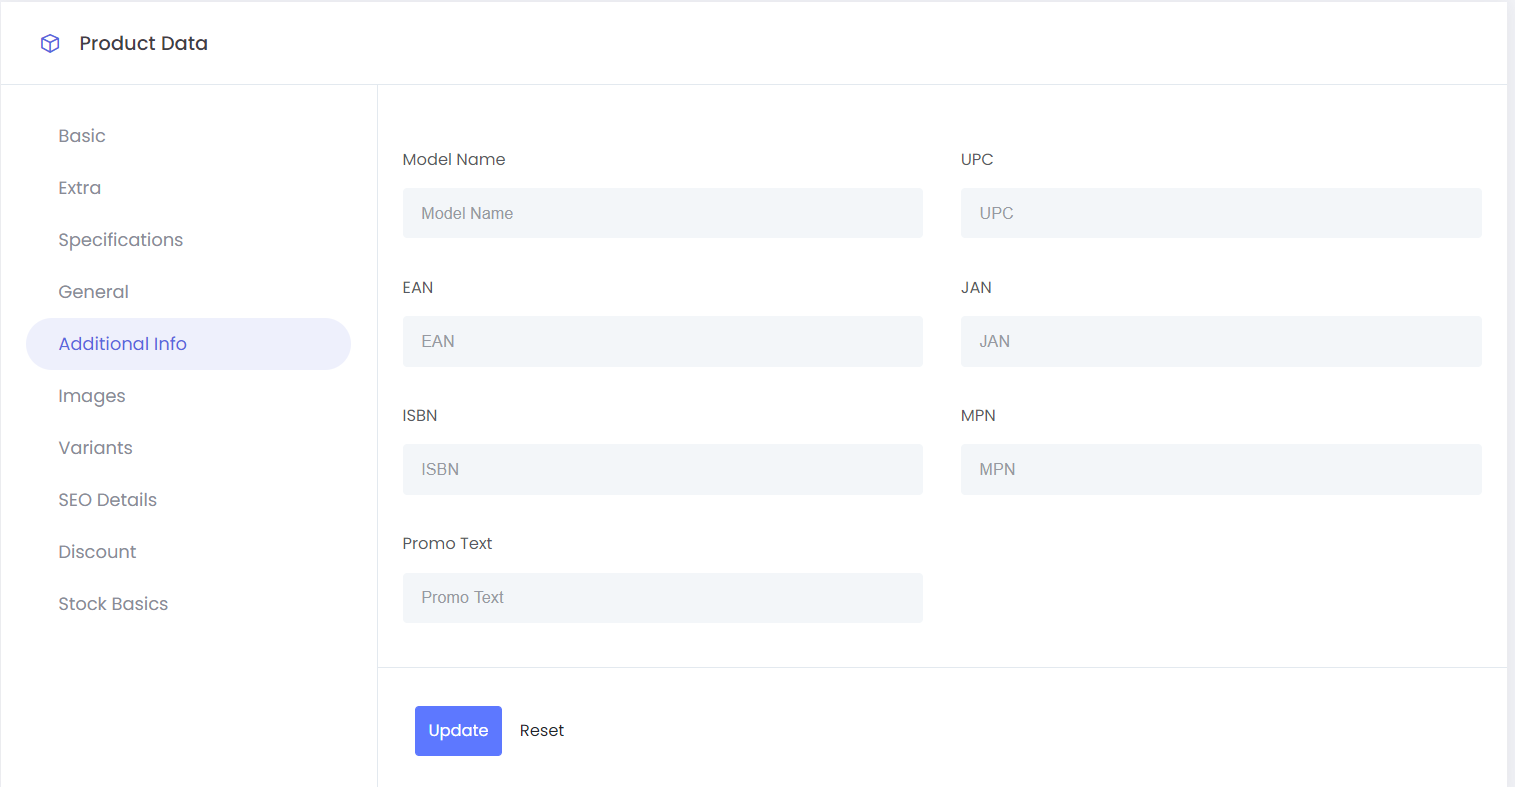
Additional info
Additional information like model name can also be configured.
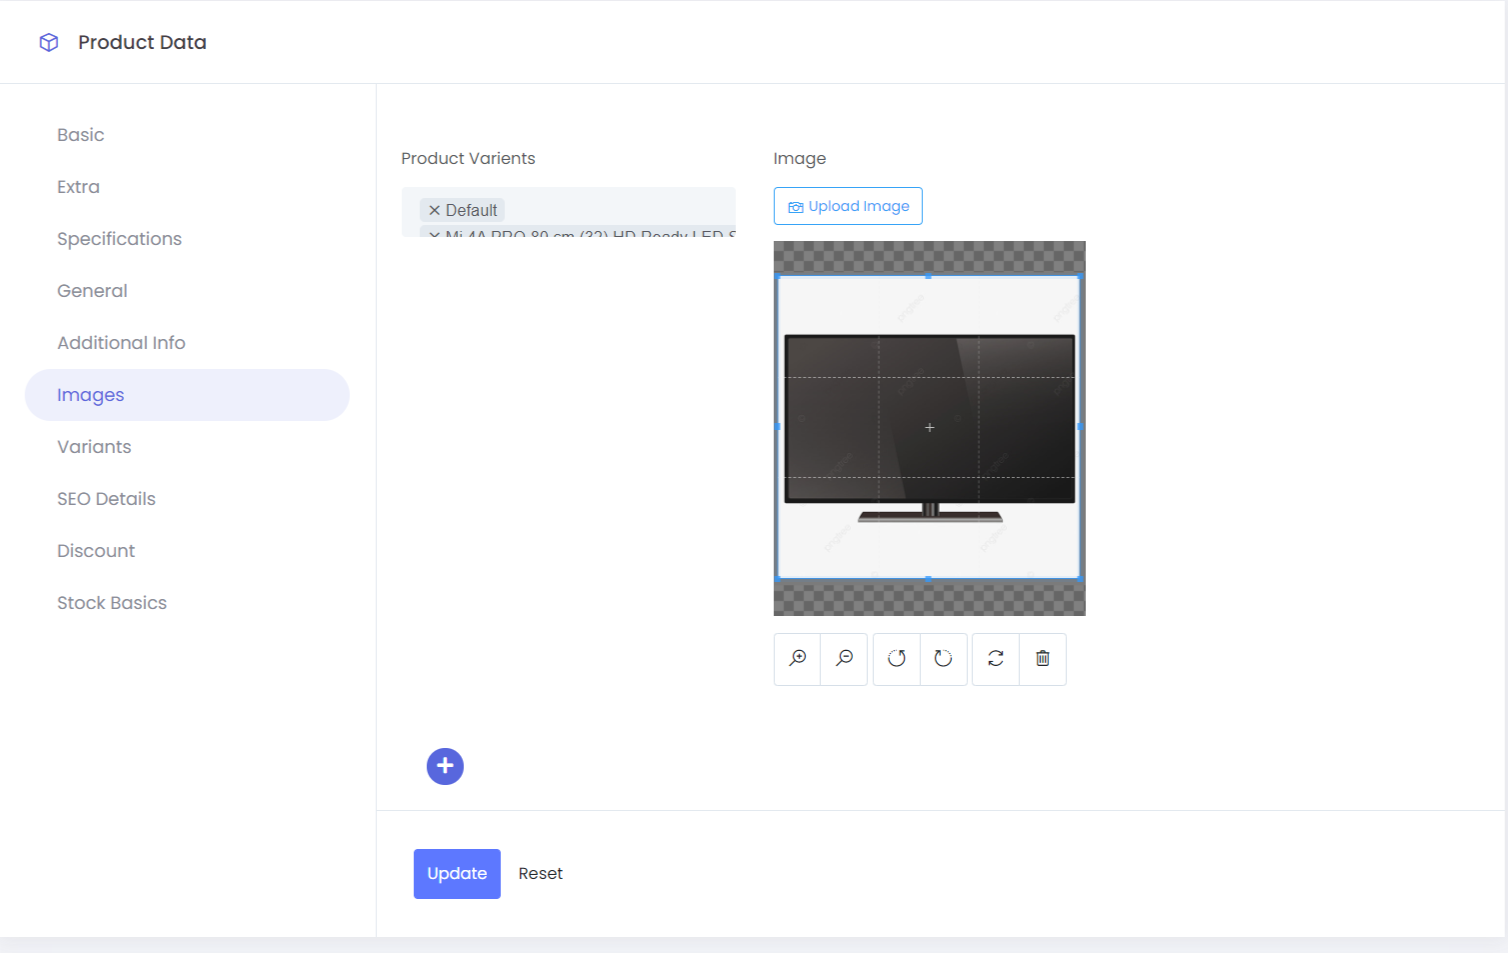
Images
Product images can be uploaded according to the product name.
Variants
-
The attributes added as variants are shown here.
-
Here the same product with different colors, sizes, etc can be added with different/same retail price, wholesale price. (Wholesale Purchase Permission en/auth/group/)
-
The product name configured here is the real name of the product. The SKU(Stock keeping unit) will be created according to this name.
-
The delivery period of the product can be configured, which is the expected delivery period for that product
-
Stock for the individual product is configured here (for commerce product)
- Return Period is the period calculated from the day of the item delivered.
Discounts
Admin can configure the discount based on user roles, Quantity, Rates (in % and$), discount available period, And for which type of purchase subscription onlyOR product only OR both. Only one discount will be taken according to the quantity.
Combo Package
A product type/category can be chosen, according to this product type/category the products will appear and we could choose any of the products in that and add quantity as required.

Stock Basics
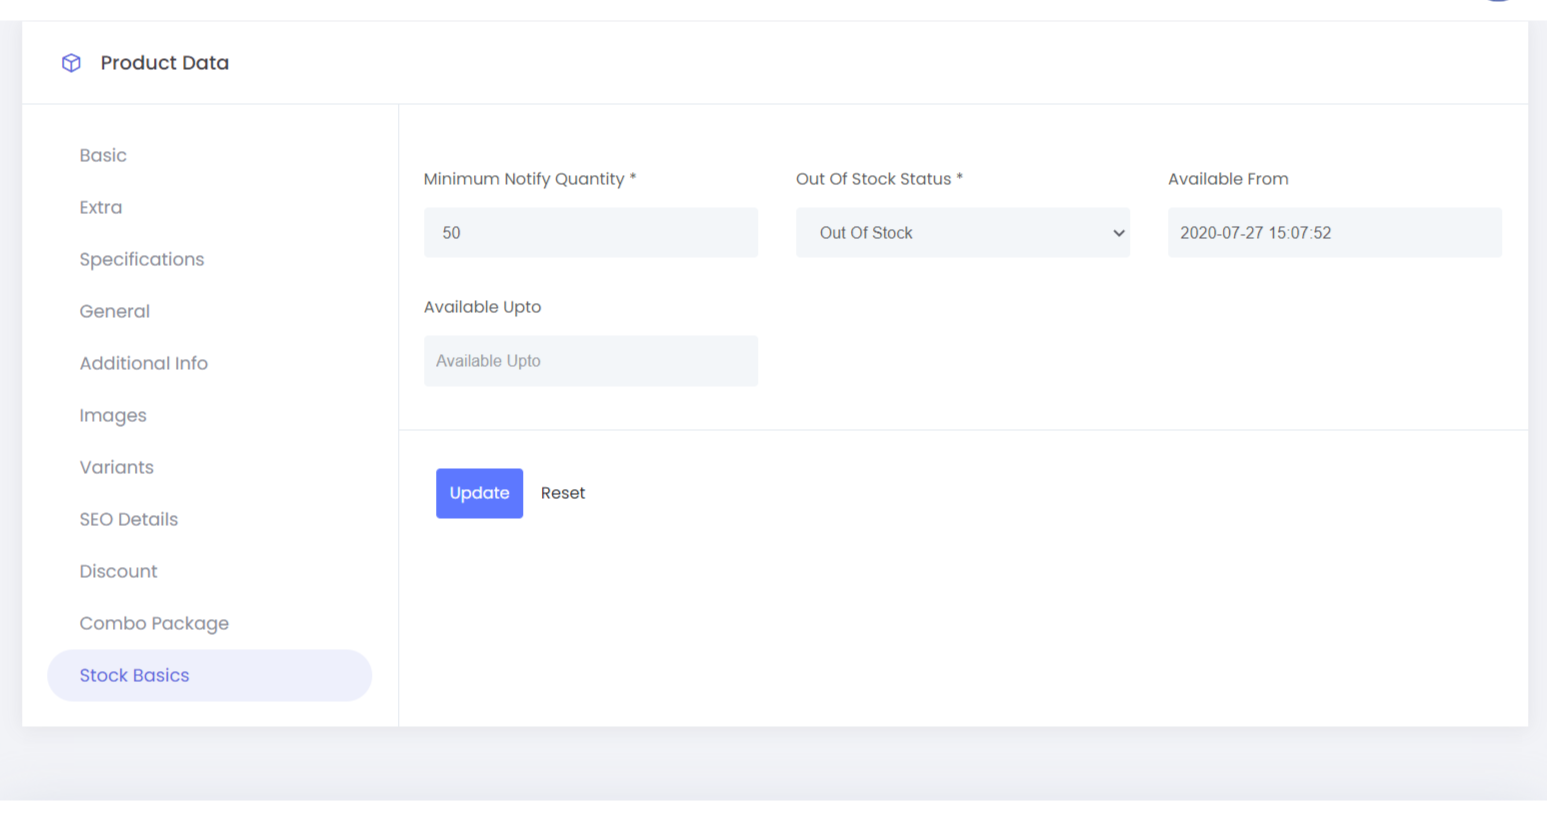
The product will show the status as we configured when there is no stock. Also, the product will be available in between the date configured in Available From - Available upto date. If the Available Upto date is not configured the product will show always.
Minimum Notify Quantity is configured to receive notification mail, this value should be less than the stock value configured in the variants field.
Manage Fees
product review
Manage Attributes
With this option, we are going to add a product in the E-store that has different processes involved. The first step is to add attributes specific to your product.
Adding a product in the E-store has different processes involved. The first step is to add attributes specific to your product.
ATTRIBUTES
Attributes are the different characteristics of your product like size, variants, price, CV, BV, etc.
Attribute Group is a group created with these different attributes together. There is a default attribute group ‘Enrollment Package’. It can be edited according to our requirement or we can also create other attribute groups.
Attributes are additional characteristics of a product. For example product attributes can be size and color. You first create the attribute, such as size… You manage product attributes on the Product detail page.
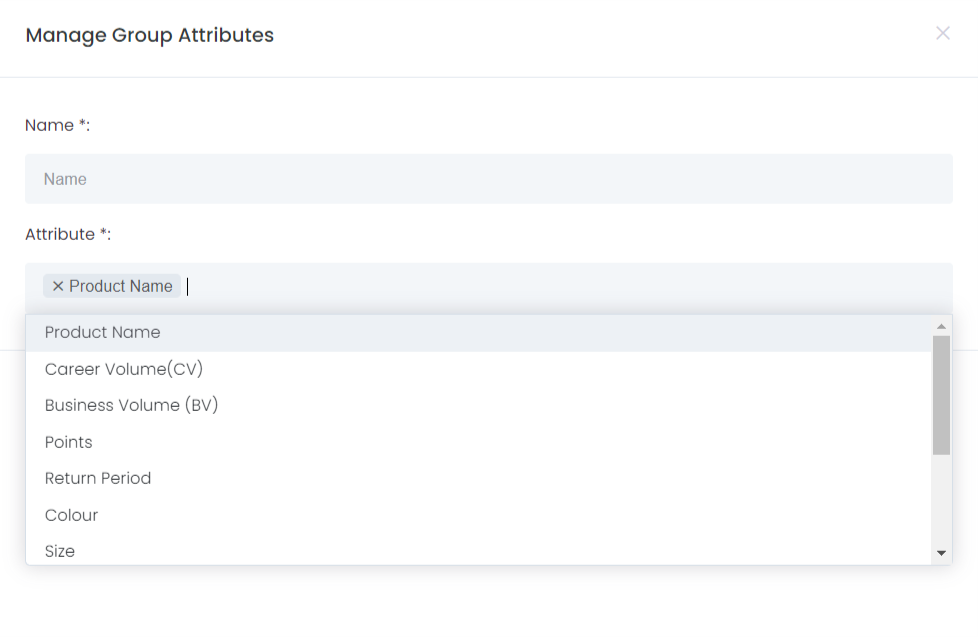
The attribute group can have a name and option to choose which all attributes are required
It is easier to understand the process with examples.
Take the face wash as an example. We are adding face wash as a product with its variants in the E-store. A face wash can be in a tube or in a bottle or in a pack. That is an attribute, name it as Pack Type.
Defining your product with specific attributes is the first step in product addition. Now we have to create different attributes for our product, face wash.
-
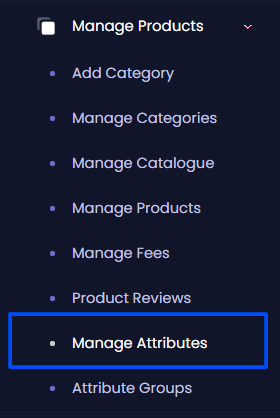
In the menu, under E-SHOP ADMINISTRATION click on ‘Manage Products’. Under this, you will find an option listed as ‘Manage Attributes’.
-
On clicking ‘Manage Attributes’ you will get a detailed view of the attribute categories on your right side like in the image below.
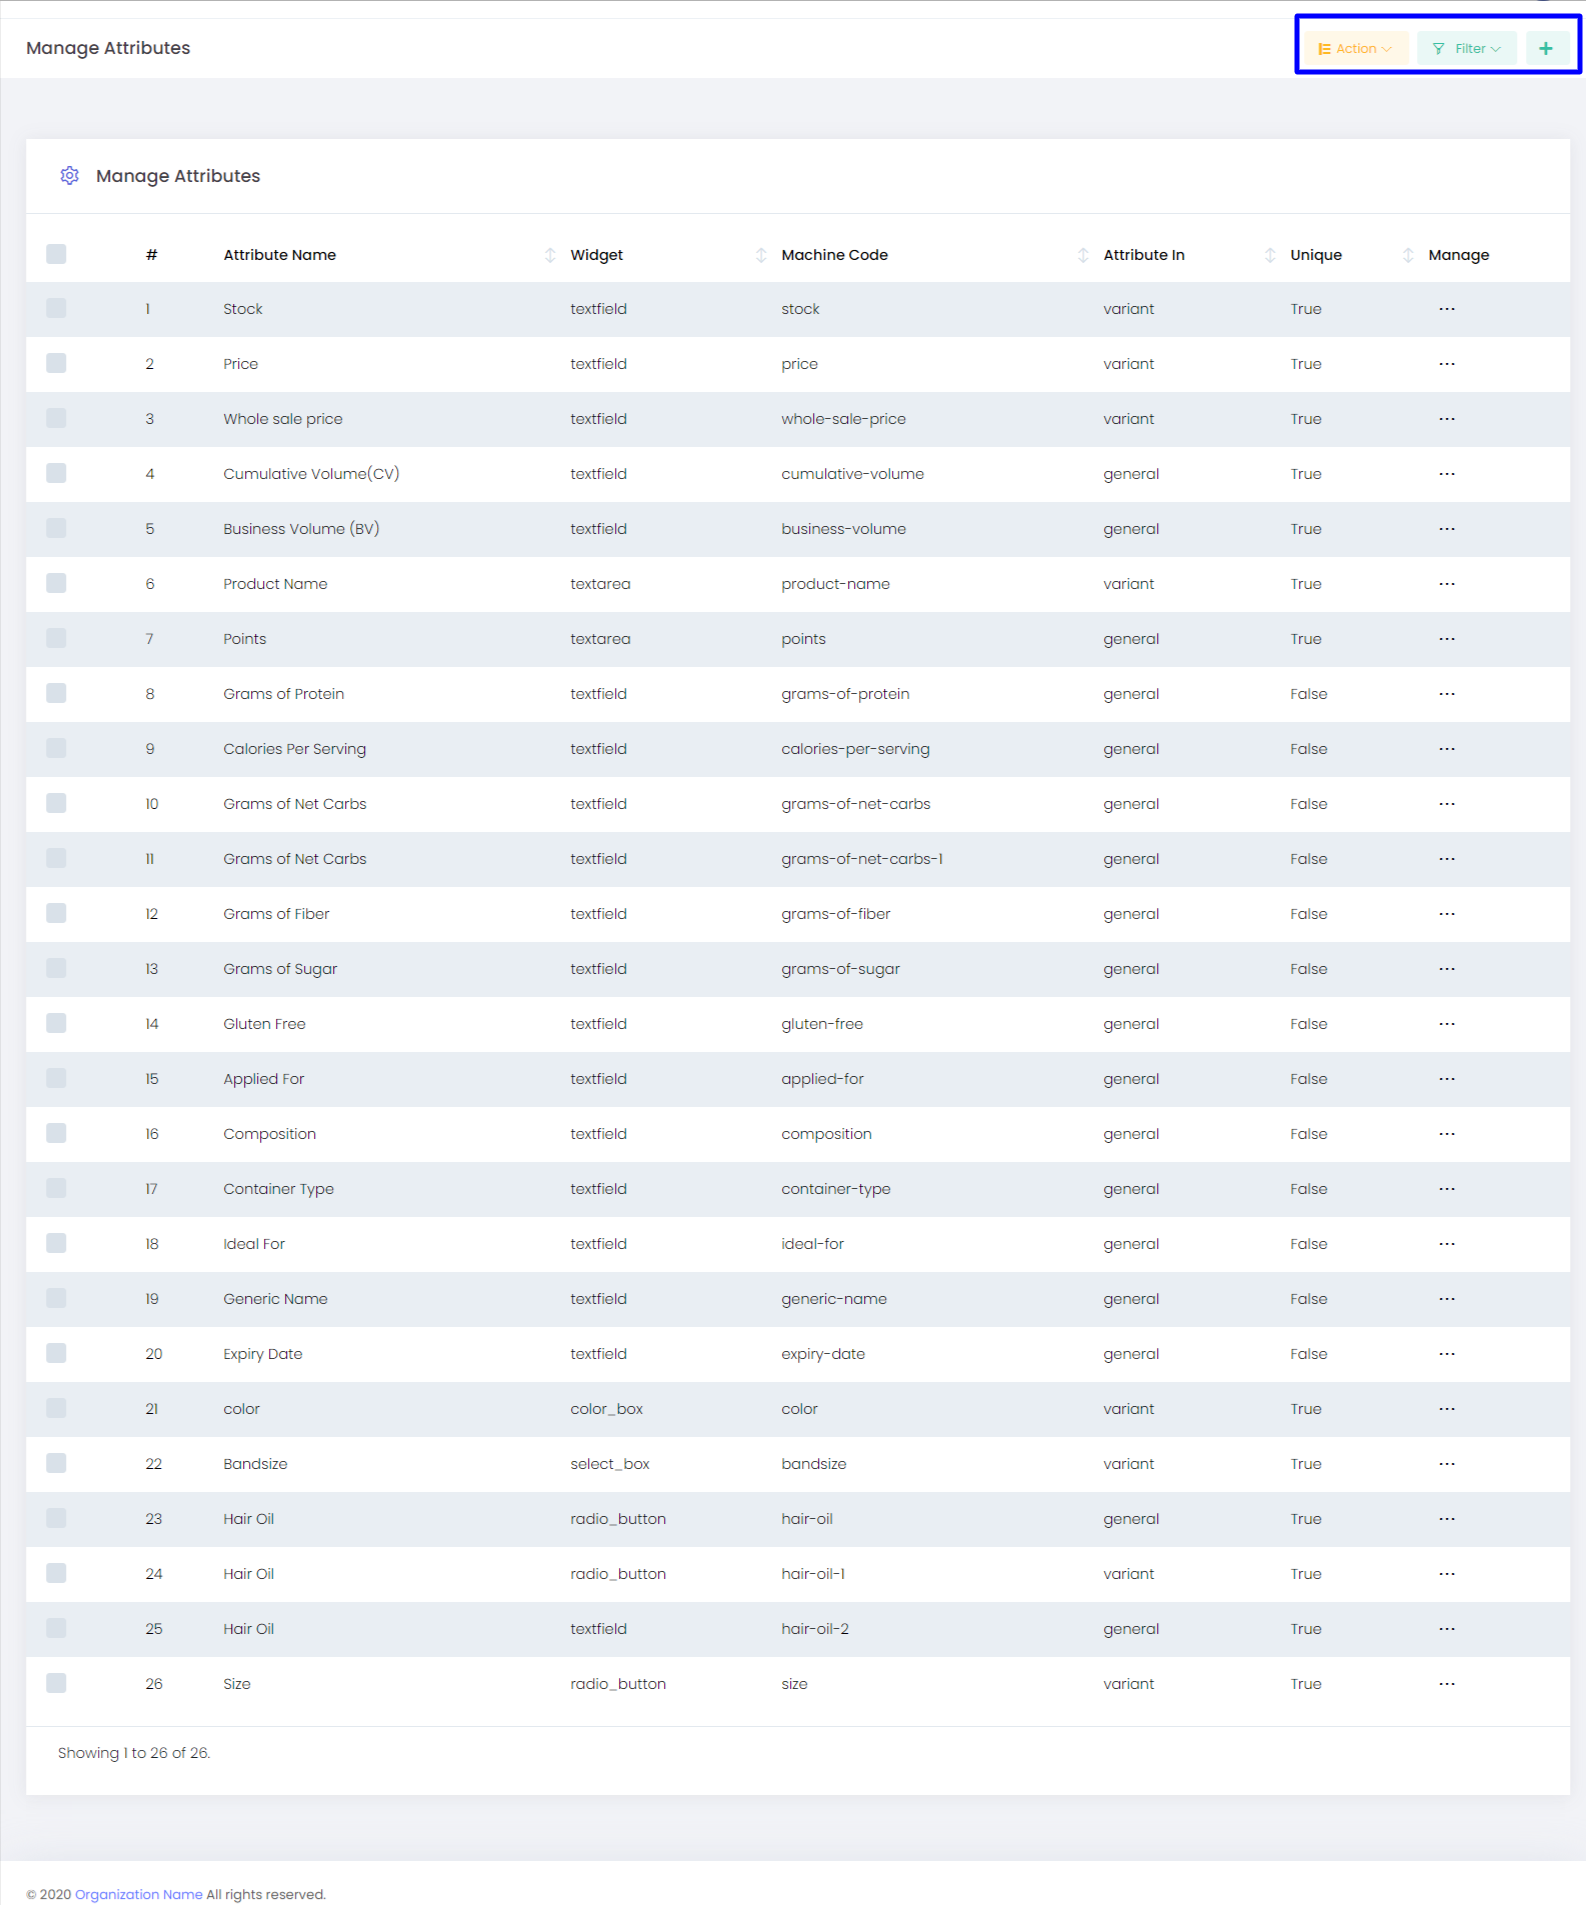
UNDERSTANDING THE TABLE
Now, let us look into each field separately, starting from the extreme left.
-
# - Numbers your attributes
-
Attribute Name - This is the name given to your attribute.[Face wash can have attributes like Type of pack, price, size, options (aloe vera, almond, tan removal, etc), CV, BV]
-
Widget - Selected Widget Type. Whether a select box, radio button, color box, text field, text area, or date picker. For instance, if you want to give variants for a particular attribute like size--large, medium, small--you can choose to have a radio button to list them where it is displayed.
-
Machine Code -- A Code is automatically generated based on your attribute name for differentiating a similar attribute from another. Not a case to worry about.
-
Attribute In -- This shows whether the attribute is in a general category or the variant of a particular category. For a detailed explanation refer to Attributes.
-
Unique -- This shows whether your attribute should be unique, required, or displayed. For a detailed explanation refer CCheckBoxesheck Boxes.
ADD, MODIFY OR DELETE ATTRIBUTES

Add New Attribute
Add a new attribute by clicking on the + on the top right side of the page.

You can add attributes in the language of your choice. We will explain each of the fields in detail.
Name: Add a name for your attribute that matches the purpose it serves.
Attribute Data type: Choose your data type, whether it should be a string, integer, or float.
If you are adding size as an attribute, choose String if you are naming your size as Medium, Large or Small; Integer if you are tagging the size as 200ml, 500ml, 250 ml; Float if you are using decimals like 125.25g, 12.5 ounces, etc.
Attribute: Mention whether your attribute is general or a variant. For example, In the Manage Attributes table above, Attribute # 4&5 is in a general category because that doesn’t change across products whereas Attribute # 2&3 is tagged as variants because that differs for each and every product.
In the case of the face, wash General can be CV and BV you are setting for that product, as it doesn’t change.
Price and Size can vary so keep them as variants.
Widget Type: Set your widget preference among the listed preferences. Radio button lets you set your variants as buttons, Text field as text, and color as different colors. For this field, there is a subfield below. Refer to the image below.

This is what you want your displayed widget to represent. For colors, you can pick colors. This image is for a radio button. Weight here is the weightage or order in which you want your options to be displayed. The smallest number is shown first.
Description: Describe the attribute you are defining for identifying among a group of similar attributes.
Check Boxes:
Unique - Select this if you do not want another attribute to have the same name and qualities as the one you are creating.
Required - Choose to display your attribute as a mandatory field for your users.
Display - Check this if you want to display this field to your users.
Modify Attribute
You can modify your attributes by clicking on the three dots at the extreme right. Click on the dots and click on ‘Edit’ to modify your previously created attribute.
Delete Attribute
You can select the checkboxes on the extreme left and choose to delete the selected attribute by clicking on the Action button.
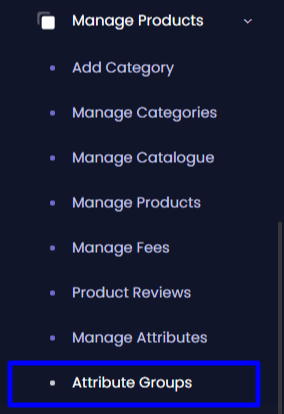
Attribute Groups
Now that we have added the attributes, the second step is to create an Attribute Group. In the menu, under E-SHOP ADMINISTRATION click on ‘Manage Products’. Select ‘Attribute Groups’.
We created price, size, Pack Type, CV, and BV as attributes for face wash. Let us group the attributes we have created under a common name. Say, Face wash Attributes. That is our attribute group.
To add this click on + on the top right corner and enter a name for the attribute group and select the attributes we have already created and click on save.
You can choose to edit this by clicking on the three dots against it in the table
A product Catalogue is a set of information about individual models. Models are specific versions or various configurations of an asset... Models published in the product catalog are automatically published to the Service Catalog. The service catalog includes information about goods (models) and services. (for eg: Nike is a brand which has shoes, clothing, accessories, sports items, etc)
The catalog can create a name also can upload an image, we can also conjure another catalog name as the parent